Back in February, I reported on my attempts to get Alexa to play the albums in our music collection. I’d found the following:
Coverage: about 80% of our albums were present in the Amazon Music Unlimited library.
Specifying Discs and tracks: for albums consisting of more than one disc, there appears to be no way of specifying that Alexa should start playing Disc 2 as opposed to Disc 1; and, similarly, there’s no way of getting Alexa to play a particular track number.
Voice Recognition: Alexa couldn’t recognise about 10% of the Artist/Title combinations even though I had checked that they were actually available in Amazon’s Music Unlimited library.
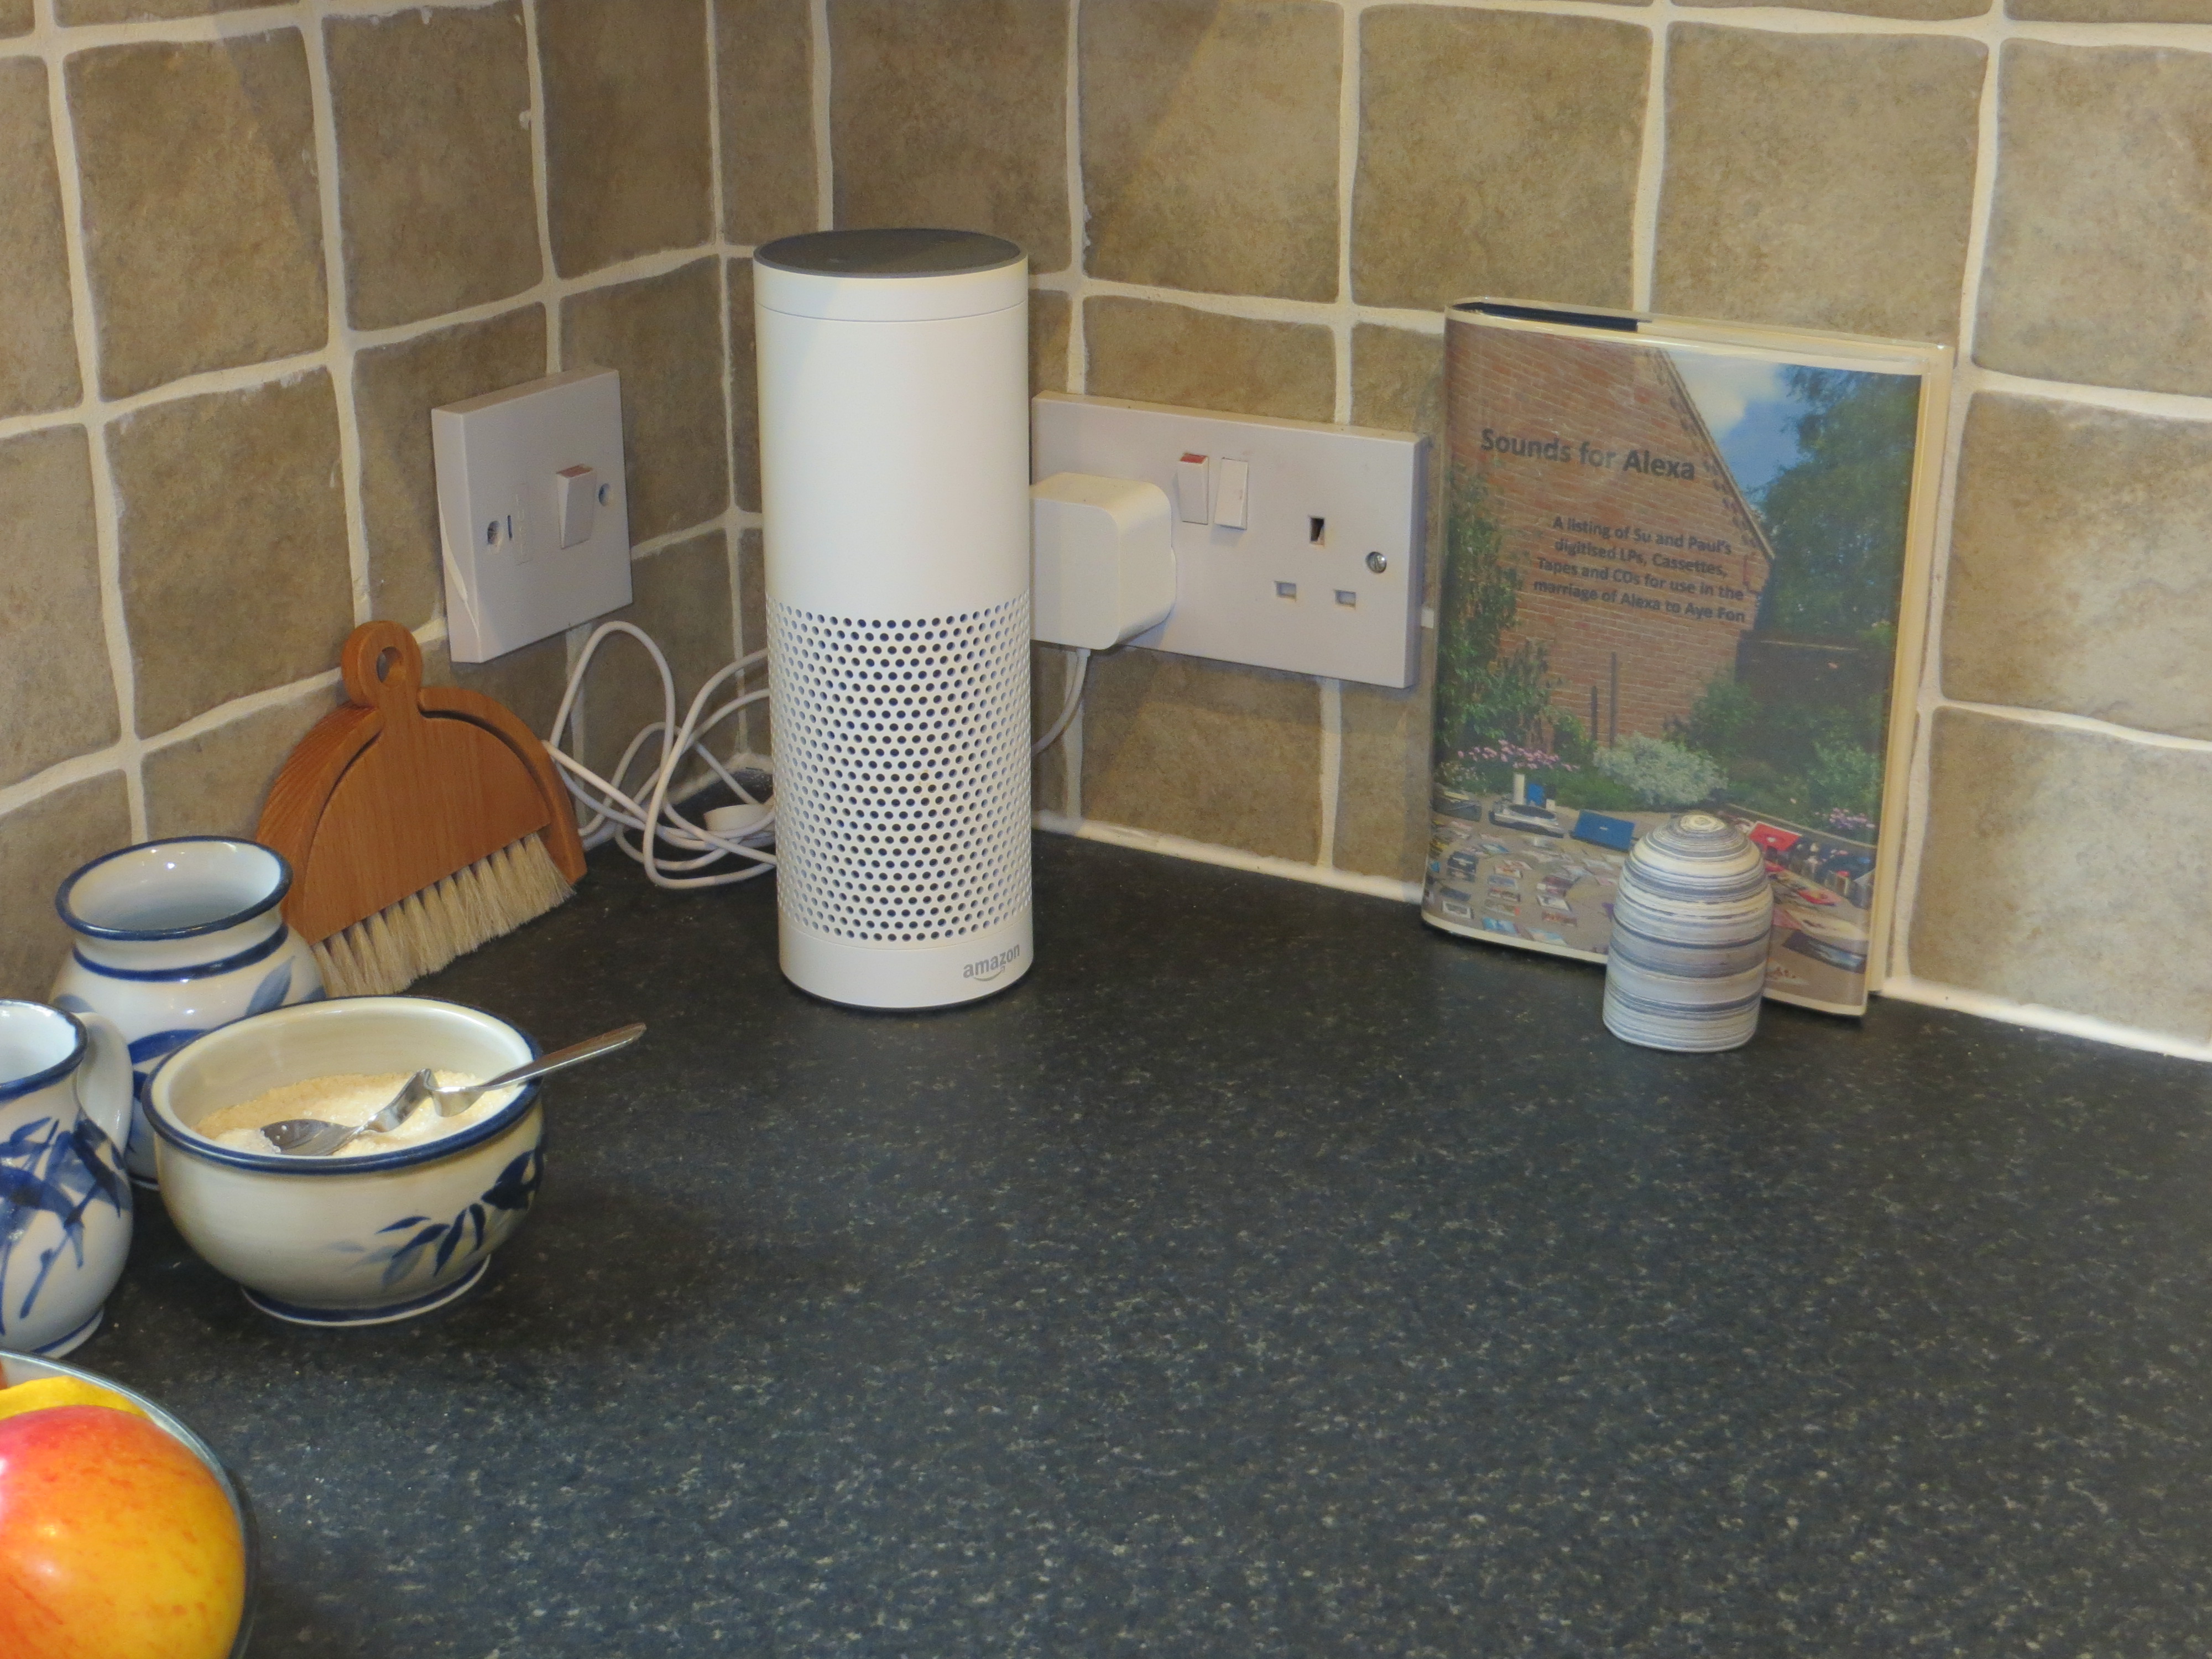
Since then I’ve been using Alexa and Amazon Music Unlimited to listen to newly issued albums reviewed in the Guardian/Observer newspapers, and now have a further substantial set of experience to compare with my original findings. The first thing to say is that being able to listen to complete albums, as opposed to just samples of each track from Amazon on my laptop (as I have been doing previously), is, obviously, a far more rewarding experience; and to be able to listen to a range of new releases from start to finish, regardless of whether or not they suit one’s innate preferences, is a real luxury. Most I will never listen to again – and some I have cut short because I really didn’t like them; but there are a few which I’ve really liked and have made a note of at the back of our ‘Sounds for Alexa’ book. At least I now feel a bit more in touch with what sort of music is being produced these days.
Now, to get back to the topics I covered in my earlier findings; below are my further observations on each of the points:
Coverage: Since last February I’ve checked out eleven lots of review sections comprising write-ups of 121 albums. Fourteen of these albums were issued in CD format only, and all the other 107 albums were available in Amazon in MP3 format. All but nine of these 107 were advertised as being available for streaming or available to ‘Listen with your Echo’ (the latter being the Alexa device); and of these nine, six did actually play through the Echo device. Of the three that didn’t, two would play only samples (Bob Dylan’s ‘Triplicate’, and The Unthanks’ ‘The songs and poems of Molly Drake’); and for the other one (Vecchi Requiem by Graindelavoix/Schmetzer) Alexa repeated “Vecchi Requiem” perfectly but said she was unable to find any album by that name. Given that only three items were actually unavailable, I conclude that a lot of the new albums that are being issued in digital format are available in the Amazon Music Unlimited service.
Specifying Discs and tracks: It still appears to be the case that it’s not possible to specify that Alexa play the 2nd disk in a two disk album, nor to play a particular track number. To get round the multiple disks problem, a number of people in the Reddit noticeboard suggest creating a playlist in which the two discs are listed separately. As for the track number, Alexa will step through the tracks if you keep saying ‘next track’; but, if you really do want a particular track played, the best way to achieve that is to use the name of the track when requesting it – both of the following worked for me: ‘Play Kashmir by led Zeppelin’ and ‘Play Cromwell by Darren Hayman’.
Voice Recognition: Of the 121 albums I checked out, Amazon claimed that 98 of them were available to play through the Echo, whereas, in fact, I could only get 85 of them to play. For eleven of the other thirteen albums, Alexa just couldn’t understand what I was requesting; and in the remaining two cases, Alexa a) insisted on playing “Rock with the Hot 8 Brass Band” instead of “On the spot” by the Hot 8 Brass band, and b) played Mozart‘s Gran Partita by the London Philharmonic instead of by the London Symphony Orchestra. Turning to the 85 albums that did play through the Echo, it was significant that only 59 of them played at the first time of asking. For the other 26, I had to repeat the request at least twice and as many as six times (these details are included in this Recognition Analysis spreadsheet). Naturally I was trying out all sorts of combinations of all or part of the particular album title and artist. After much trial and error I have taken to first asking for both the album title and the artist (play me X by Y); then, if that doesn’t work, to ask for the album title on its own (or even just parts of the album title – for example, 1729 for the album title “Carnevale 1729”). Finally, as a last resort, to just ask for the Artist. This strategy proved successful in all but 3 of the 26 instances that didn’t play at the first time of asking. These figures indicate that Alexa’s voice recognition capabilities haven’t improved much since my last write-up in February. This view is reinforced by my (undocumented) experiences of trying to get Alexa to tell me about various golf, rugby and cricket events. Her responses have usually been either about a completely different event or just that she doesn’t know. Perhaps I’m not asking the questions in the right way….. at least Alexa is usually able to provide a weather forecast at the first time of asking. In her defence, I should mention that my son seems to have no trouble in adding all sorts of outlandish things to our Alexa shopping bag (which, I should add, we don’t use – Alexa just provides it if you want to put things into it).
From this summary of my recent experiences with Alexa, it seems that little has changed. Whilst Alexa’s voice recognition capabilities don’t seem to have improved much, the usefulness of the device compared with having stacks of CDs around, is undiminished. So much so, in fact, that we have replaced our last remaining CD player, which was in the conservatory, with another Echo device; and we’ve upgraded to Amazon Music Unlimited for 10 devices at £9.99 a month.
There are undoubtedly many other uses that we could be putting Alexa to – the weekly email from Amazon always suggests several new things that one can ask her or get her to do. We haven’t really followed any of them up. Perhaps I’ll get to printing out the email each week and putting it next to the echo as a prompt. Or maybe I won’t – we’ll see. One thing’s for sure: what with all our CDs in the loft, and no stand-alone CD player, Alexa is going to be with us for the indefinite future.