
I’m a novice bookbinder with only 7 tuition sessions under my belt, so the following description of the creation of the Sounds for Alexa book may not use the correct terminology or reflect bookbinding best practice. However, this is how I’ve been going about it: there are 7 main stages to the work – create the content; print the pages in sections; sew the sections together; cut the edges and shape the spine; create the hardback cover; attach the sewn sections to the hardback cover; and mark up the cover with the book title.
The book was created in Microsoft Word using a two column format and the ‘Book Fold’ Page Setup. Book Fold produces double sided landscape A4 pages which, when printed, are arranged so that the pages appear consecutively when all the pages are laid flat one on top of another and then the whole set is folded in half. This produces a bookbinding Section. I elected to have sections containing 16 pages i.e four A4 pages each with four half pages – two on the front and two on the back – and I ended up with 10 sections as you can see in the picture below.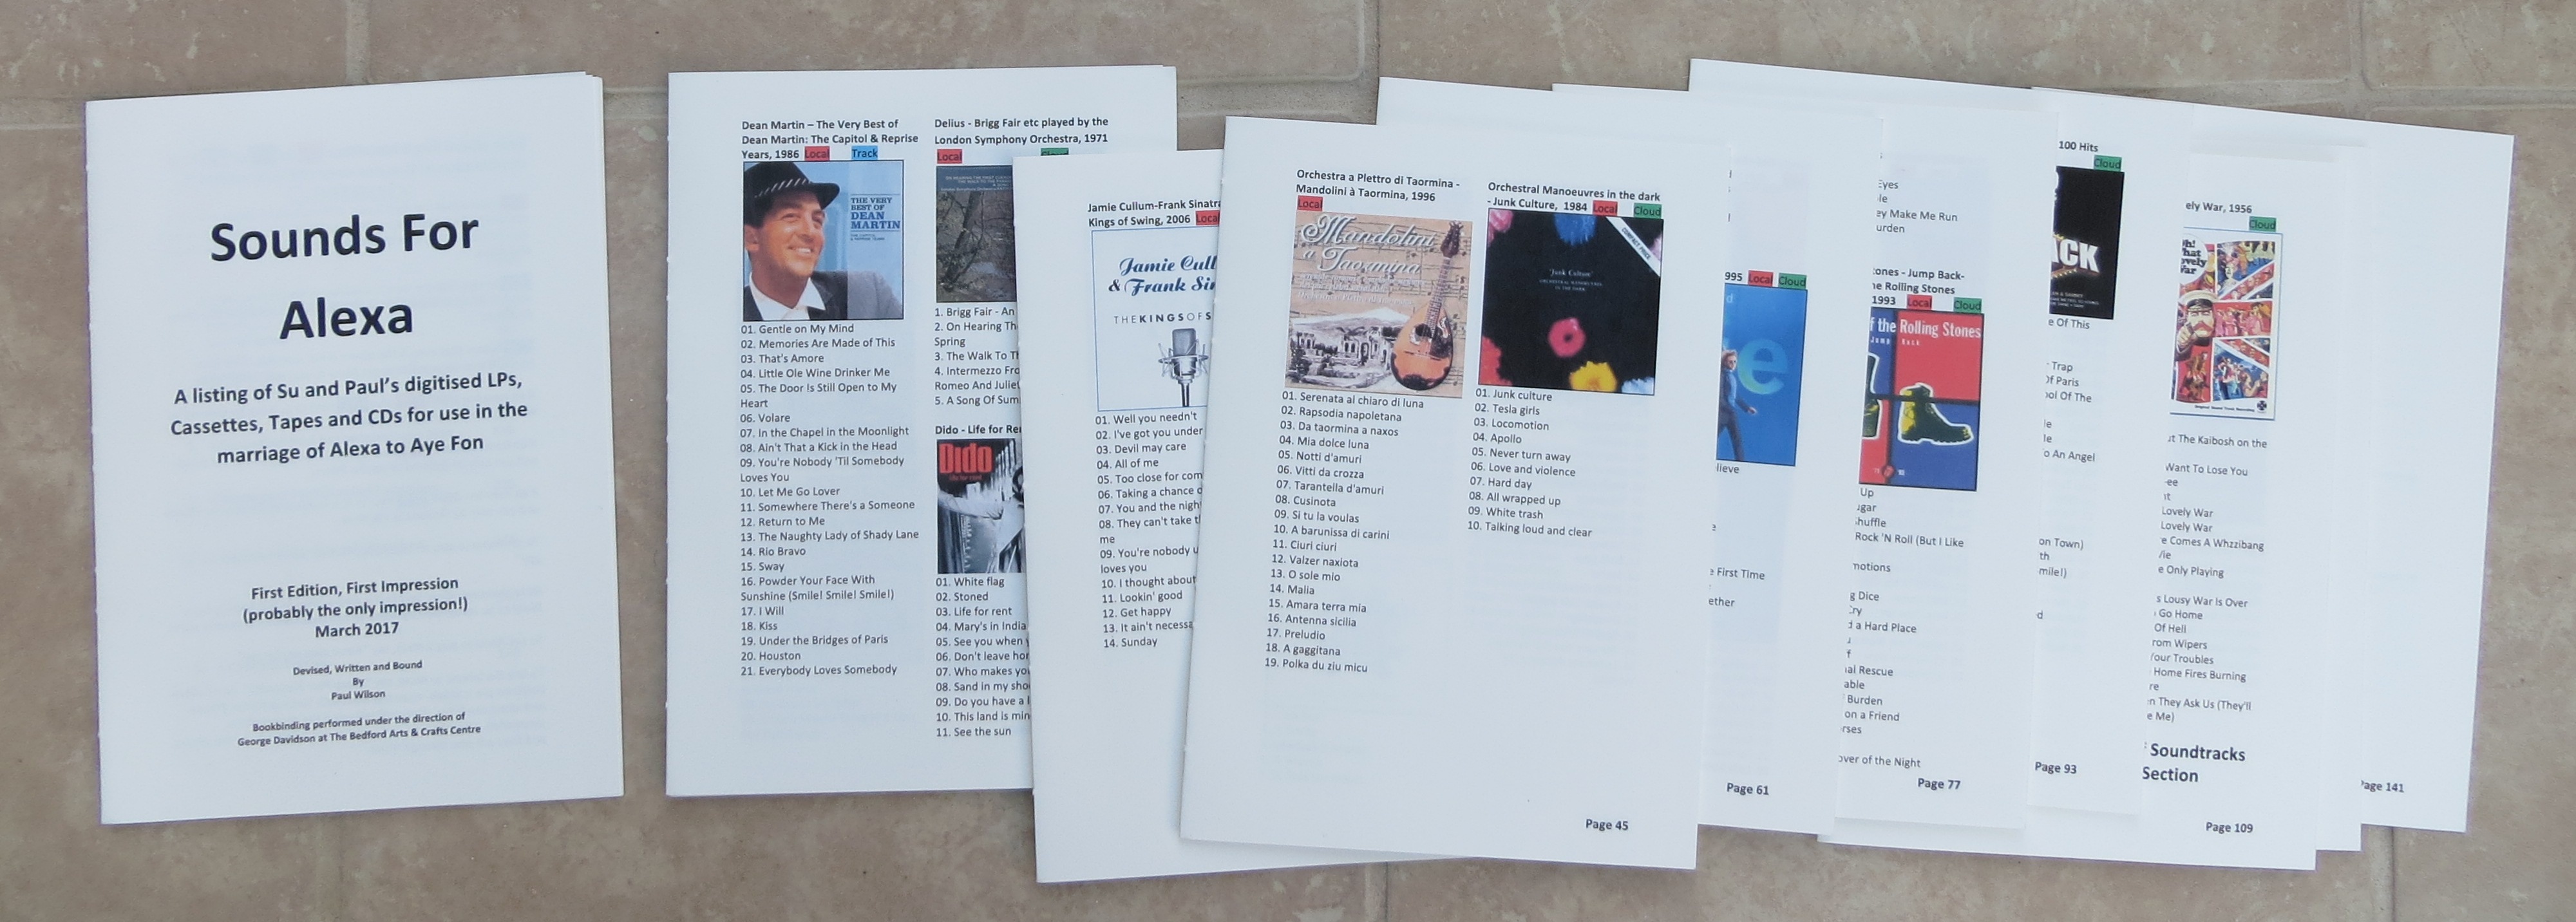 Sections are sewn together using linen thread and linen or cotton tape. A template is made to match the height of the book. The positions of where the thread will be sewn is marked on the template as shown below.
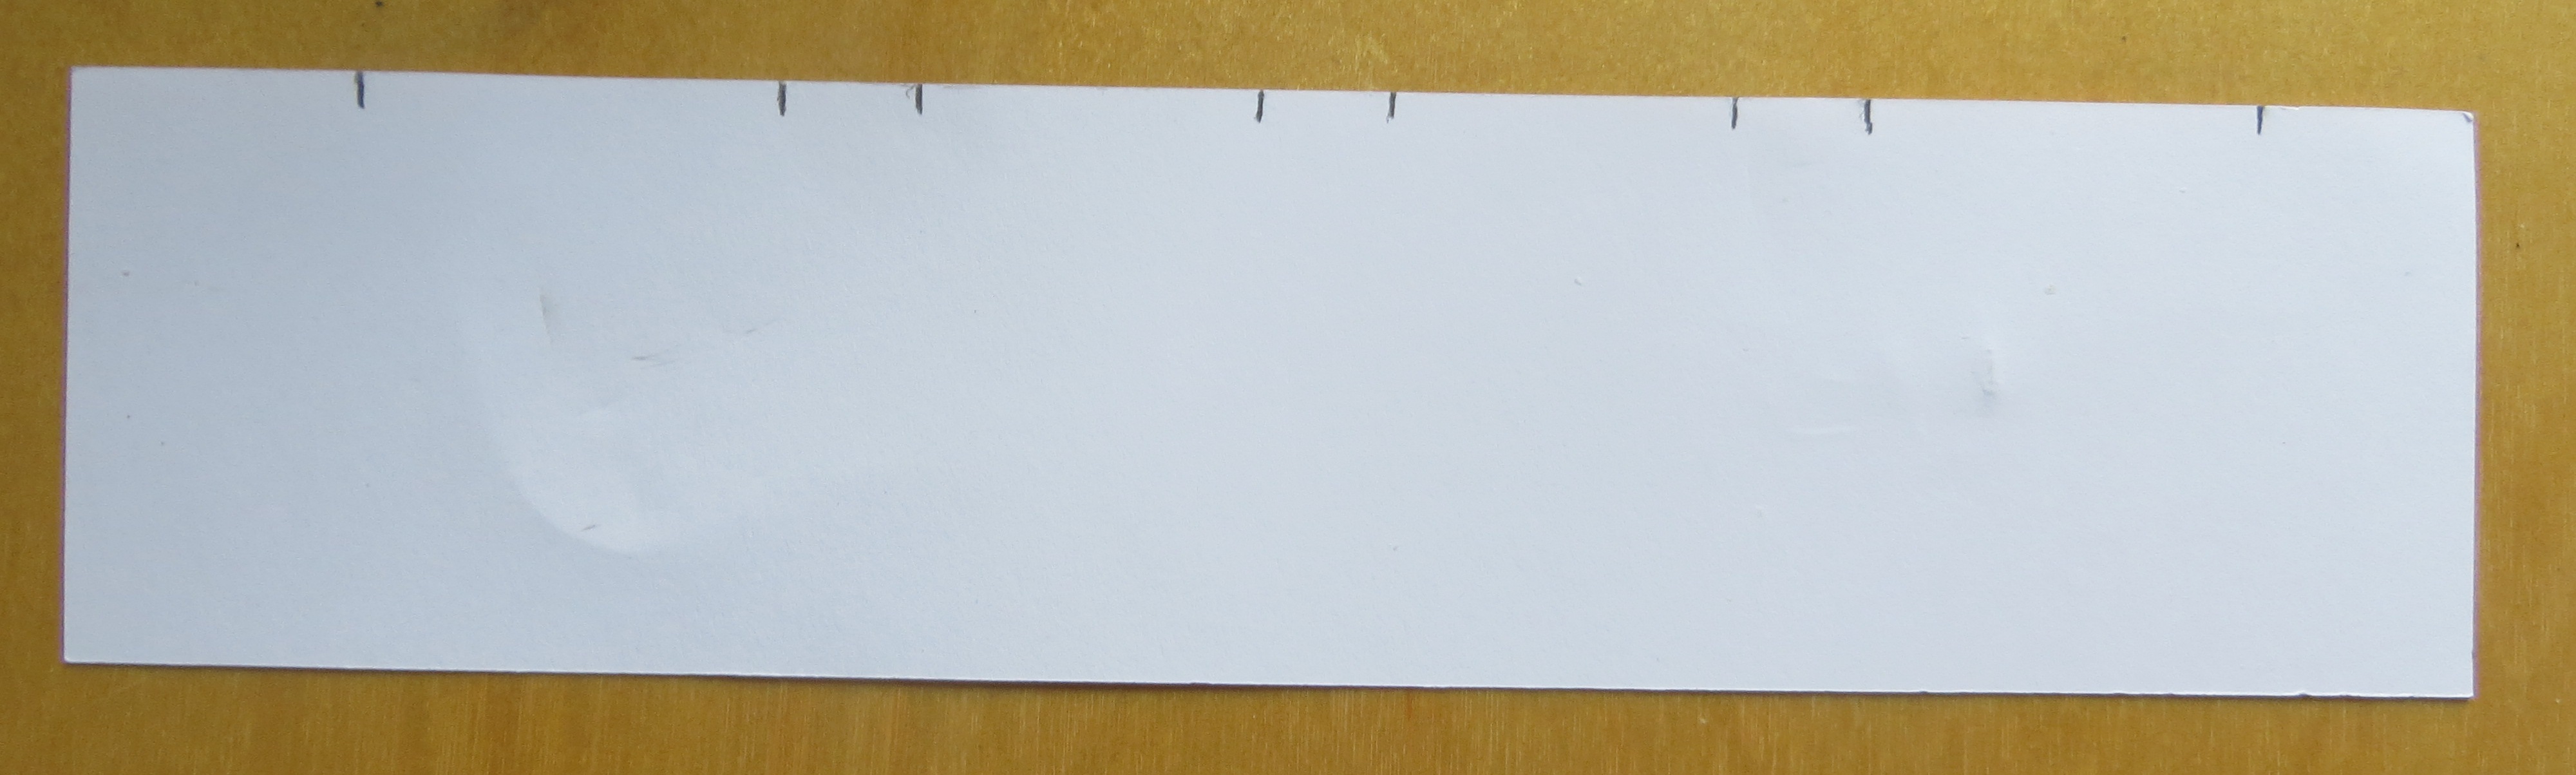 Excluding the extreme left and right positions on the template above, the space between where the thread is passed through the top of the section to the underside and then passed back up to the top of the section is the width of the tape. Each section is placed in a cradle in turn and, using the template, holes are pricked through the centre of the section at the positions marked on the template – if you expand the image below you’ll be able to see the pinpricks.
 The sections are then sewn one after another with the thread being sewn around the tape. As the thread is taken from one section to another, the thread is knotted to bind the sections securely together. Once all the sections have been sewn, a coating of EVA glue is applied to the spine. The picture below shows the completed sewn sections.
 This is where I got up to in my last bookbinding class. The next term of classes start in May, so I hope I’ll be able to recount how I made the covers, attached them to the sewn sections, and completed the book, towards the end of June.