When I last wrote about creating the Sounds for Alexa book, I’d finished sewing the text block. The next step was to glue the mull (thin gauze) to the spine, then to glue some Kraft paper on down the spine on top of the mull, and finally to glue the blue and white end bands, as shown below.
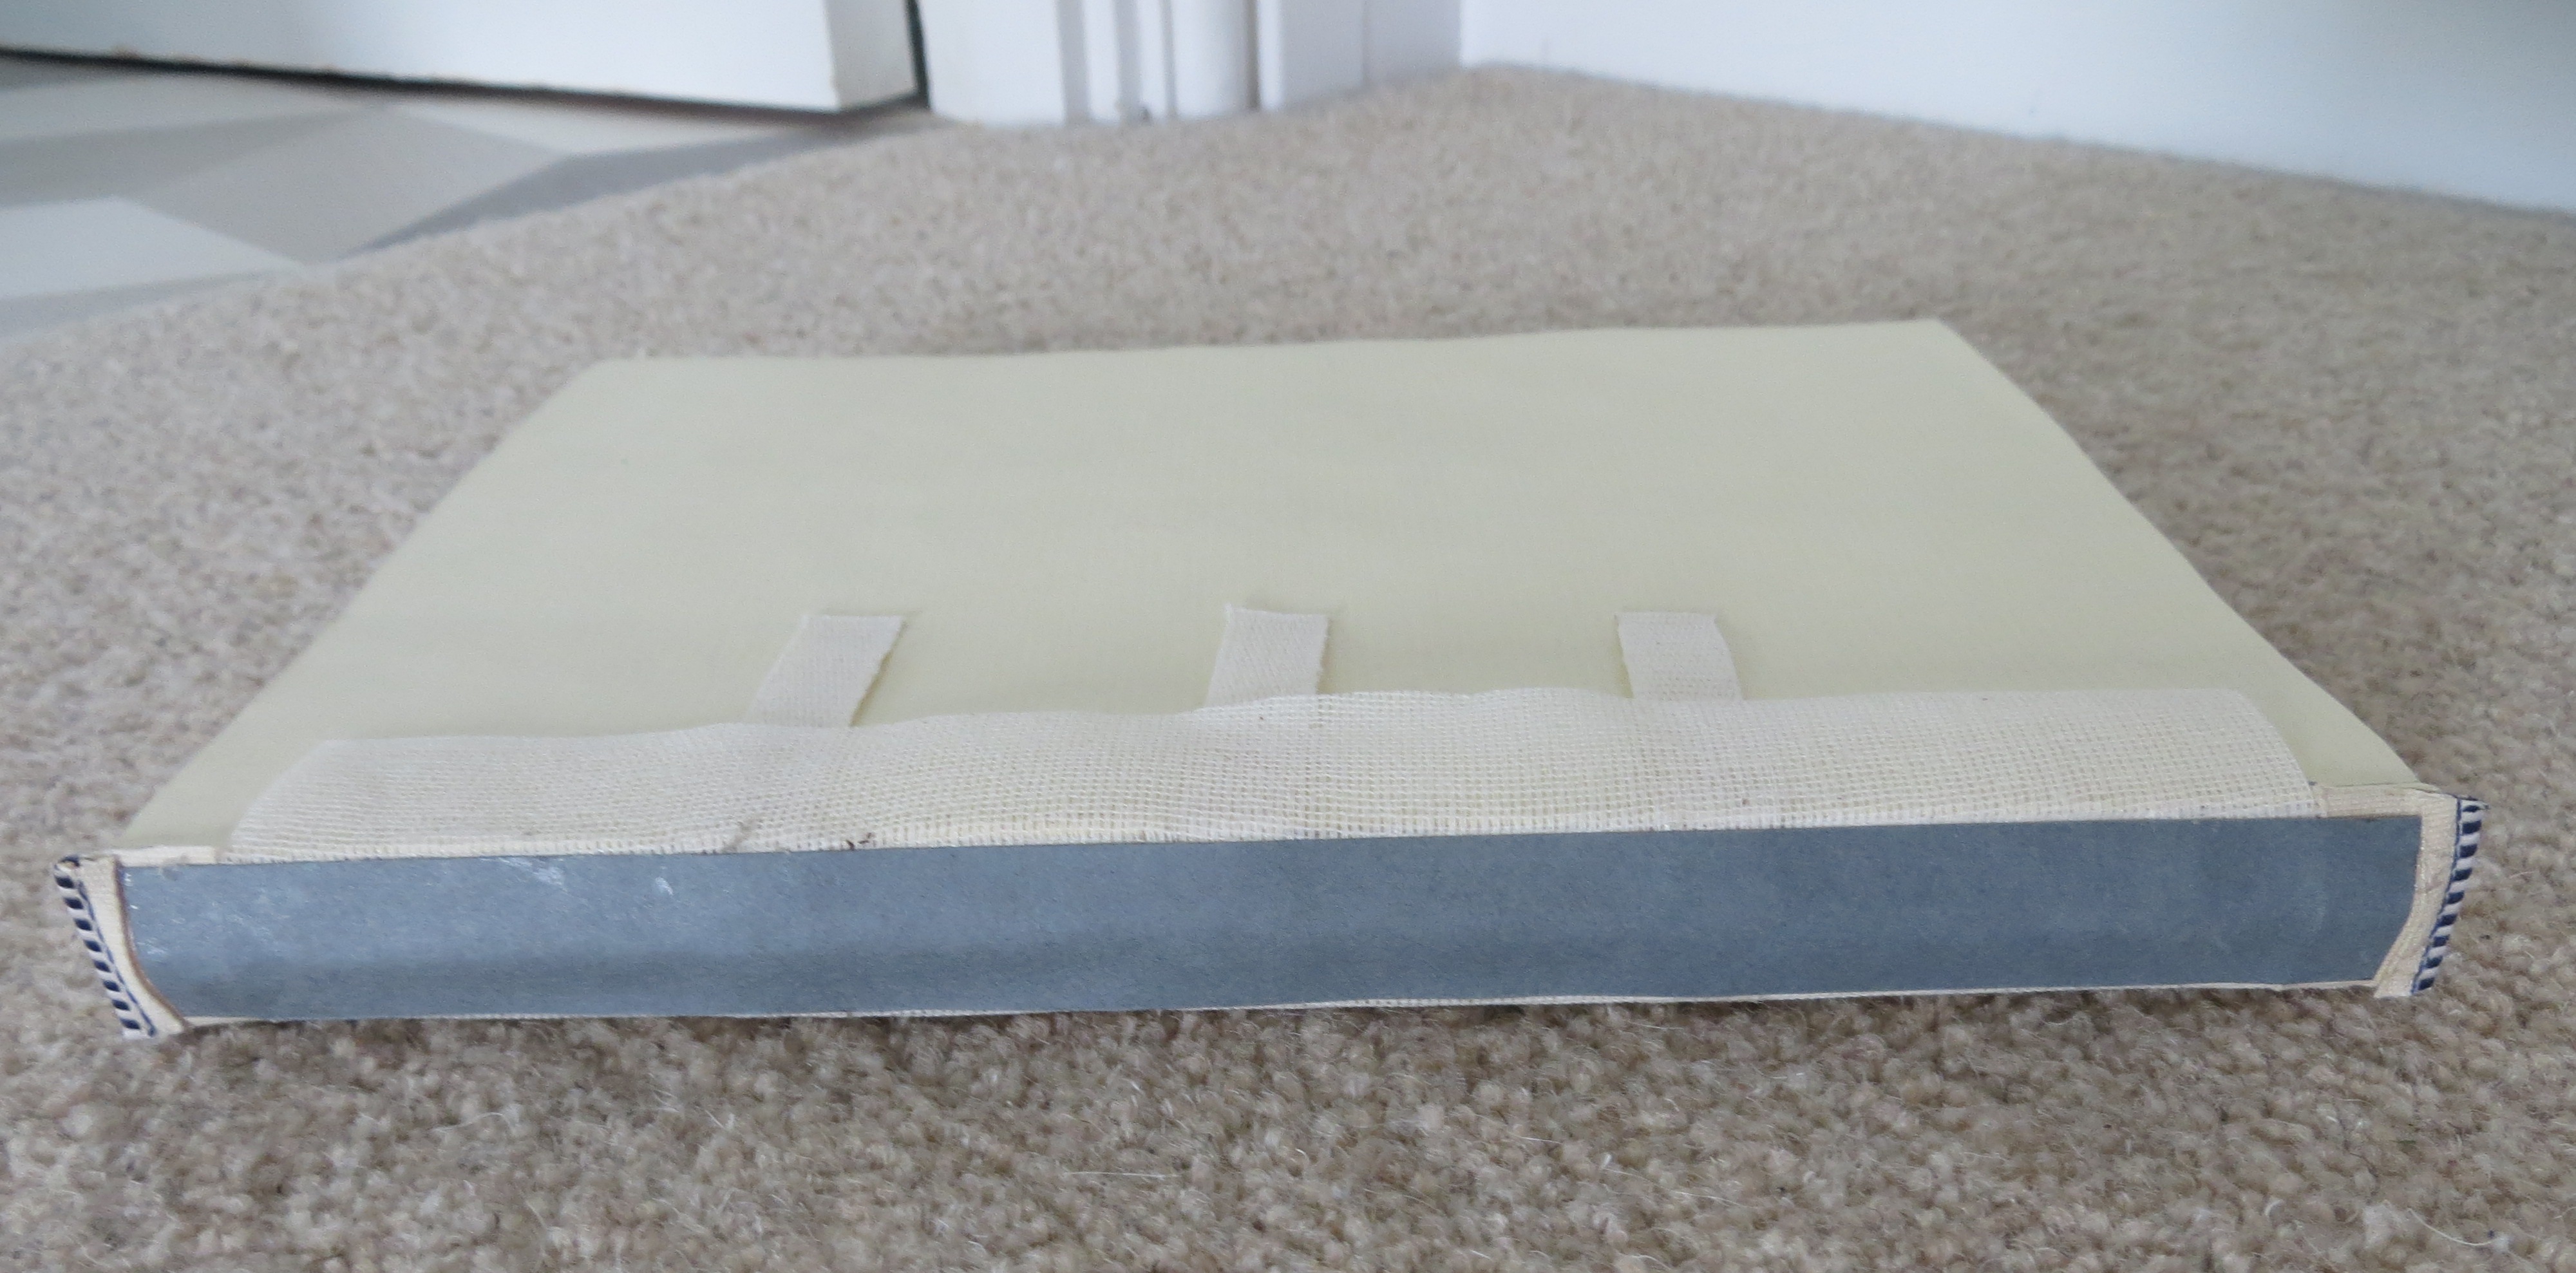 Next, the colourful end papers I had selected were folded in two and glued with a thin, 3mm wide, line of PVA to the inside of the text block – one at the front and one at the back. Cardboard was then cut to the size of the text block plus a 4mm overlap all the way round, and glued to the mull and the tapes as shown in the picture below.
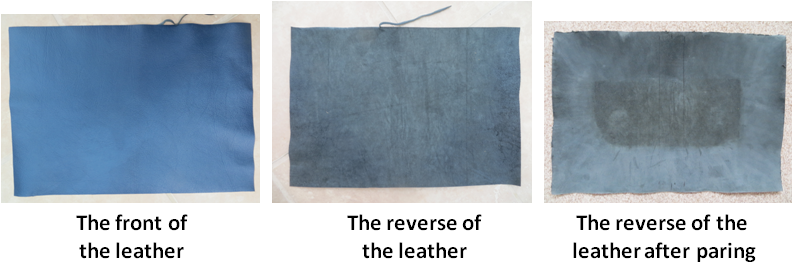
 I’d elected to have a leather cover (as opposed to cloth) which is longer lasting and has a more luxurious appearance (see the picture below). However, the downside of leather is that it is thicker and less pliable and so it produces unsightly bulges when it is turned over the edges of the cardboard frame, and noticeable ridges at its edges. To solve this problem, the leather is pared down to a much reduced thickness at the points where it is to be turned and along its edges – in effect all but the central area as shown in the picture below .
 Paring leather is a task easier said than done. Doing it manually involves using a very sharp blade and shaving off thin layers over and over again until the requisite thinness is achieved. This is a very messy process which produces lots of small fragments of leather which get everywhere. It took me a couple of hours to complete the task and the particular tool I was using caused me to lose the feeling in my thumbs and forefingers. No doubt it gets easier as one becomes more proficient, however, if I ever use leather again, I shall be investigating using a Paring Service which I’m told can be hired to do the same job much faster and to a better quality than I could hope to achieve, by using machines.
Once the paring was done, the leather was glued to the cardboard frame, the end papers were stuck down to the front and back boards, and the dust jacket was printed and cut to size and folded around the book. Finally a protective plastic cover was fitted to the dust jacket. The completed book is shown below.
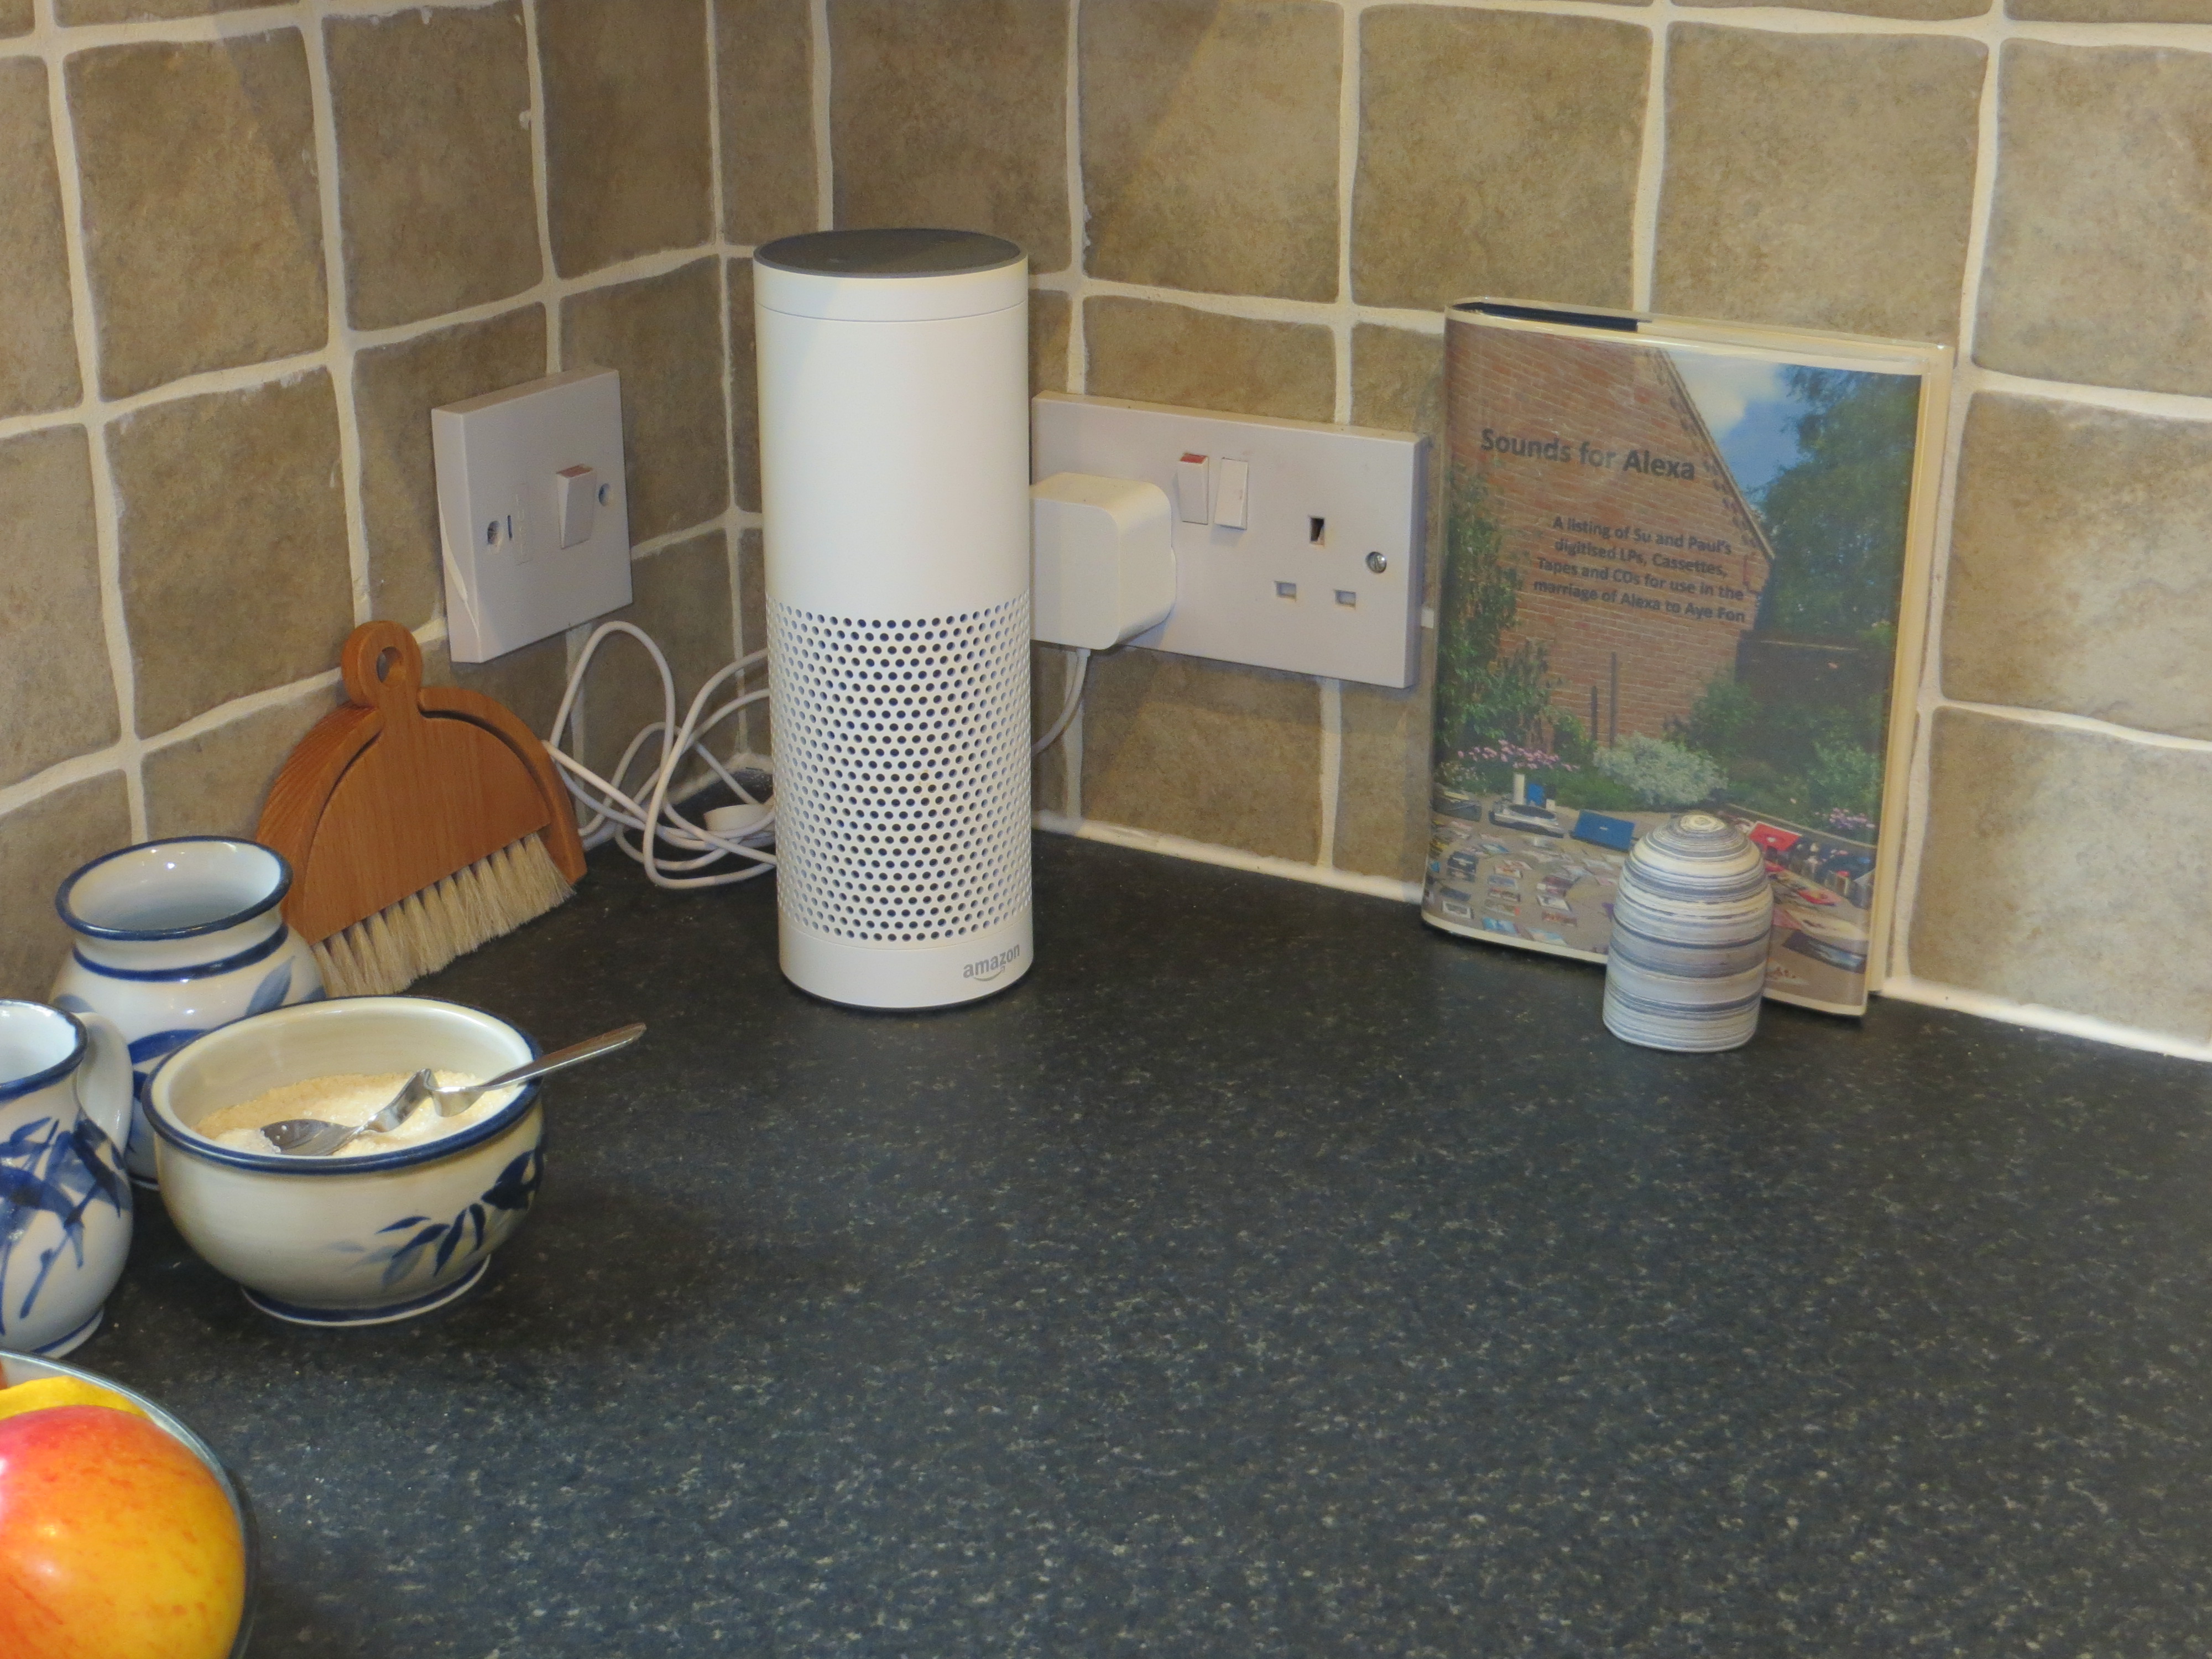
 Sounds for Alexa has now taken its place next to Alexa in our kitchen diner, as shown in the picture below. We will see whether it gets put to use as originally envisaged over the coming months.