
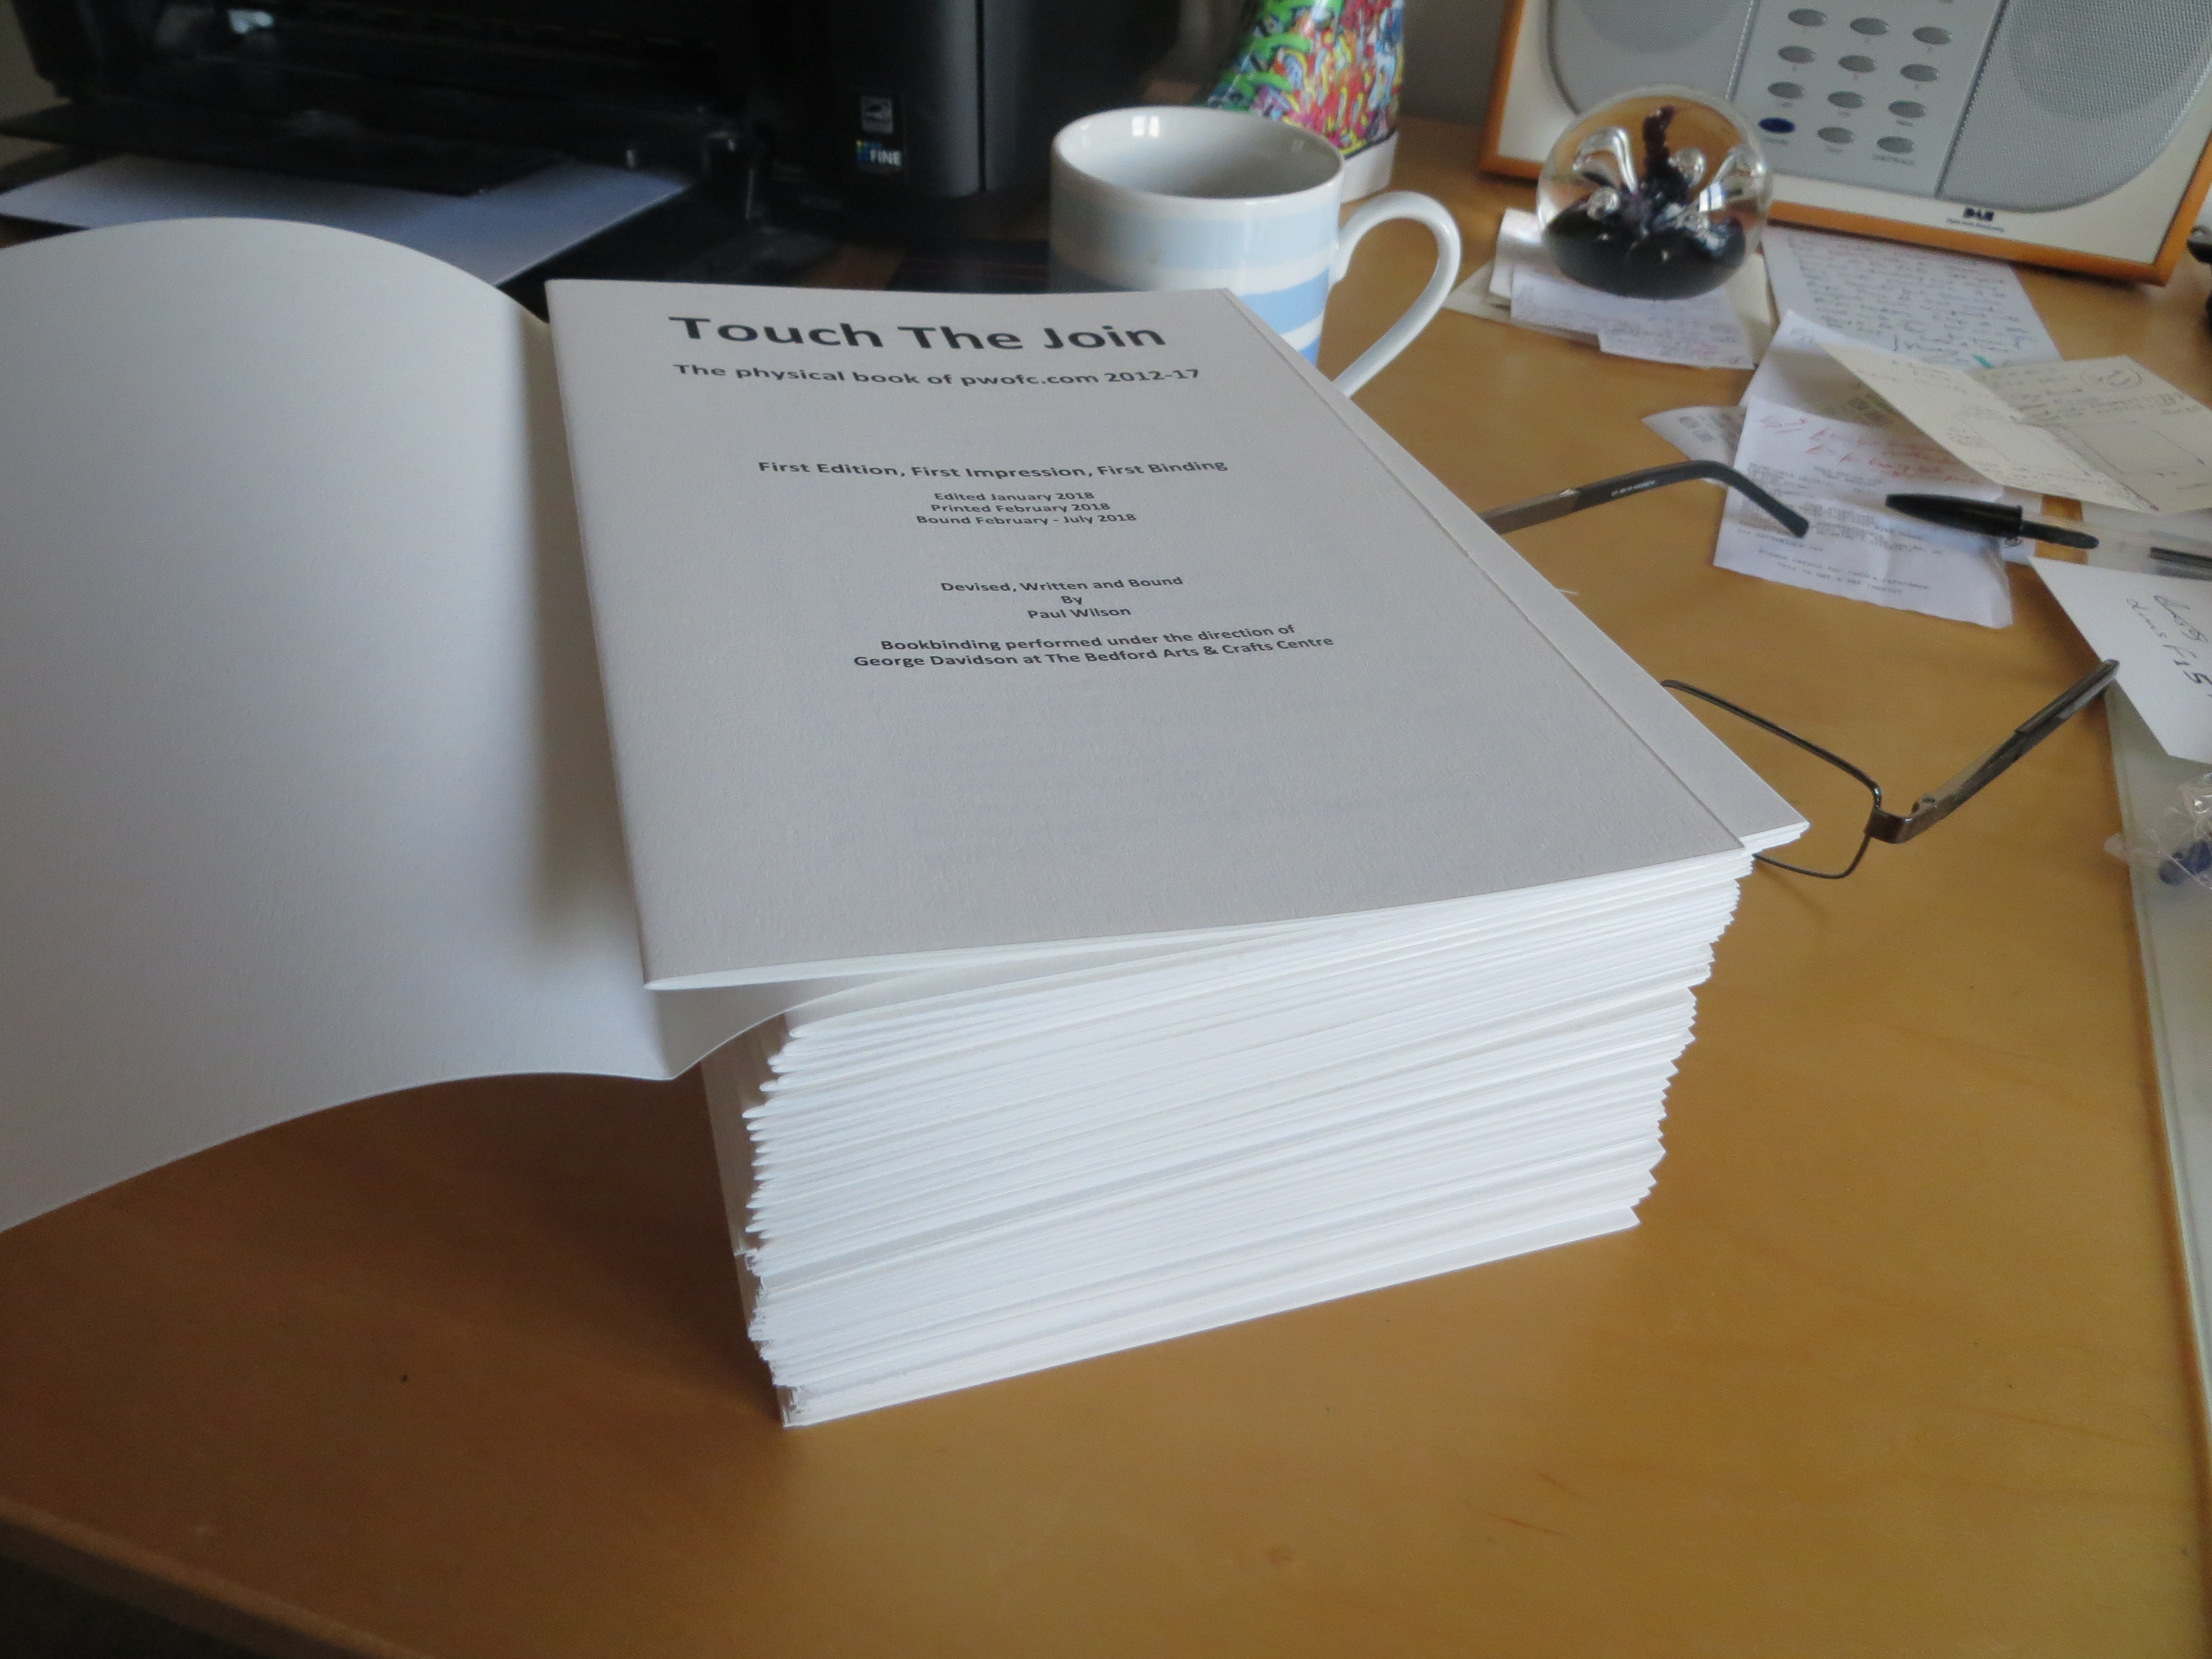
This morning I finished printing the 52 sixteen page sections (four A4 pages printed landscape and double sided and then folded in half) and what a pile they make – just over 9cm.
 Unfortunately, the 100 gsm paper I was hoping to have used would have shown the text through from the reverse of the page. Instead, I ended up with 130 gsm paper which is normally sold in large sheets, but which George Davidson’s supplier kindly cut down to A4. I got 250 sheets for £15 which is a really excellent price, and which gave me a 42 spare page cushion in case things went wrong in the course of printing – which, of course, they always do. In this case, I had four hiccups:
- It seems that images in PNG format upset the printing of documents using Bookfold page setup. They cause adjacent text to be printed on the other half of the page. I wasn’t aware of this problem and was only able to confirm that was the cause when I replaced the PNG image with the same image in JPG format. The first time it happened I had to reprint all four pages. After that I was careful to check in Print Preview mode and was able to fix two other instances without wasting any paper.
- I used about two and a half Canon 3550 ink jet cartridges in the course of the print, and because the printer can’t provide an accurate indication of when the ink is about to run out, I elected to just print until the quality deteriorated. This happened twice so on those occasions I lost at least two or more sheets of paper.
- One of the Appendices was a document with a contents page in which the page numbers had been automatically generated. No problem had been apparent when I edited this page, however when this page printed it produced extra lines stating ‘Error! Bookmark not defined’ for the last 4 items on the contents list. This had a knock-on effect on all subsequent pages and extended the printing of this section onto a seventeenth page. Fixing the problem was simply a matter of removing all the page numbers from this Contents list and reprinting – however, I lost four pages in the process.
- The final cause of paper wastage was typical human error: I decided I would print a later section while trying to fix one of the problems already mentioned; and the distraction of trying to find a solution caused me to lose track of where I was up to and to print the same section twice – another four pages down the swanee.
Anyway, despite these problemettes, I still ended up with 12 spare pages; but it is a salutary reminder that it is essential to have a good supply of spares (paper and ink) when embarking on a substantial print run.
In the course of this exercise I’ve learnt a lot more about the Bookfold Page Setup in Microsoft Word and how to manage its printing. As already mentioned, with Bookfold selected, Word enables you to create text on pages which are half the width of a landscape A4 page. It is possible to create all the pages in a single file and to use Page Setup to specify how many pages each section/booklet should have (each section/booklet is sewn separately into the book’s text block). However, I prefer to have my sections in separate files because a) I haven’t been able to get the printer I use to do duplex printing successfully when using the Bookfold Setup – the reverse pages are printed upside down (the solution is described below); and b) I find it easier to manage the edit and print processes in small chunks, despite the need to ensure continuity of text and page numbers from one file to another.
To print with the Bookfold Page Setup I’ve been using the standard settings that come up (Print All, A4 etc.) with the exception of specifying the following settings in the print dialogue boxes:
- Manual duplex
- Preview before printing
- Orientation – Landscape
- Print quality – High
On selecting ‘Print’ this arrangement results in a preview window being displayed which allows you to view the front side of each of the four pages. If there appears to be a problem this is the point to Cancel out and to take whatever remedial action is required. However, if all looks good, selecting ‘OK’ will result in the front side of the four pages to be printed. This is the point at which you need to enact the manual duplex procedure: take the four pages out of the printer and place the top page on one side at the bottom of a new pile. Take the next page and place it on top of the new pile. Do the same for each of the third and fourth pages. Then place the new pile, facing in the same direction, into the page feeder tray and press OK on the dialogue screen shown below.
When the reverse sides of the pages have been printed take them from the printer and place the top page on one side at the bottom of a new pile. Take the next page and place it on top of the new pile. Do the same for each of the third and fourth pages. If you take the new pile and fold it over you should find that the 16 pages are in the correct order. I’m constantly amazed that this does actually work – but it really does.
Specifying ‘Preview Before Printing’ provides a valuable opportunity to check that all is well before committing to the print run. Unfortunately, the Preview only displays the front sides of the pages, so that a problem on the reverse of the pages could waste a lot of paper. However, this can be avoided by checking the Preview of the reverse sides before setting the print run going. If a problem is spotted, the print can be cancelled and the problem fixed. Then, with the problem-free front pages in the paper feed tray, the whole print run can be started again but, this time, the front side print should be cancelled in the main Print screen. However, the ‘remove the printout’ dialogue box will still be present and pressing OK will result in the Preview and Print screens for the reverse pages being displayed. Accepting these print options will result in the reverse pages being printed on the back of the problem-free front pages.
Each of the sixteen-page sections took about 10 minutes to print provided no problems were encountered. After each section was produced it was carefully folded and the crease pressed in. Now the bookbinding work starts with the pricking out of the holes for the thread which will sew the sections together. It’s going to be fascinating to see how such a large number of pages can be turned into a viable book.