In the first post in this topic, three aspects were identified as being key to organising photo collections: dealing with the physical images and negatives, digitisation of the images/negatives, and indexing. I’ve already discussed Indexing so this post is going to be about the physical images and negatives.
Whether your photos and negatives are in lots of different places and all mixed up, or are a little more ordered than that, the first step is to organise them so they can be indexed. To do this follow the general Order From Chaos approach outlined in the OFC White Paper i.e. assemble, sort and index.
Assemble: Be clear about what material is being included and identify where it all is. If possible collect it all together in one place – and then do another check to find anything you might have missed. Generally speaking the material should include printed photos, negatives, photo albums and electronic images.
Sort: Identify a sort criteria (examples could include people, dates, or places), and go through all the material placing individual items into piles according to the criteria you have selected. For example, if your criteria is date, have a separate envelope for each year or span of years and place the photos into the relevant envelopes. Once you have done an initial sort, go through each subset checking the allocation is correct and getting the order correct within each subset. For prints, their physical appearance and whatever numbers or information has been recorded on them (front or back), can be used to identify which prints were produced at the same time. The same approach can be used to match up different strips of negatives that came from the same film. At this stage negatives can also be matched to the prints.
If you are not familiar with the contents of the photos (if, say, they belong to parents or relatives, or are a job lot purchased at an auction), use whatever means are available to identify what they are of and when they were taken. If there is someone available who is familiar with them, talk with them about each photo. Consider recording the conversation (perhaps using a mobile phone app) to both assist with identification downstream and to augment the historical background of the material. Note the contents and date on the back of each photo. Alternatively, note an interim serial number on the back each photo and record the information about it in a notebook or computer.
Index: When all the material has been sorted, decide what you want to do with the physical items. An obvious option is to put them into a photo album – I use slip-in albums that take two 6×4 prints on a page. An alternative is to keep them in envelopes or some other storage system and just access the images on screen or in a printed photobook.
Once you have decided on your approach, do a final check to ensure that you have sorted the images into the same order that you are going to put them into photo albums or to store them. If not, sort them again to get them into the right order. Now create the Index and ensure it has columns for all the information you will need to manage and find the images downstream (further details about index contents are in my earlier post on the subject). I use an Excel spreadsheet to maintain the index – here’s a template as a starting point if you want to go down that route (Photo Index Template v2.0).
Once your index is ready for use, go through all the images methodically creating index entries and numbering each print accordingly (I tend to use a biro on the back of each print and haven’t noticed any problems with doing it this way). Negatives should also be numbered according to the index and can be stored in a separate box, folder or other storage system (I keep negatives in the pockets they came in, write the numbers on the pockets and keep them in serial number order in a box in the loft).
After you have indexed all the material, now is the time to scan the images to obtain electronic versions of each one (this exercise will be discussed in a subsequent post). Once the scanning has been completed the material must then be placed into its final destination(s). If this is to be a slip-in photo album, here’s some further guidance based on my own practical experience:
Spaces: There’s nothing more infuriating than coming across another photo sometime later only to find there’s no room for it in the album. To avoid this, leave a couple of empty spaces after every 20 photos or so.
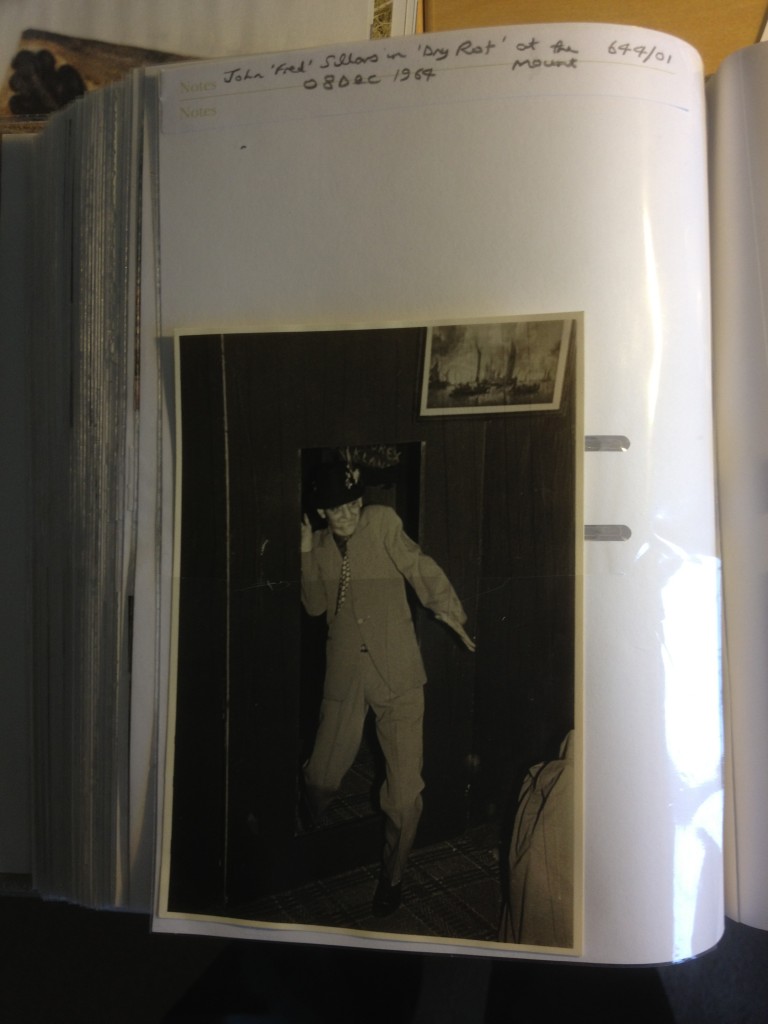
Large photos: If you are using an album that will take two or more 6x 4 prints on a page, I’ve found that you can include larger prints by slicing a slot in the top of the acetate of the lowest print slot and slipping the photo into it as shown in the example below.
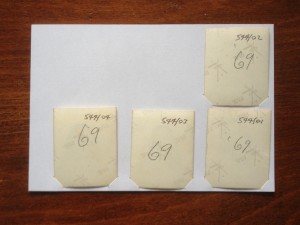
Small photos: To keep multiple small photos (such as photo booth prints) in place in a single 6×4 slot, take a piece of paper or card roughly the size of the 6×4 slot and make some diagonal cuts for the bottom corners of the prints you want to include as shown below (the photos have been reversed for the purposes of this illustration). These don’t need great accuracy and can be done very quickly and roughly. Once the prints are in place, just slide the piece of paper into the 6×4 slot. Here’s a Template for printing out a piece of paper that will fit in a 6×4 slot – cut to the guide marks – there are two to a page.
Slip-in tabs: If your album has spaces for slip-in tabs, record each print’s number on the tab together with any descriptive information you want to include. The approach I take is to print out slip-in tabs with the information that’s contained in the file name of each image (i.e. reference number and short description). Detailed instructions and a template for this are provided in another post.
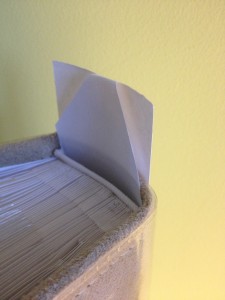
Spine labels: If you fill several photo albums you’ll need something on each album spine to identify it. I try and avoid sticking and gluing approaches as they tend to discolour over the years. Instead I print out a label to the width of the spine and leave enough space at the top to bend it over and push it down the inside of the spine as shown below. The albums I use are sold with removable plastic covers so the labels sit underneath the plastic cover and, with the tops pushed down the inside of the spines, tend to stay in place quite well. If the tops won’t stay in place inside the spine you could try using Glu Dots.
Having done all this, your physical prints and negatives should all have a home. If you have chosen to put your prints into physical photo albums, you may wish to continue the collection with new images even if you don’t normally get prints of the electronic photos you are now taking with your modern camera or phone. I do so – but only with the most interesting photos i.e. a very small subset of the photos I take. On-line photo shops such as Snapfish, PhotoBox and many others make the process of getting prints easy and cheap.


