
Some photo albums have slots for thin cards that can be written on to describe the photograph they are adjacent to. However, since I include a unique reference number and short description in the file name of each of my photos, I prefer to print out that information onto a Slip-in Tab prior to inserting it into its slot. If you want to print your own slip-in tabs, This is how to do it:
- Create an Excel file with rows the exact length and height of the slip-in tab you desire. When the file is printed onto thin card, these can be cut-out to produce the individual slip-in tabs. For slip-in tabs which have two rows, one referring to the photo above and one referring to the photo below, the overall height of the two rows together must be the exact height of the physical slip-in tab you will eventually cut out. For such tabs, insert a heavy black divider line between the two rows to distinguish between the text for the upper photo and the text for the lower photo.
- Insert cut markers into the file to assist with the production of the physical slip-in tab. Do this by inserting narrow columns before and after the slip-in tab column and reduce the width of the slip-in column by the width of the narrow columns just inserted. Insert a faint border line in each narrow column to mark where the horizontal cuts are to be made. Insert the same faint border down the left hand side of the left hand narrow column and the right side of the right hand narrow column to act as a cut marker for the left and right sides of the printed sheet. Since this all a bit fiddly to construct here’s a template I made earlier (Slip-in Tabs Template v2.0) – its all set up to produce slip-in tabs that are 15.4 cm long, 1.8 cm high and with a divider line to distinguish between the text for the upper photo and the text for the lower photo.
- Go to a folder containing some or all of the photos you want to print tabs for. Highlight all the files you want to obtain the file title information for. Then, while holding the shift key down, right click any of the highlighted files. When the context menu pops up, left click on the COPY AS PATH entry that has magically appeared because you’re holding the shift key down. Next, go to the Excel spreadsheet, place your curser into the first of the slip-in tab rows that you have already prepared, and select PASTE SPECIAL – VALUES ONLY. This will place the full path name, including the file title, into each row
- To eliminate the unwanted elements of a particular path name, select the elements concerned and copy them (for example, ‘C:\Users\Paul\Pictures\0034 – Christmas 1986\’). Then select all the cells that that exact unwanted text appears in and press CTR-F. When the Find dialogue box comes up, paste the unwanted path elements into the FIND WHAT box and then select the REPLACE tab but leave the REPLACE WITH box blank. Then select the Replace All button. This will effectively replace all the unwanted text with nothing i.e. it will remove it.
- Do the same Find and Replace operation to eliminate the file extension (such as .JPG).
- Perform any final formatting you require (such as font size and wrap around) and then print out onto A4 soft card (180 GSM upwards).
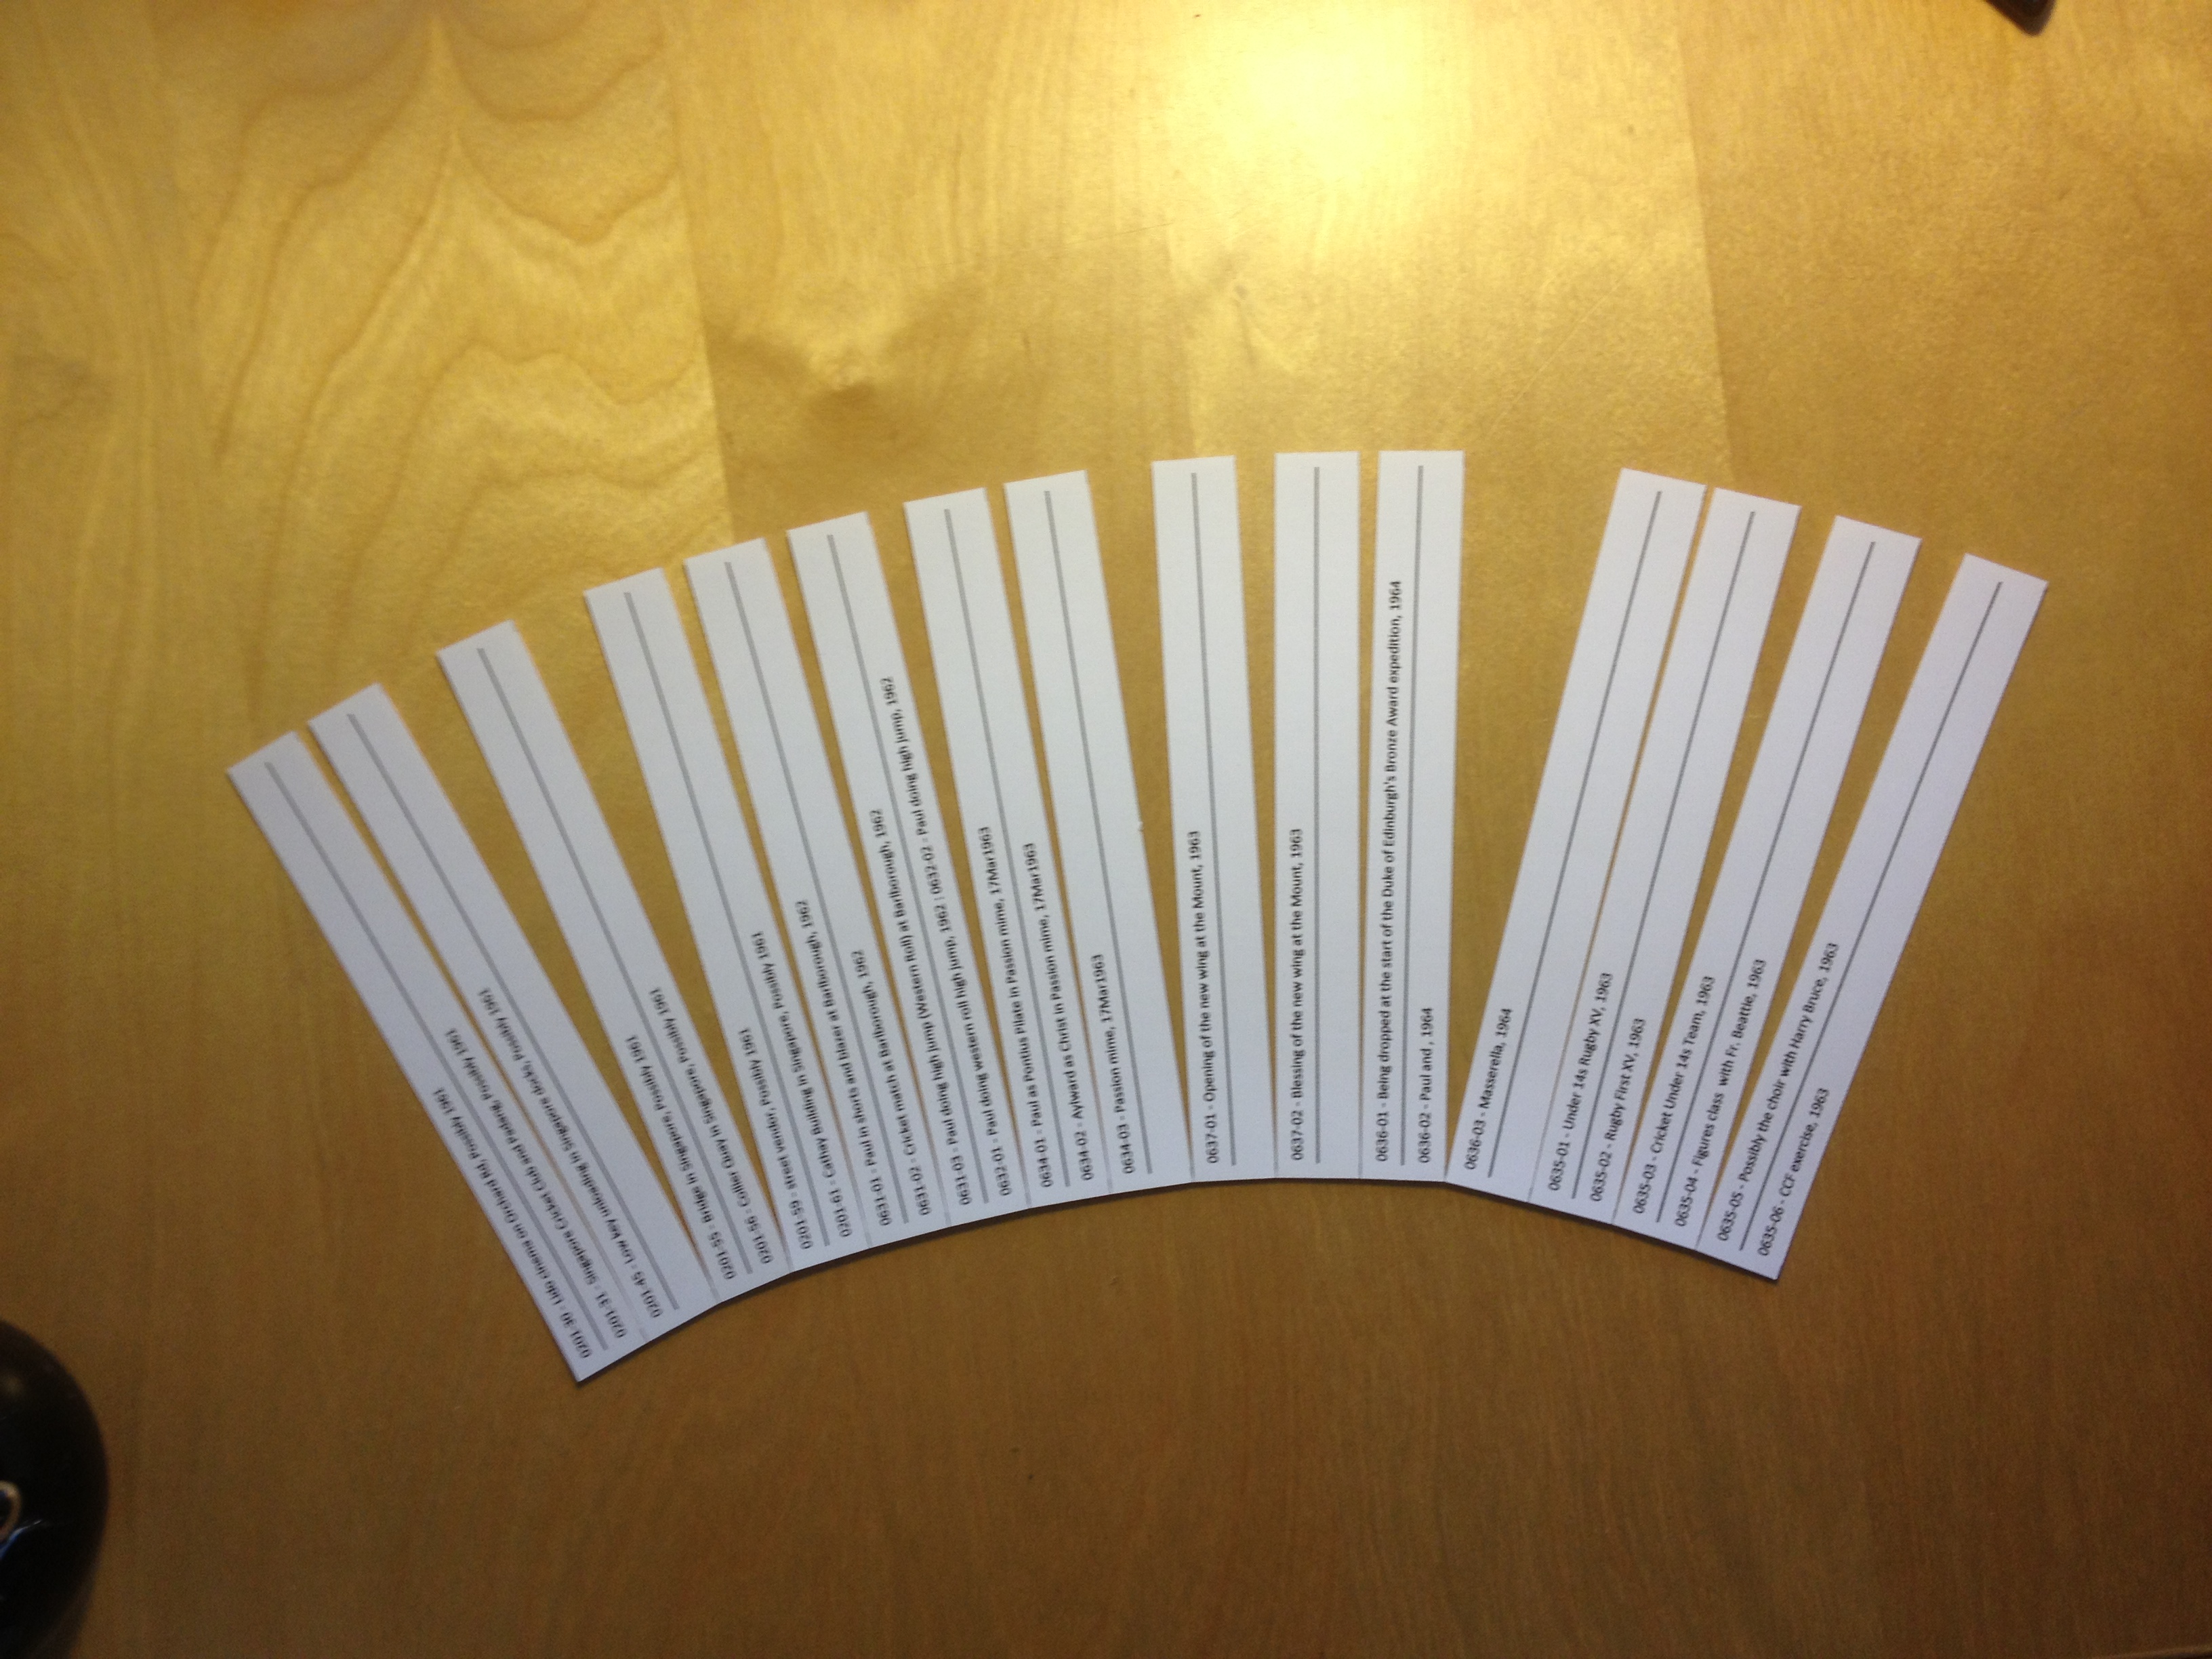
- Take each printed page and use the cut markers to cut out the slip-in tabs. I use a sharp paper knife for the purpose and first cut away the sides and top and bottom of the set of tabs. Then, for each tab, I cut it so that there is just a sliver of paper at the end attaching it to the rest of the tabs (see the picture below). That way you can cut out a whole A4 page of tabs without losing their order. Then, when it comes to actually putting them into the album, they can simply be pulled away from the adjacent tab they are attached to. If you’re cutting several pages at once its convenient to keep them in the pages of a magazine until you use them.
