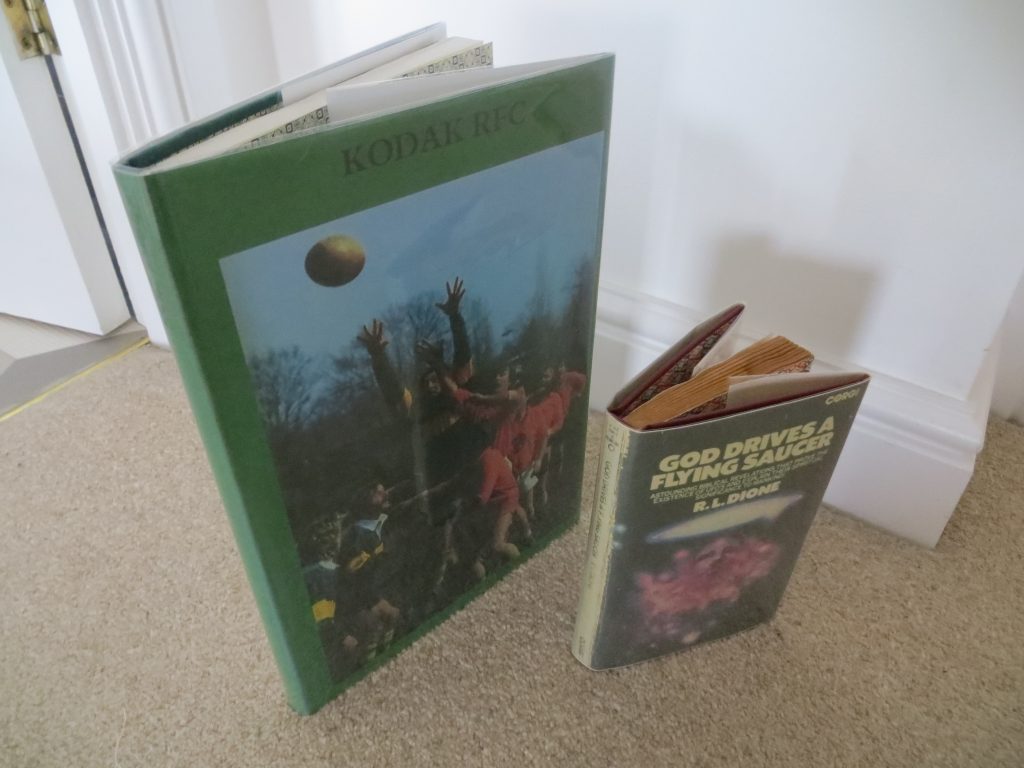
I have a bookcase of hardbacks interspersed with the odd paperback. When I started bookbinding last year I decided to turn the paperbacks into hardbacks (something I’d done as a school librarian many years ago). The first one turned out quite well: it was a Pan paperback and I photographed the cover after I had removed it so that I could print out a dust jacket for it.
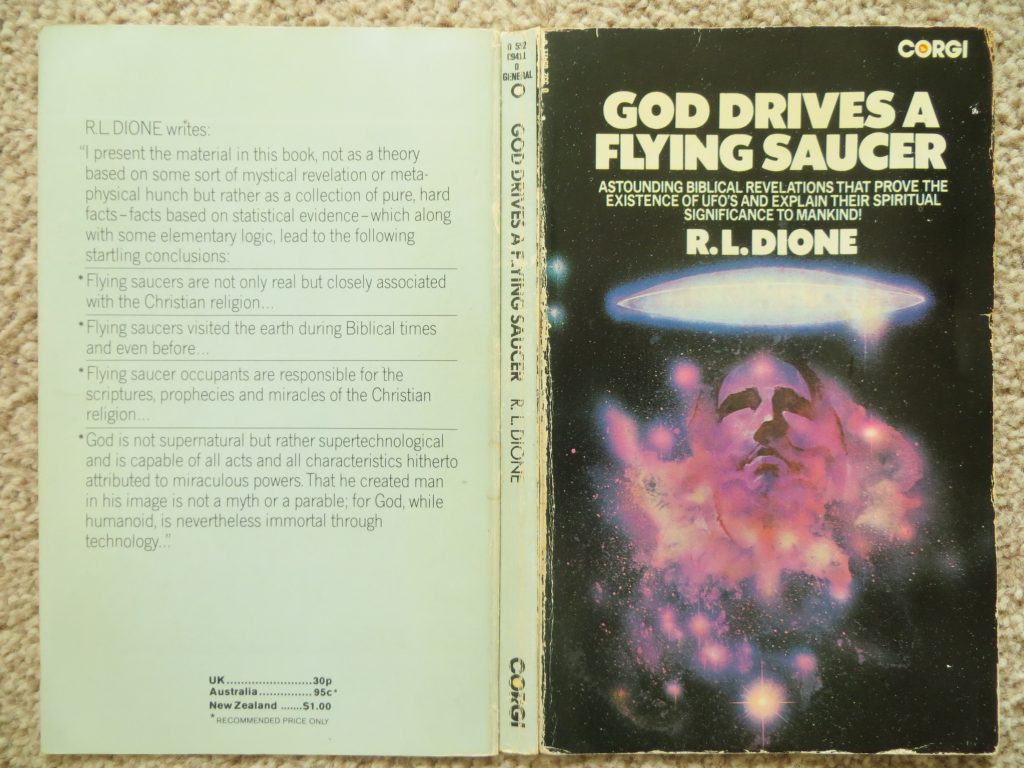 After that, the cover was cut into front, back and spine, and each of the three pieces glued onto the new hardcover.
 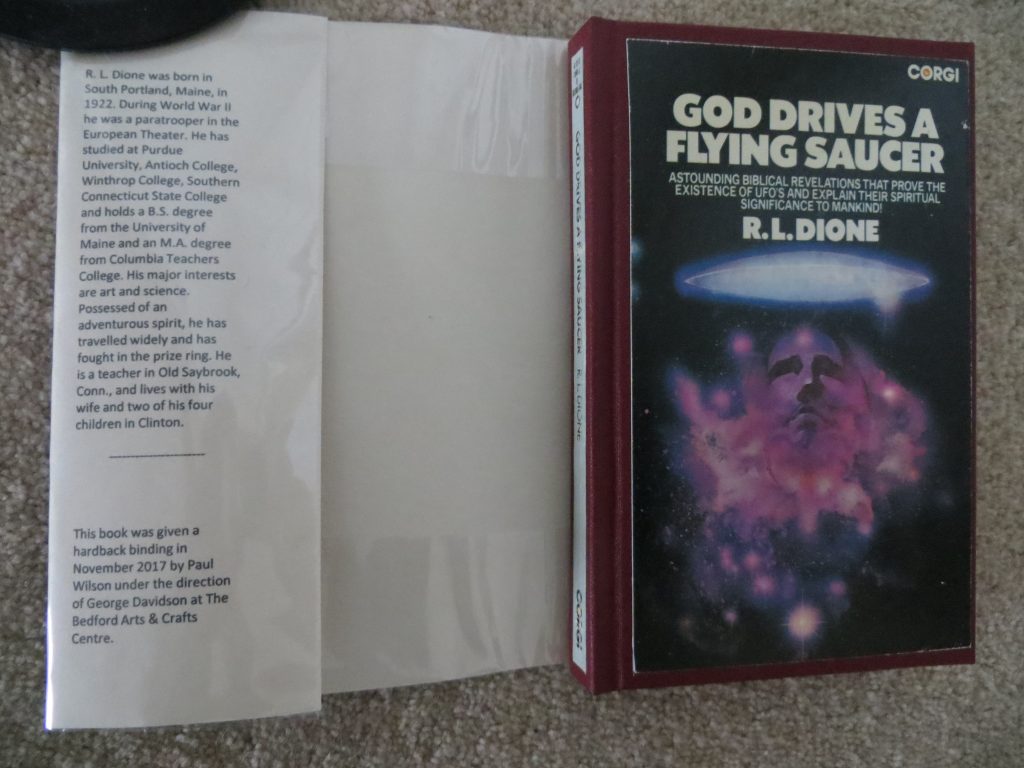 I was able to use inside sleeves of the dust jacket I created in PowerPoint to reproduce summary text about the author and the book which was present on pages at the front and back of the book (see a previous post about how to create and print out dust jackets).
With this experience under my belt, I started on my next paperback – a history of the Kodak UK Rugby Club for which I played a few games in the 1970s. As before, I photographed the cover after removing it, and set about creating the dust jacket in PowerPoint.
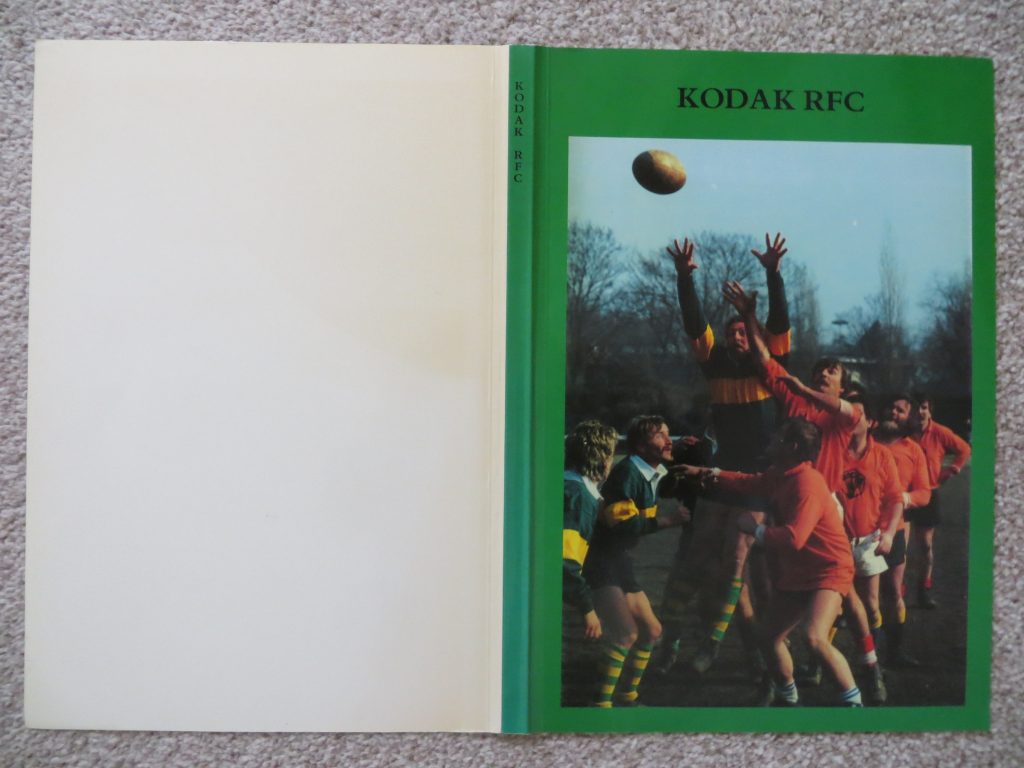 However, this book included no summary text and the back of the cover was blank. I realised that here was a great opportunity to include some additional material from my memento collection. I duly placed copies of the 6 pages of the Club’s December 1976 newsletter on the back cover, and copies of 6 of the selection slips I had received to play in various matches in 1973 on the back inside sleeve. On the front inside sleeve I wrote some words about my rugby playing career and my time with the Kodak Rugby Club.
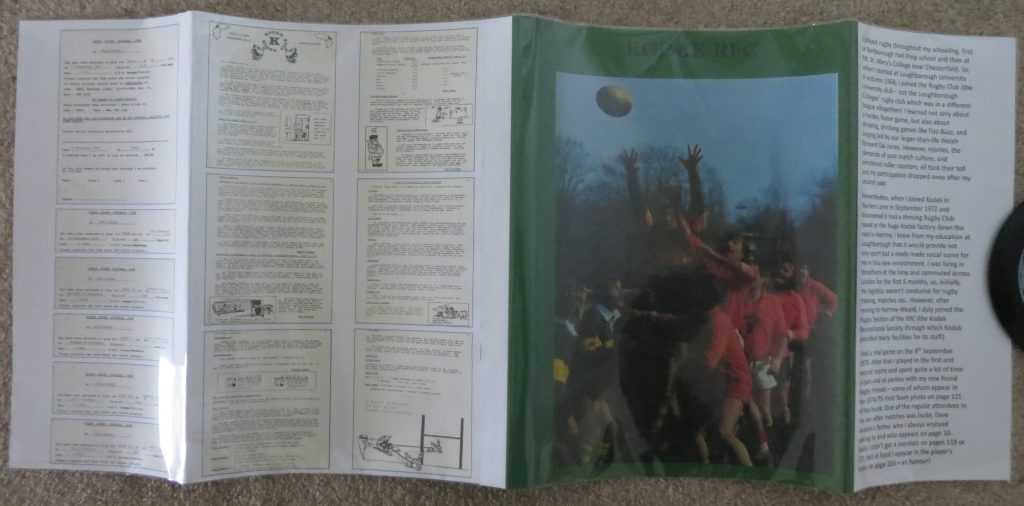 I do like having glossy covers on books, and this experience has convinced me that a dust jacket can offer even more. It can also be a great non-invasive way to include additional personal material which is then much more accessible on a bookshelf rather than trapped away in a folder in a cupboard. Regardless of such additions the books still look great on the bookshelf.

