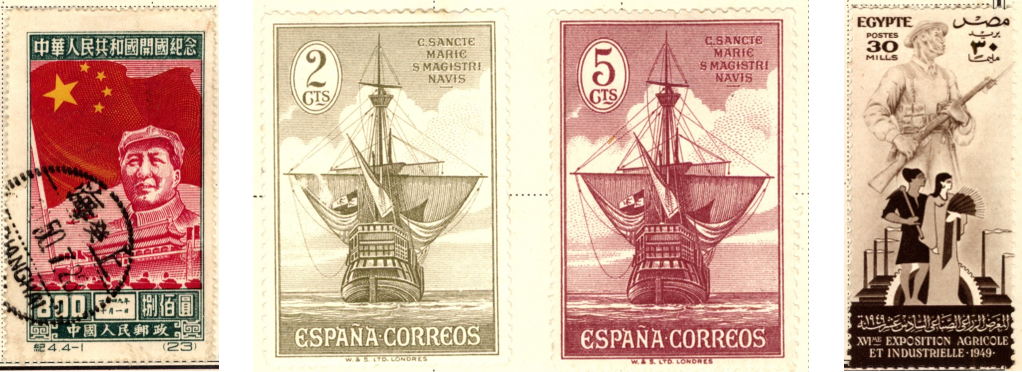
It was in the lounge of our house in Singapore in the 1950s that my father took me through some of the pages of his album. I was about 7 or 8, and it’s my earliest recollection of stamps. Some big ones made particular impressions – two portraying Spanish Galleons, one of a long grey one of a man, and a red one with a star.
A few years later I started collecting stamps myself. I wasn’t an avid collector, but the various accoutrements of my collection – albums (stick-in and stock books), tweezers, country envelopes, tatty envelopes full of stamps on paper waiting to be soaked off – had always been with me from those early days. It was something I did from time to time – a tactile and gentle pursuit – as had hundreds of thousands of like-minded collectors for well over a hundred years.
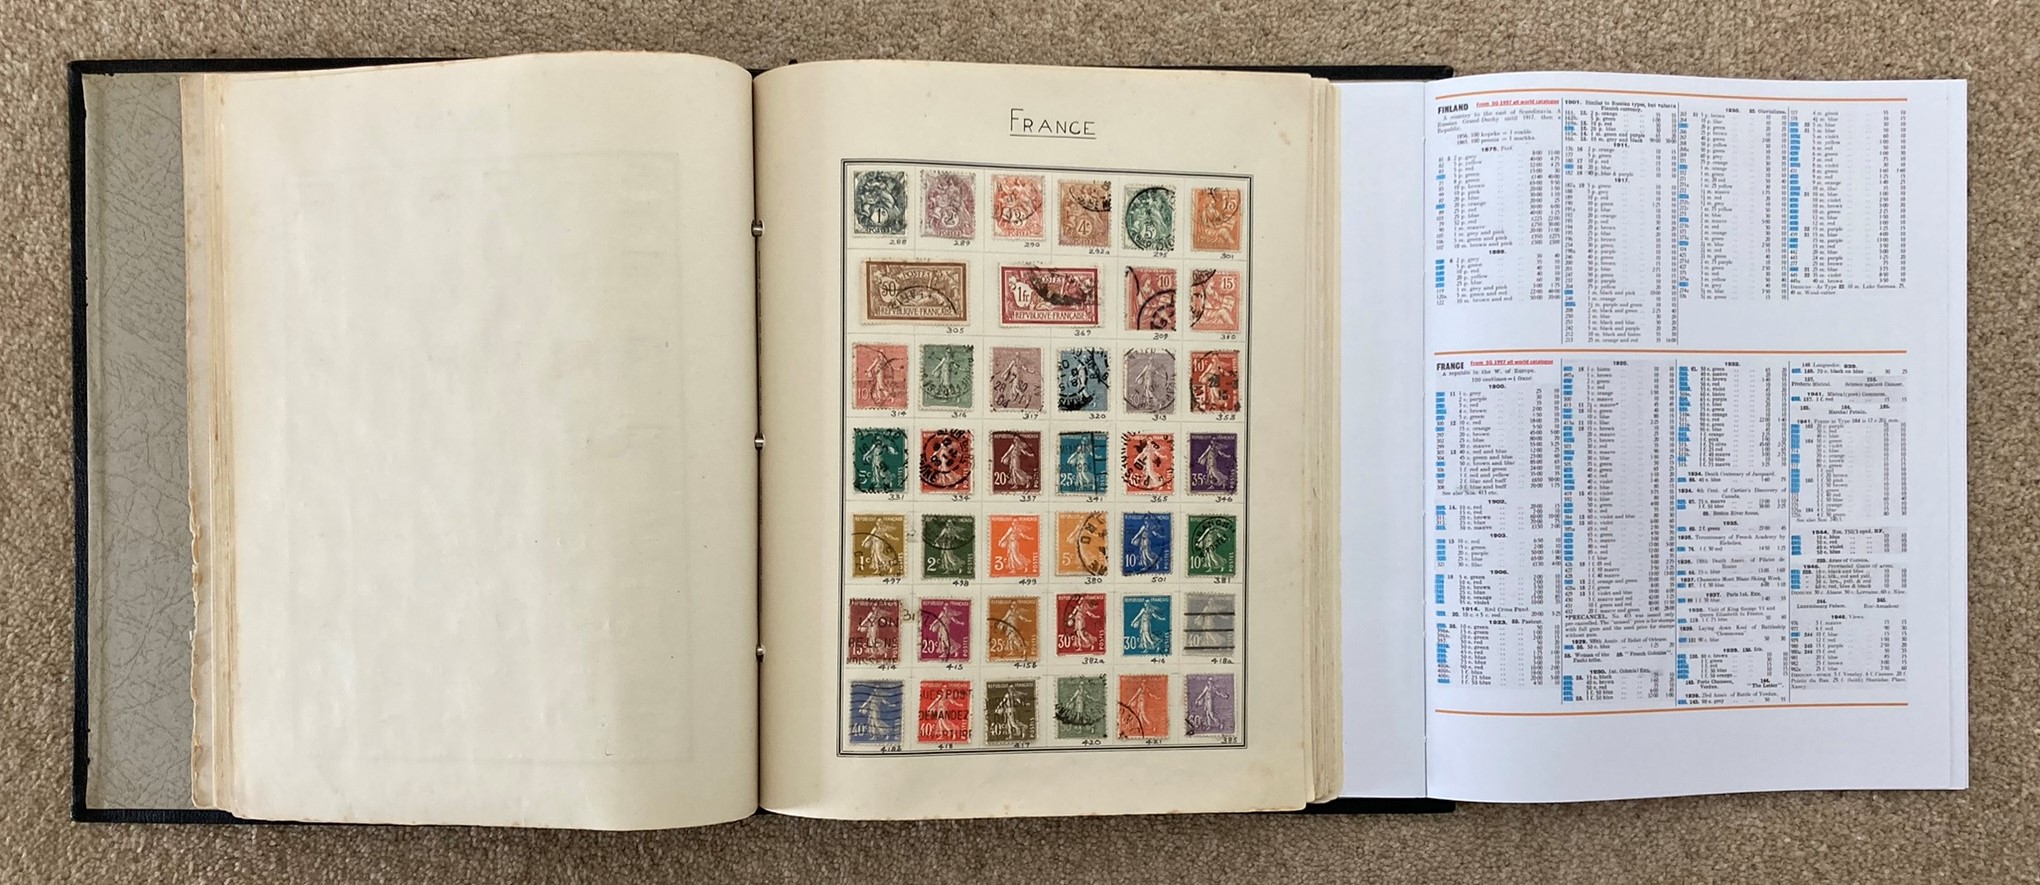
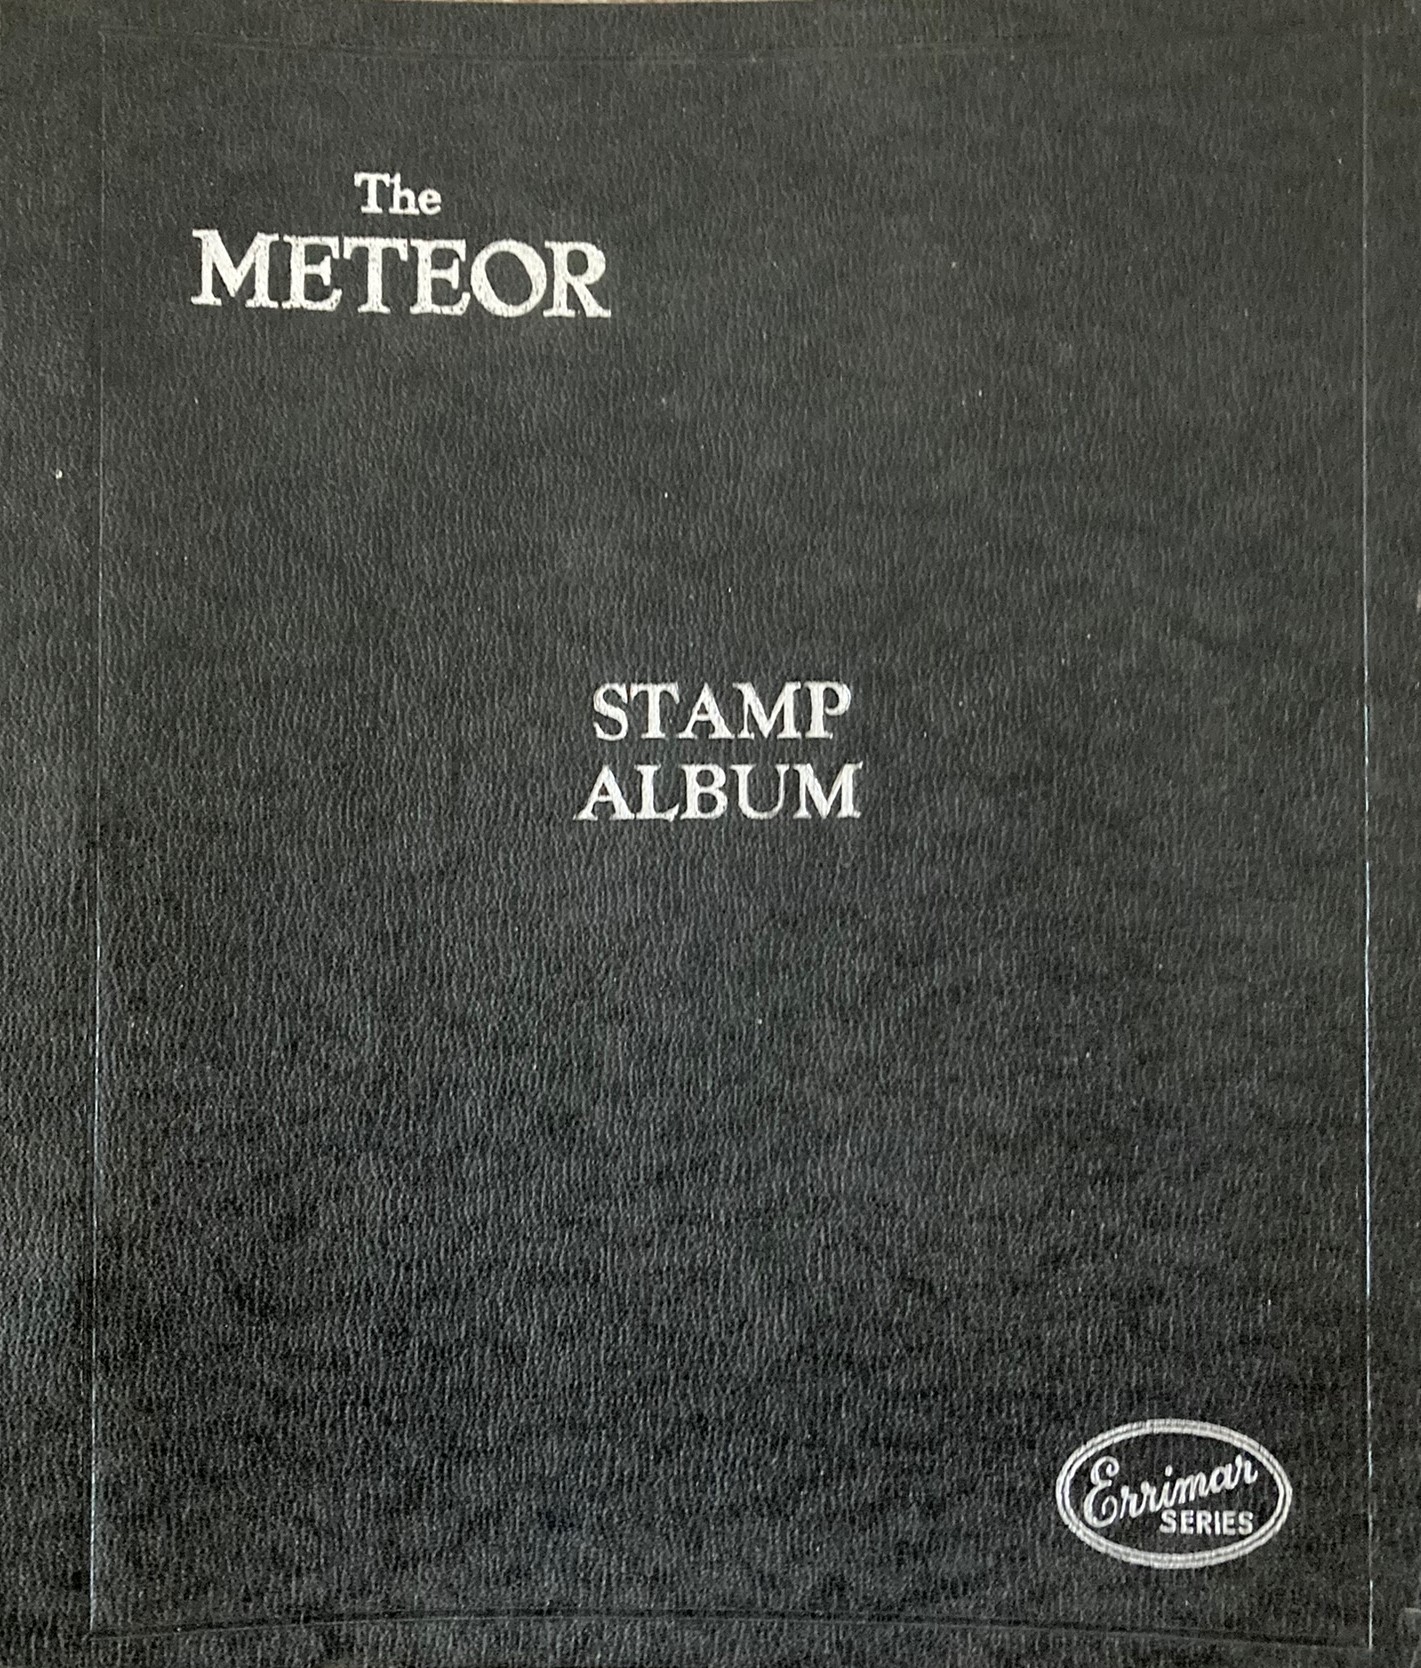
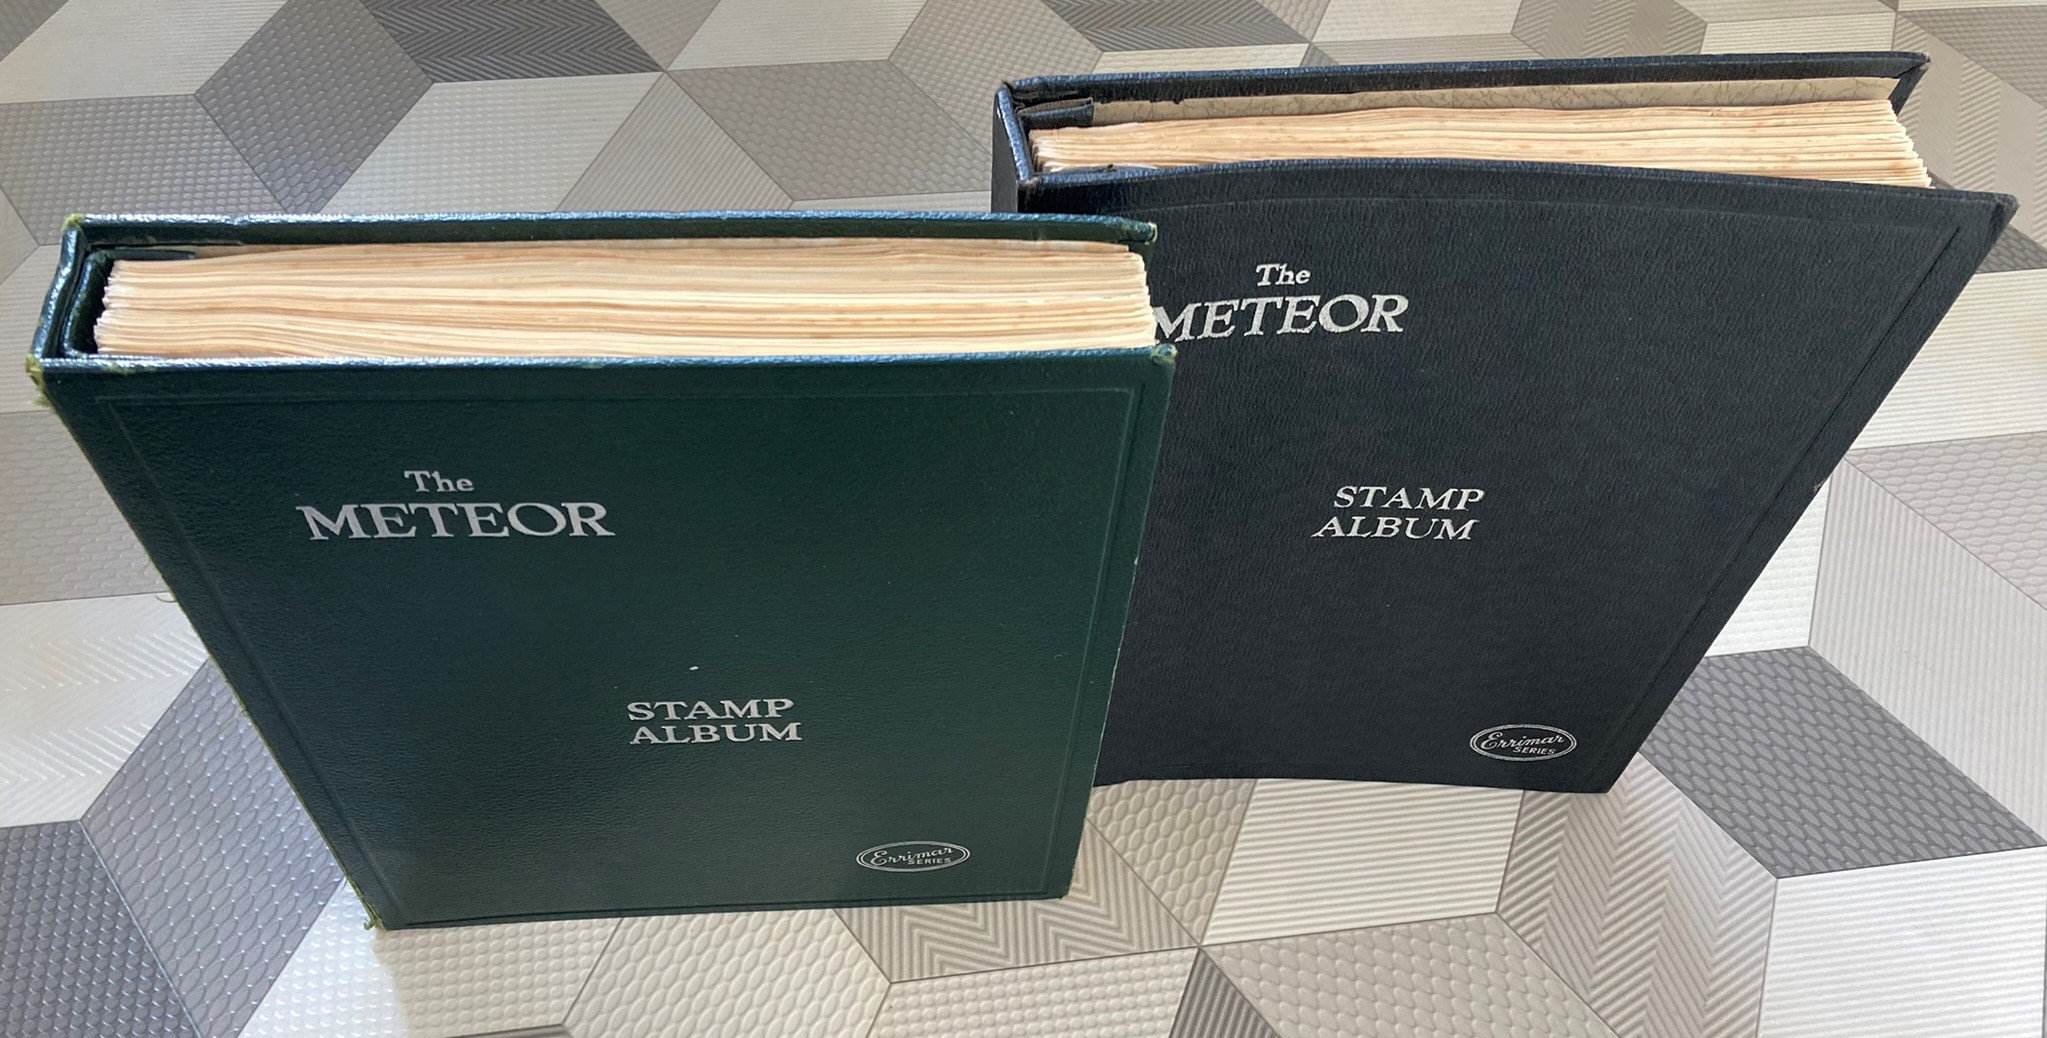
Sometime in the 1990s, when my father was getting on a bit, he gave me his stamp albums – including that one he had showed me in the lounge in Singapore all those years ago. I didn’t do much with that Meteor album for several years; but, as retirement approached in 2012, a germ of an idea started to formulate. The album wasn’t full by any means but it did contain a substantial number of stamps across about 30 countries. My father had always produced beautiful handwriting, and he had written the name of the relevant country in black ink and capital letters at the top of each page as in the example below.
 I decided I would discard pages without a country name and would try and completely fill all the pages that remained in the album, unconstrained by date order, or whole or part sets, or whether they were mint or used; but guided by the eras of the existing stamps. I made one exception to this goal: Italy was particularly well endowed with stamps, so I decided to use the spare untitled pages to collect all Italian stamps produced up to 1980 as defined in the 1997 Stanley Gibbons Simplified Catalogue. I perhaps didn’t quite realise at the time how ambitious this might be, though, in my defence, I may have casually thought that it wouldn’t matter if some of the more expensive items were simply missed out (a seriously unrealistic misjudgement….). Anyway, once full, the album would then become a kind of memorial of my father and his stamp collecting and his immaculate writing. I could round it off with a page at the beginning describing how he collected stamps and inspired me to do so, and including some photos of him at various stages of his life.
I duly gathered together the pages with country headings, moved stamps on untitled pages, and set about finding stamps to fill the gaps. Having this goal inspired me to attend stamp fairs, and to start buying auction lots; and by about 2017 I’d completed 14 of the 33 countries; but I was starting to realise that it was going to be a big – and expensive – job to acquire the whole of Italy up to 1980.
It was also in 2017 that my second grandchild was born and I was beginning to wonder whether I, like my father, would be able to pass on my stamp collection to one or both of them. I knew that none of my own children were in the slightest bit interested in stamps; so, the grandchildren were probably the last port of call. However, there could be no guarantee that they would be interested either; and, in any case, what would happen if they both became collectors? How could I choose which one to give their great-grandfather’s album to? I ruminated on this conundrum as I continued to add to the album.
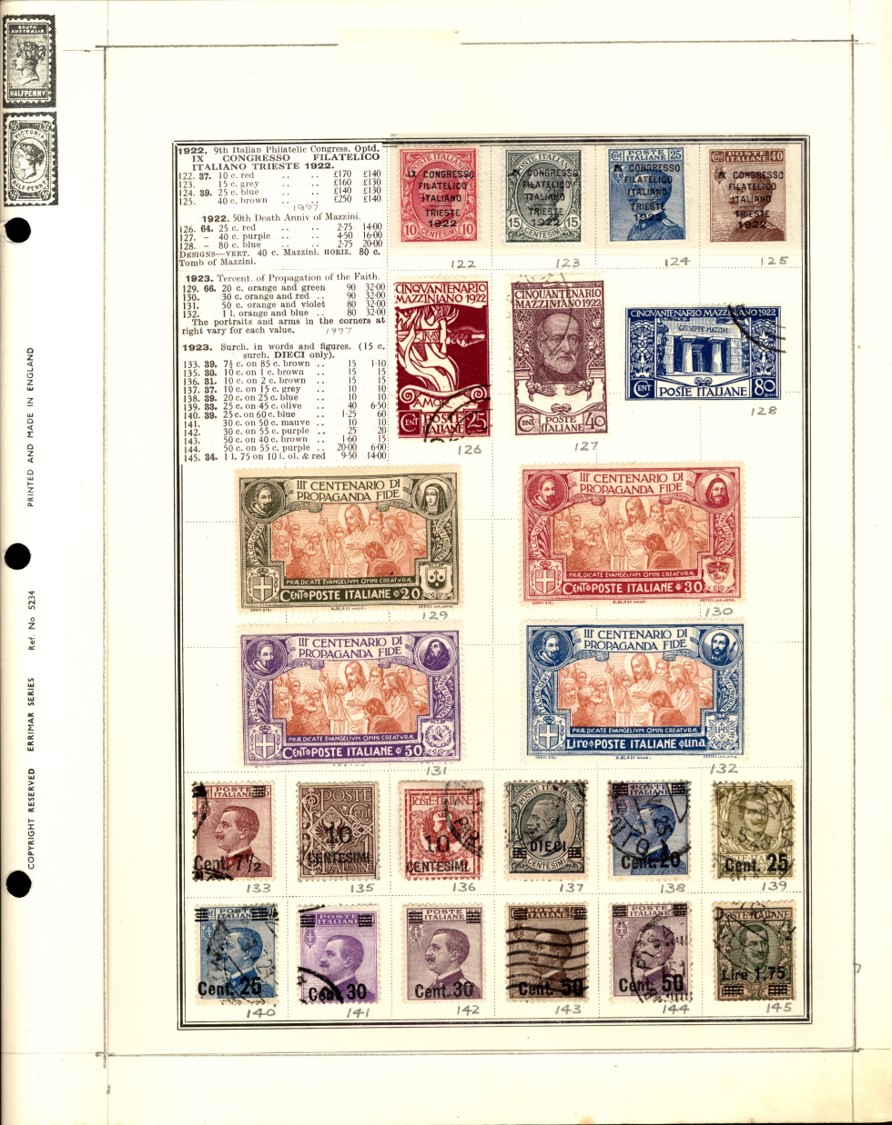
Sometime during the following few years, I decided to augment the burgeoning album with the catalogue entries for the stamps it contained (something I’d already done successfully in my Great Britain album by simply cutting out the relevant parts of pages from the ‘Collect British Stamps’ catalogue). I reasoned that the information associated with the issuance of stamps – whether to commemorate a person or event, or to indicate what reign of a monarch it took place in – was not only useful to manage the collection, but also interesting, perhaps even educational, even for those not generally interested in stamp collecting; and that the relative values of different stamps attest to the scarcity and desirability of the more valuable items. All this information would surely make the album that much more interesting to its potential future owners. To enable the reader to match a stamp to its catalogue entry would simply require that the relevant catalogue number was written next to each stamp.
I started with the Italian collection and placed cut-outs or photocopies of the relevant catalogue entries onto the relevant pages.
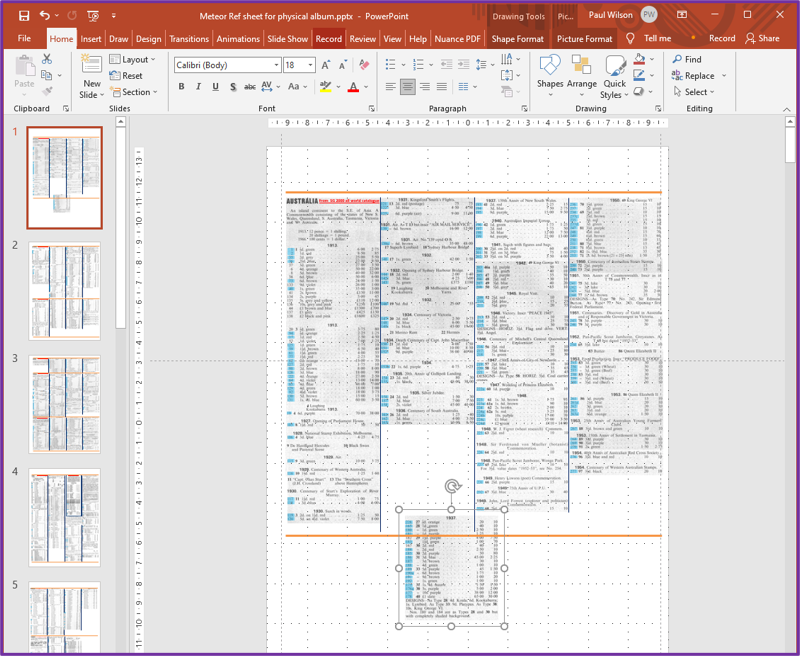
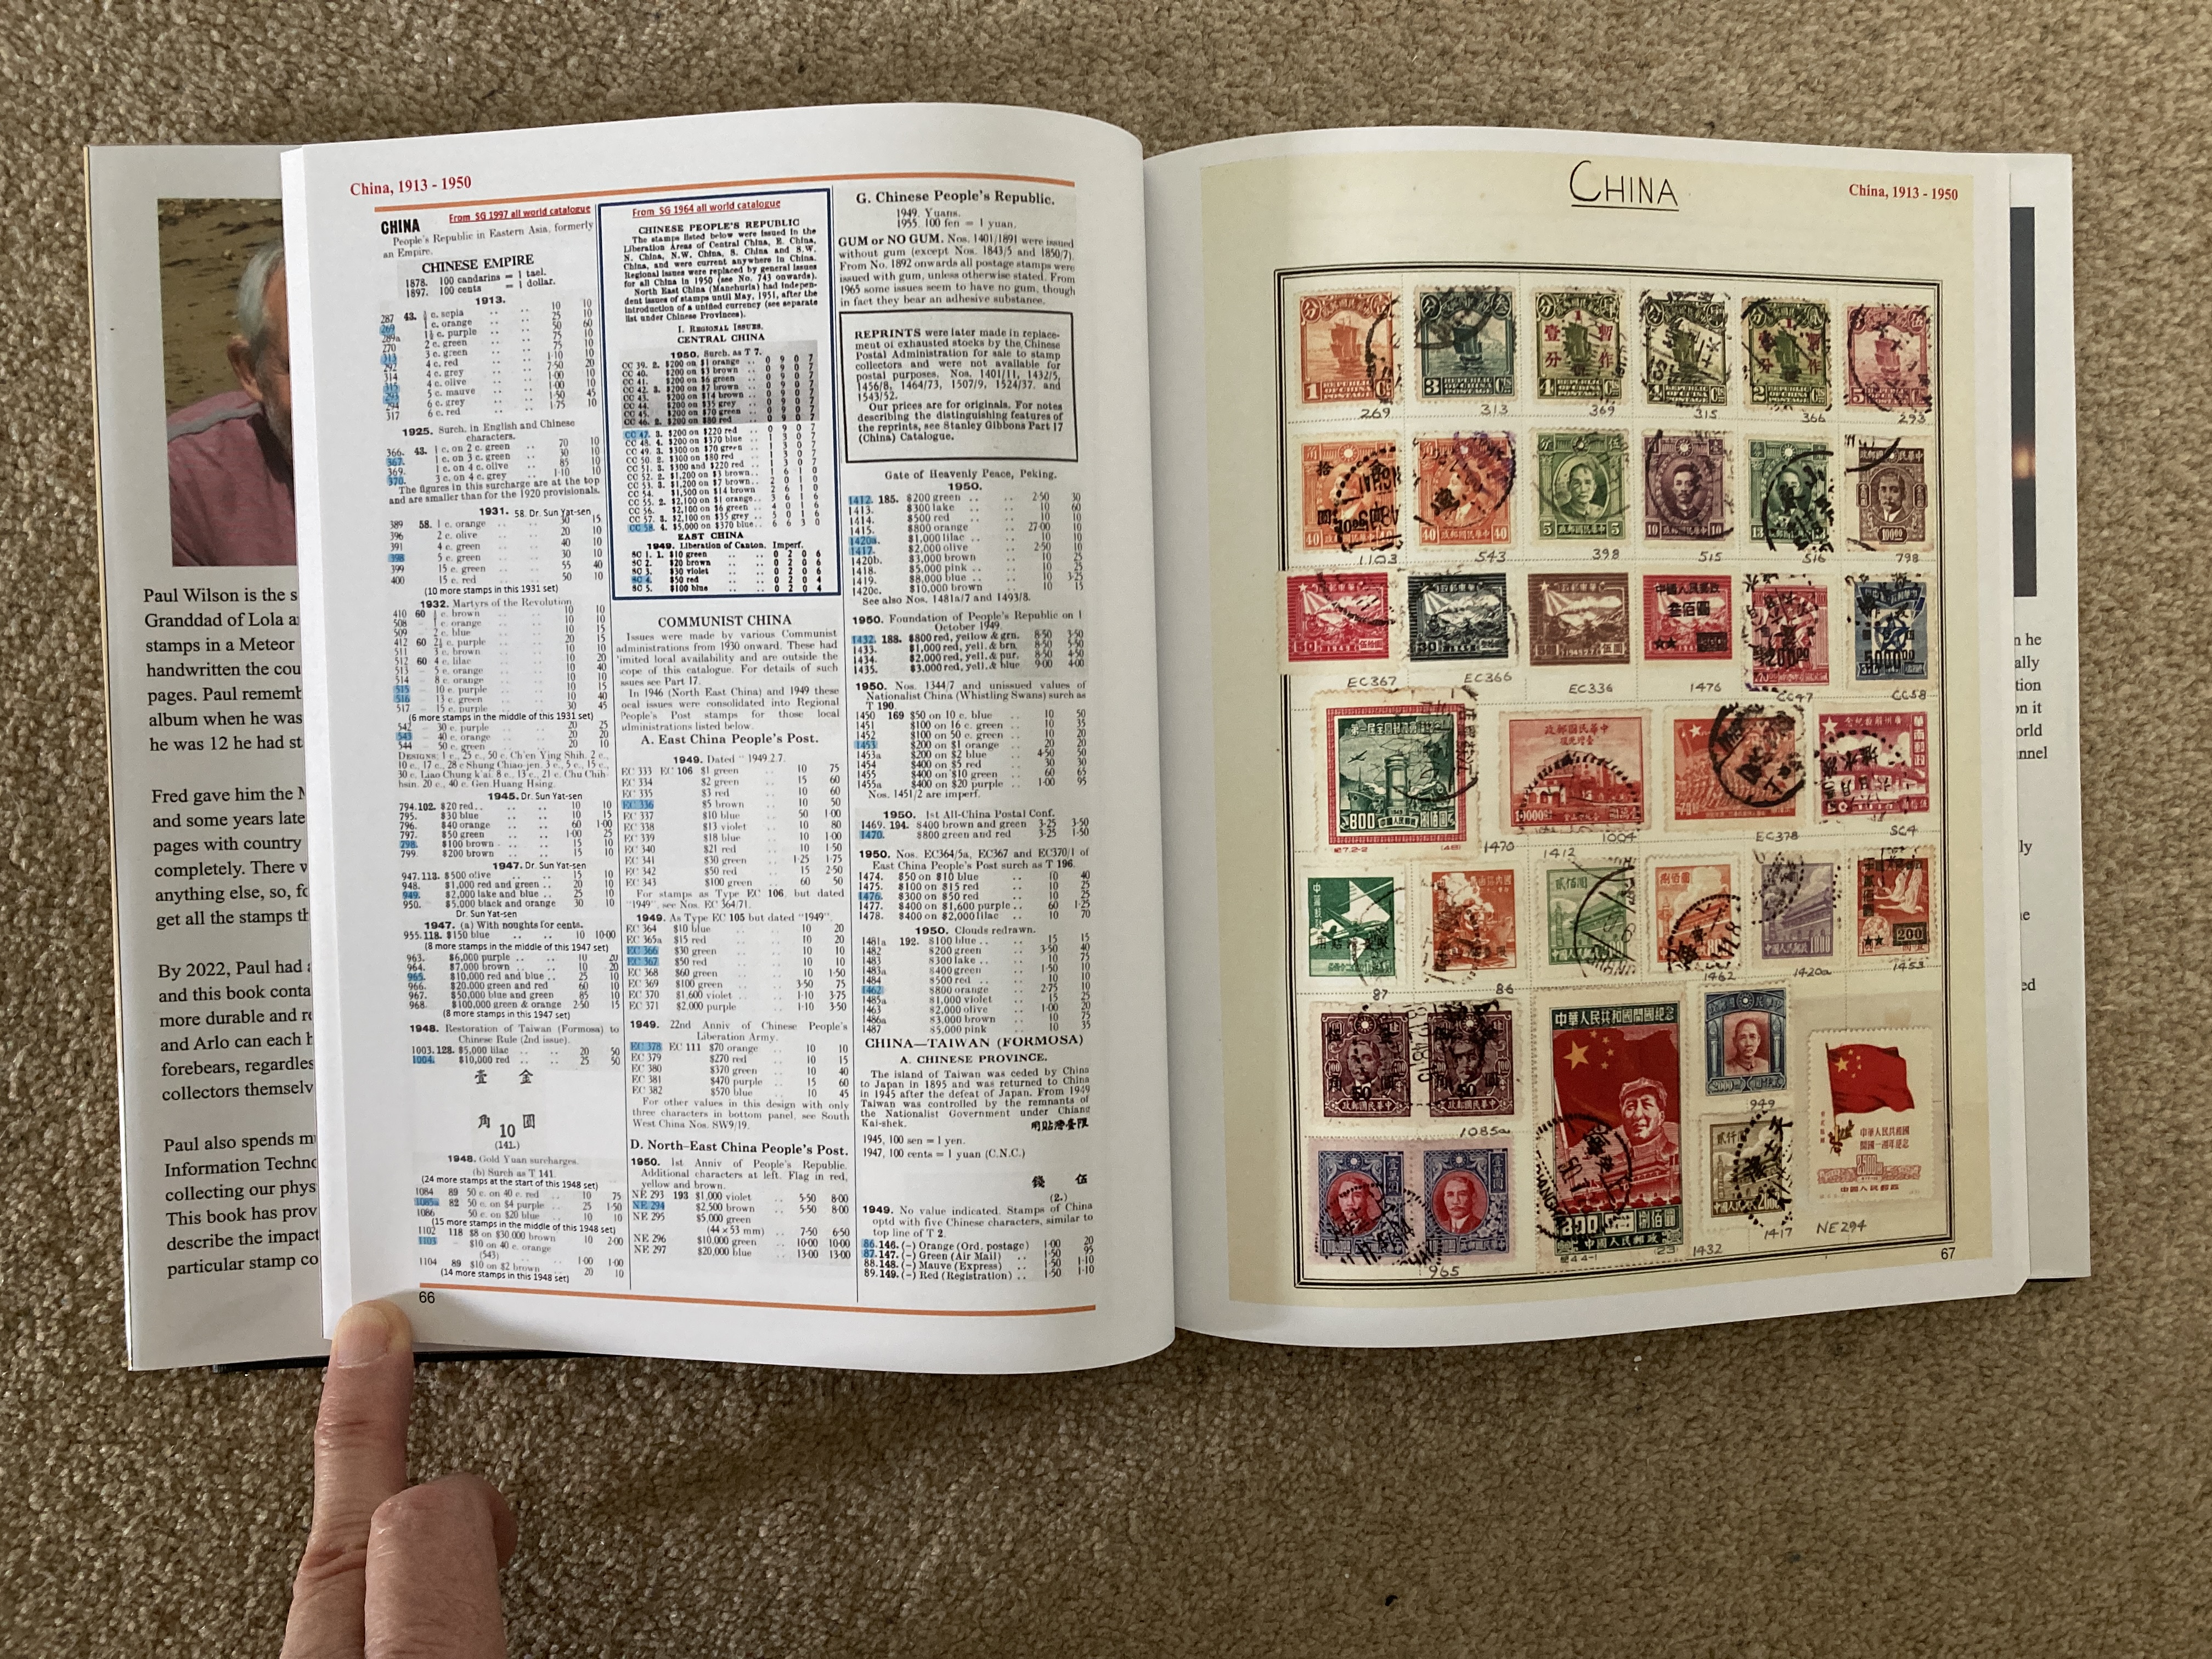
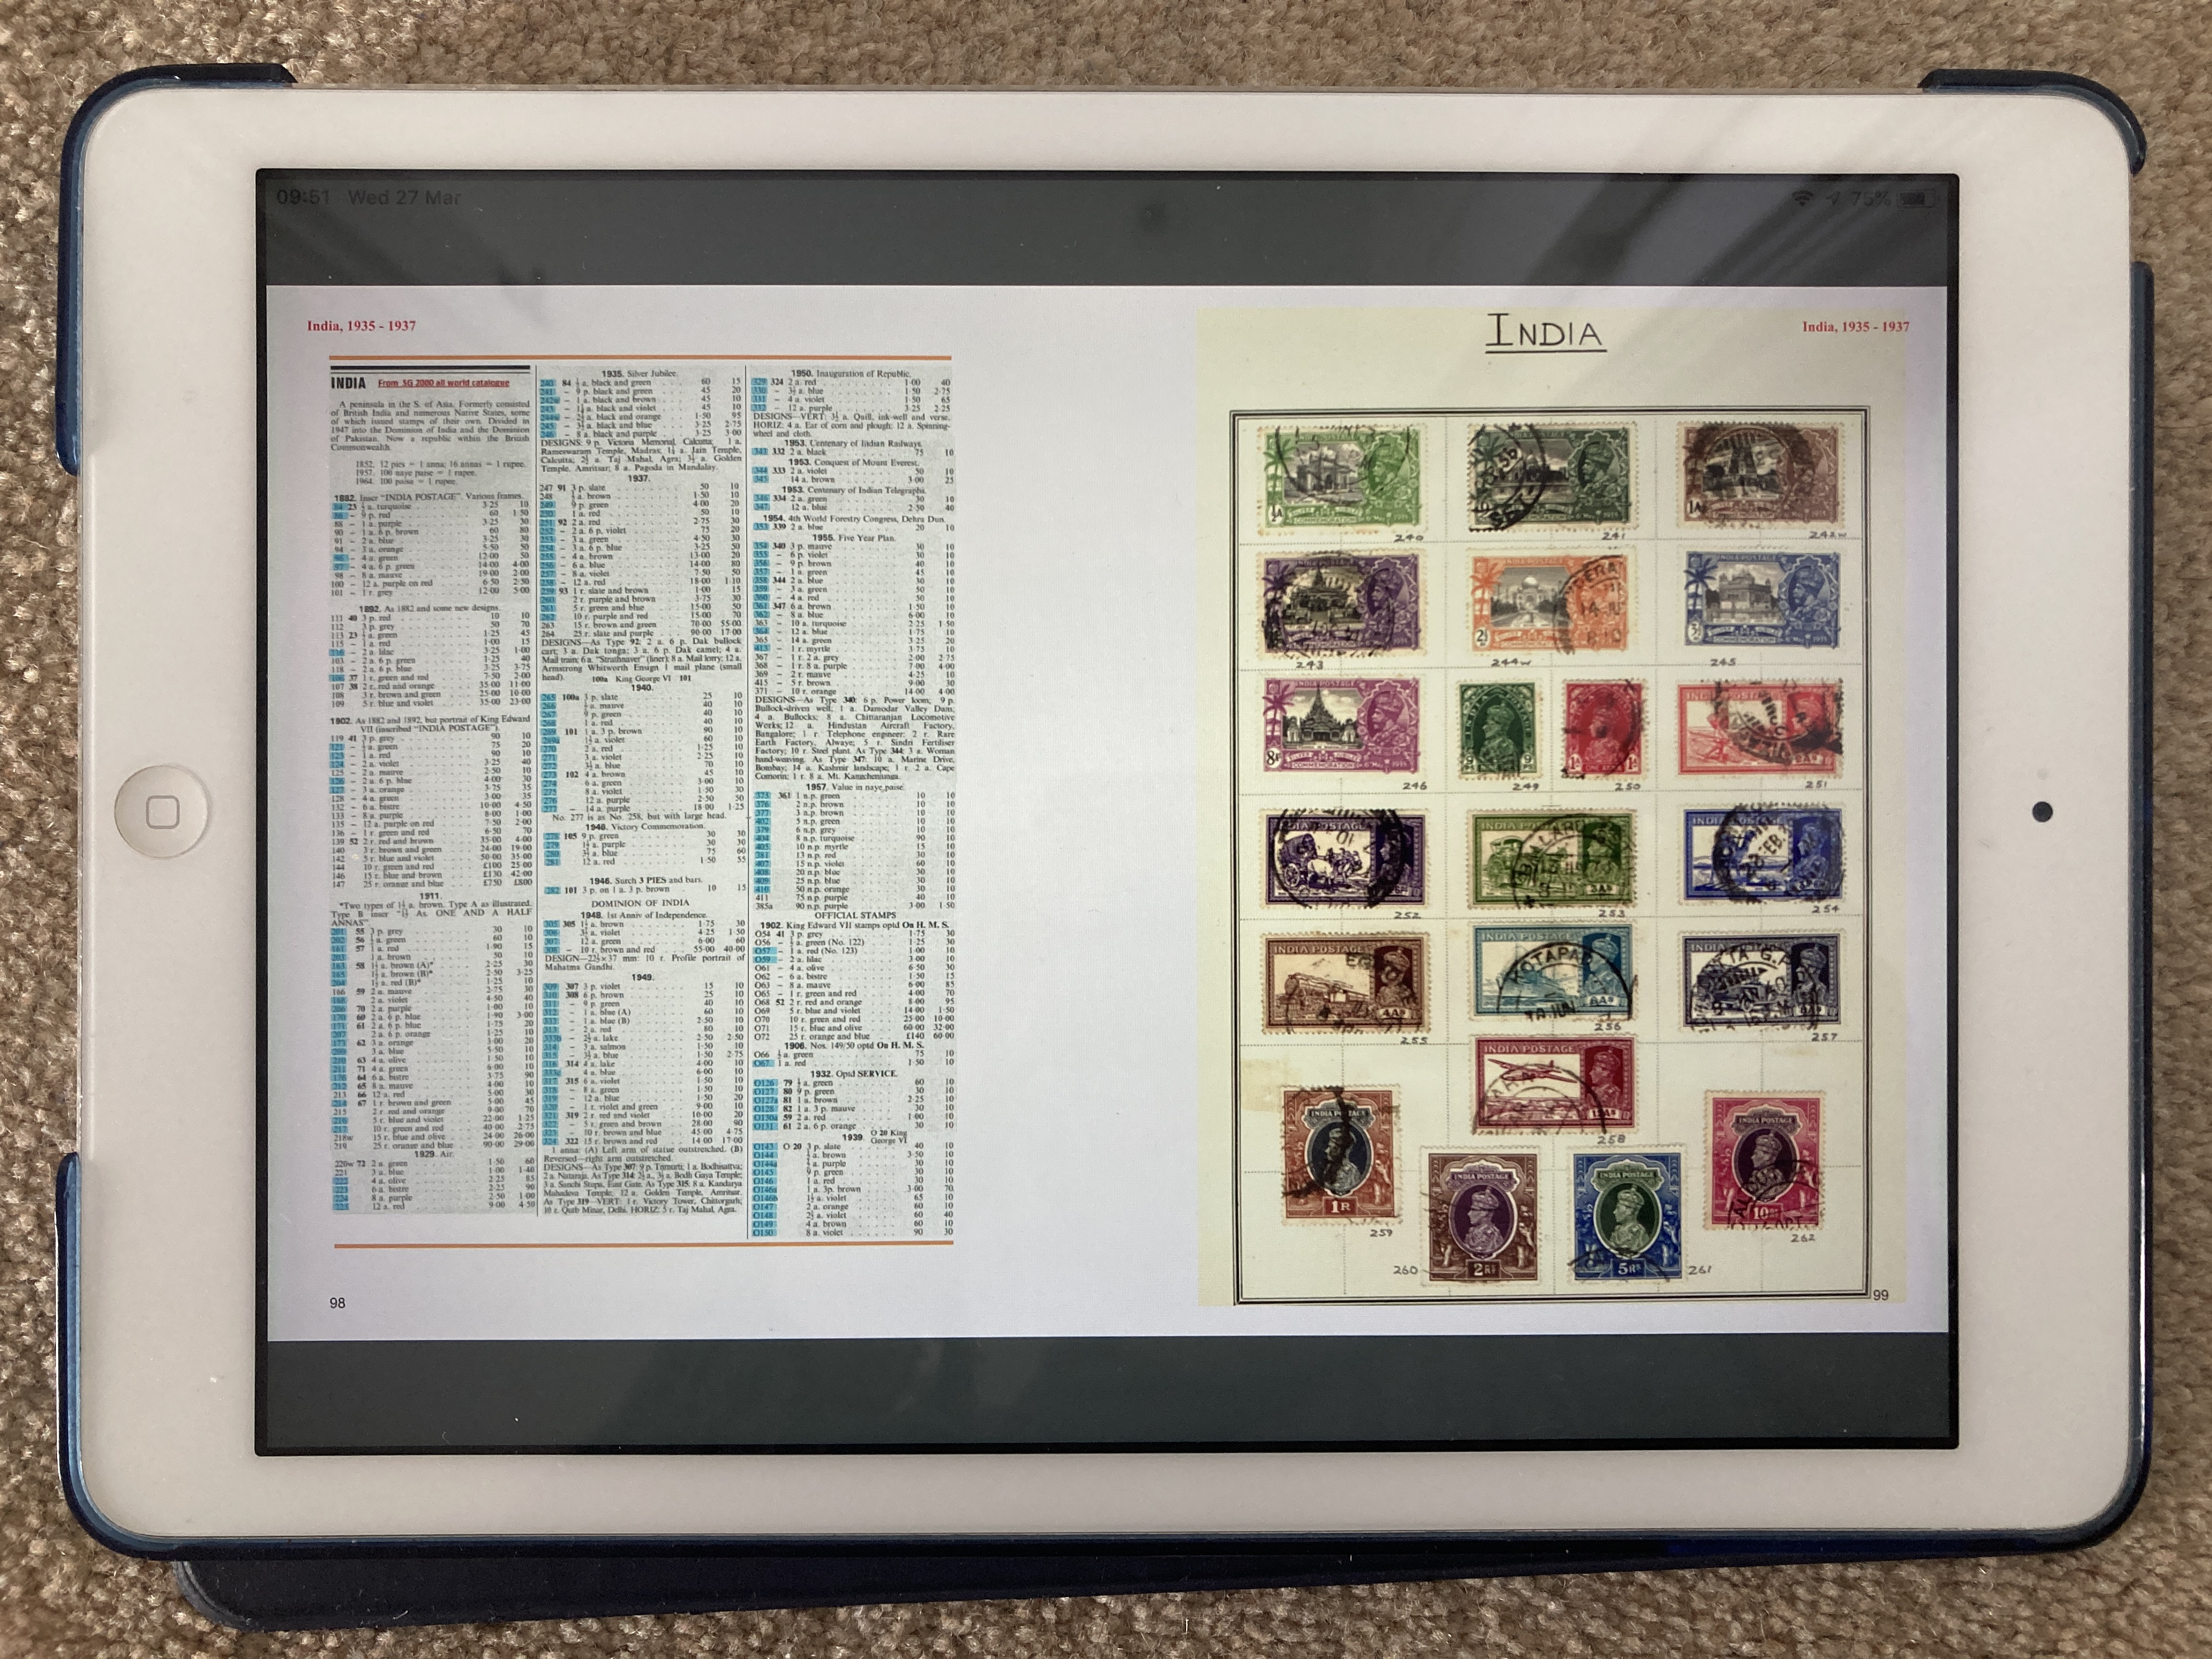
 When it came to the other countries, though, I realised this wouldn’t work because, not being constrained to stamps from consecutive dates or sets, meant that there was just too extensive a range of catalogue entries to include. So, for those pages, I elected to scan the relevant catalogue pages and to cut and paste the entries relevant to a particular album page onto a single page using the PowerPoint software package (the blue highlights in the example below indicate which stamps are included in the album).
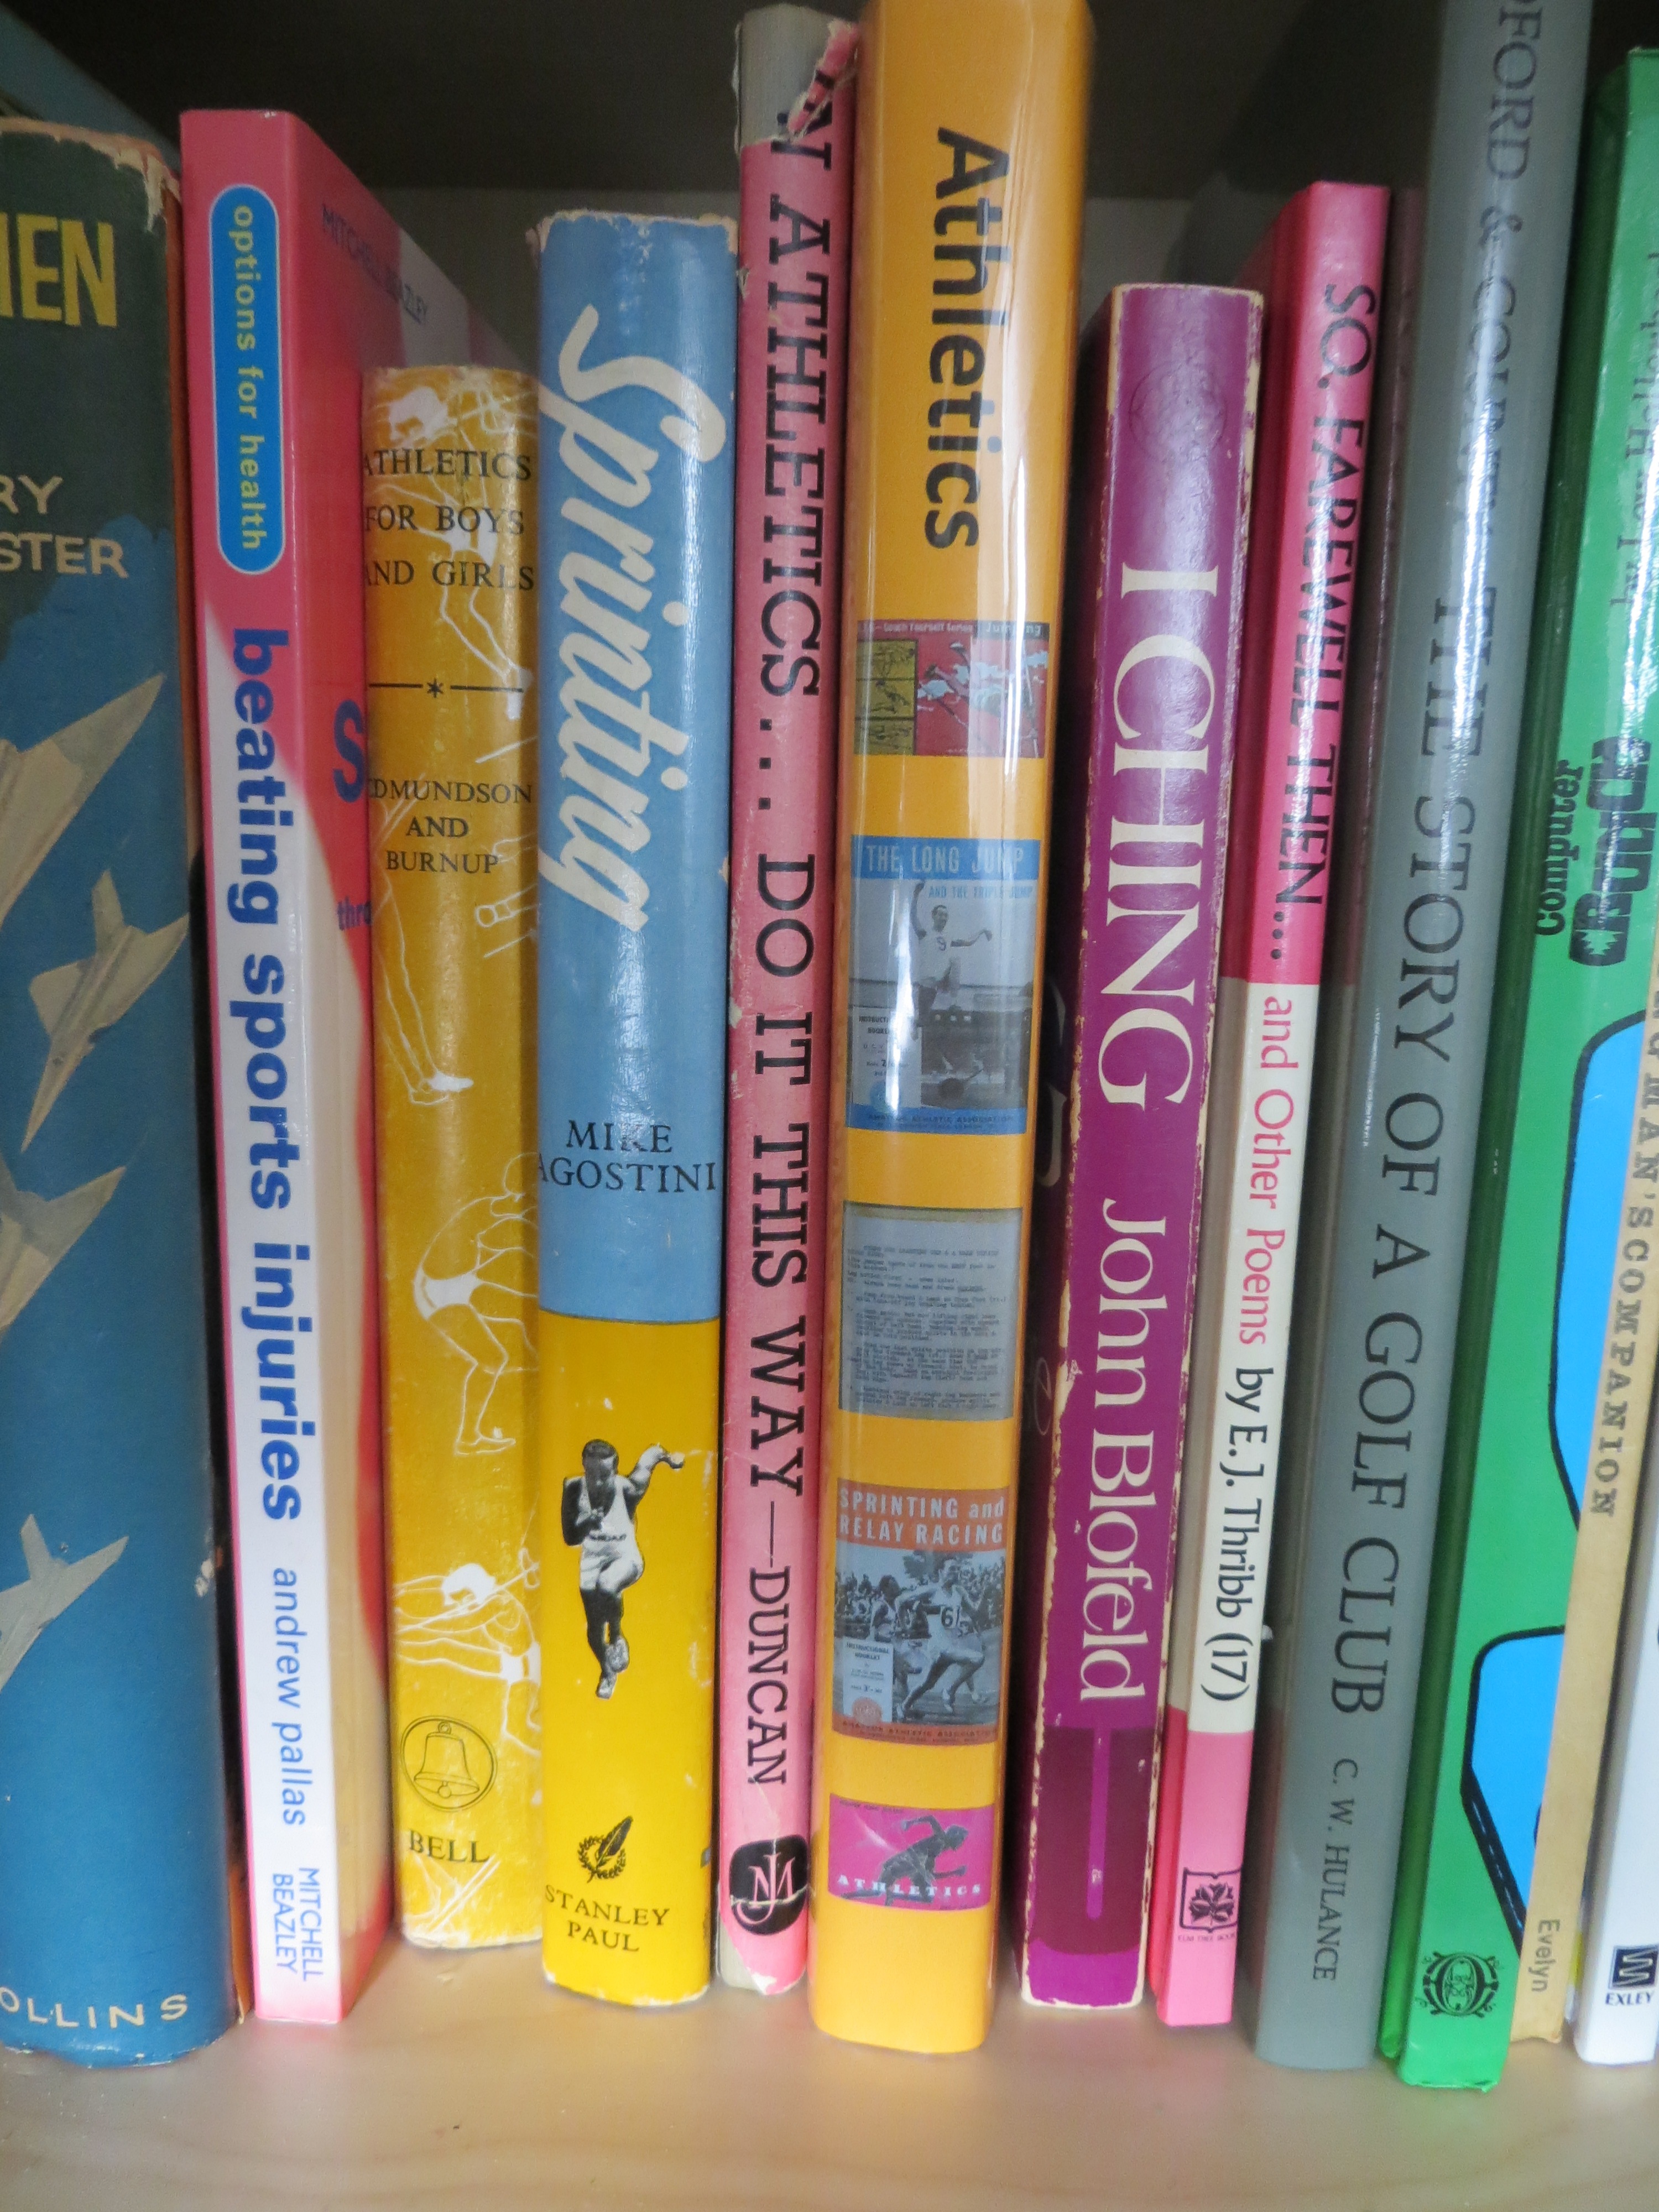
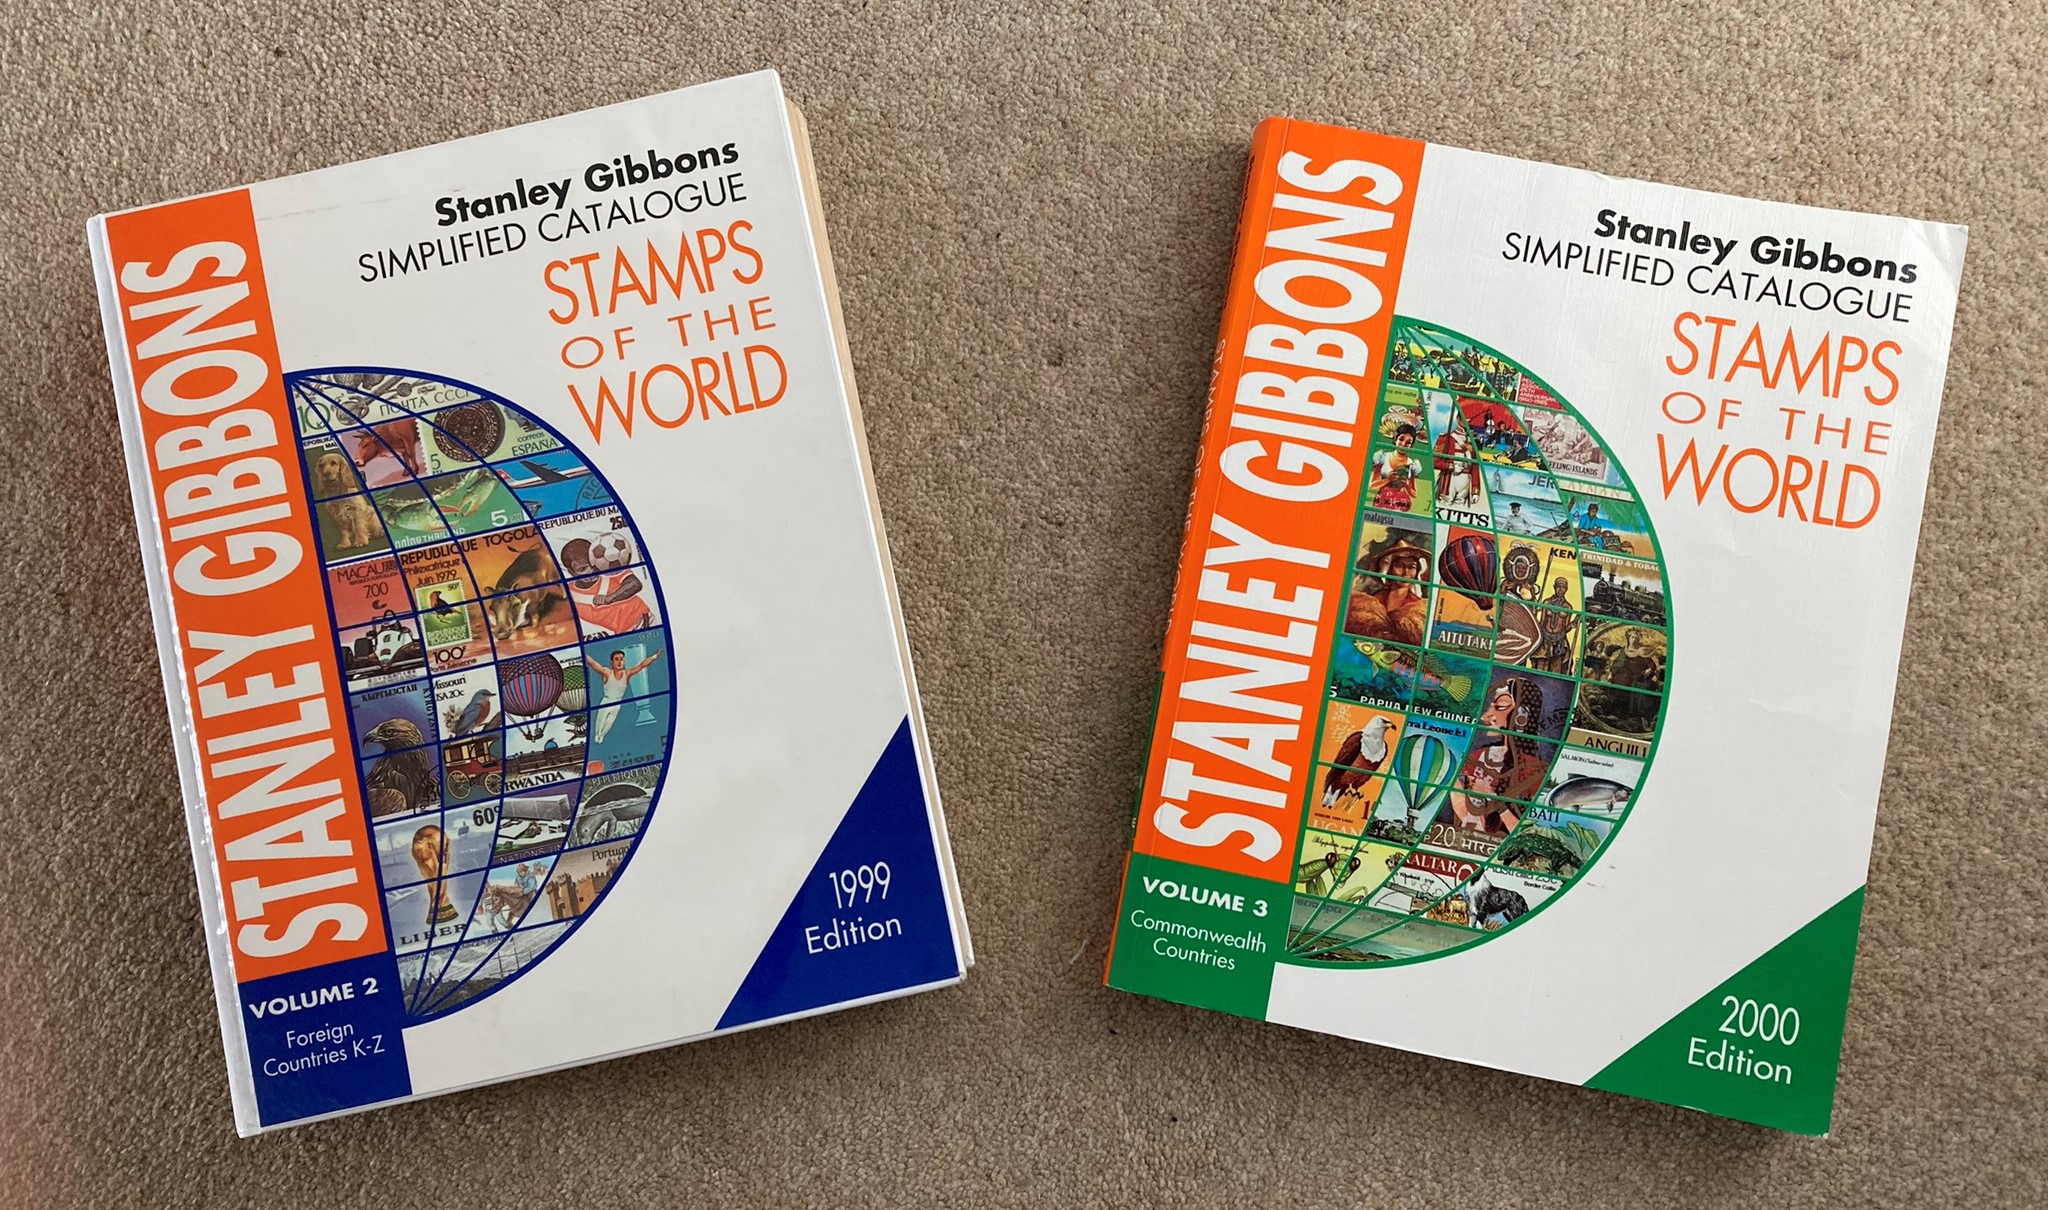
 My plan was to print these pages out and to attach them to the inside back cover of the album so that the relevant page could be turned out to the right of the album and be visible when a particular album page was being looked at. I was confident that I could achieve this at the bookbinding classes I’d been attending for 5 years or so. I duly acquired two old 1999 and 2000 Simplified Catalogues for the non-Italian countries for about a fiver each on ebay (shown below) and set about assembling the catalogue entries for each country and labelling each stamp in the album.
In 2020, I had won an auction lot of a single album dedicated to Italian stamps including many of the more valuable earlier items. This made substantial inroads into my Italian Wants list. It had cost me £380 – about double the amount I usually invested in an auction lot; but, after removing the stamps I needed, I was able to break up the contents and sell them for around £200 overall – an excellent defrayment of the original cost.
2020 was also the year I decided I would self-publish a book about my IT experiences over the previous 50 years, using an internet-based company called Blurb. The resulting 8×10 inch hardback with 440 glossy pages, lots of colour photos and images, and a glossy, full colour, wrap-around dust jacket initiated another germ of an idea. I realised that I could scan the pages of the filled Meteor album and include them in a Blurb-produced book. I could have two copies of the book produced, so that I could give one to each grandchild at some point. It wouldn’t matter if they marked or tore them, or damaged them in any way, as the digital version would always be available to produce new copies if necessary. There would be no concerns about damaging or losing valuable stamps, or of the album being sold off by young adults eager to release funds (a possibility perceived by my own youthful short-sightedness); and I could have a copy myself, secure in the knowledge that, if my collection was stolen at any time, or destroyed in a fire or random act of god, I would still have the book to look at and enjoy.
With these ideas firmed up and cemented in my mind, I set out with renewed vigour to complete the non-Italian countries, and to start acquiring the more expensive Italian stamps (by that point I’d decided it had to be ALL the Italian stamps to 1980). Ebay was my main source for this material, though I did get some stamps from eBid and Hipstamp. Using all these sites, I soon completed all but two of the non-Italian countries, and started to home in on the remaining Italian wants. It soon became apparent to me that the more expensive stamps could be purchased for a wide range of prices. This was partly due to varying quality but was also related to how quickly individuals or dealers wanted to realise their cash. I started to scour eBay regularly looking for bargain ‘Buy-it-Nows’ or low starting prices. I eventually came across Kilowareman – an unusual operation based in the Netherlands which appeared to have an unlimited supply of ex-dealer’s stock and which published dozens of new lots on ebay every day with a standard starting price of 1 Euro regardless of value, including many of the Italian stamps I wanted. I bought several of the high value stamps I needed from Kilowareman, and was never disappointed; despite a standard £1.50 postage cost to anywhere in Europe, they always arrived safely about a week after the auction in a cellophane packet attached to a page inscribed ‘greetings from Kilowareman’ inside a simple envelope. On one extraordinary occasion I won a lot of 7 overprinted stamps with a catalogue value of several thousand pounds (at 2020 values) with a bid of £54 which I submitted in the last few seconds of the auction while having a post-competition lunch at a golf club.
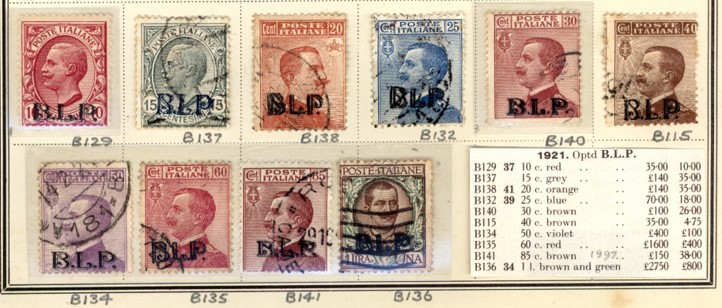 Common sense would say that they must be fakes – but they didn’t look any different from the real thing and I wasn’t going to start detailed investigations to determine if they were genuine or not. They would look fine in my father’s album; and, in any case, I reasoned that, if KIlowareman was selling bulk lots of ex-dealer’s stocks, then the original dealers would have had to be taken in as well or simply not have marked the items as of doubtful provenance – which was possible but perhaps a little unlikely. Well, that was my rationale for happily paying far less than catalogue value for the more expensive stamps.
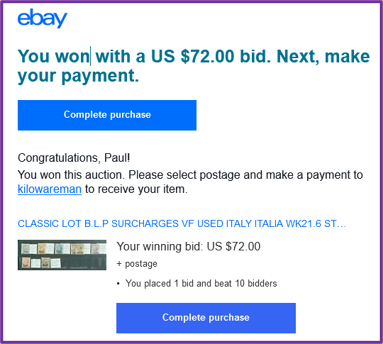
By early 2022, I was very close to completing the whole collection with just 3 Italian stamps to get. One of the Italian stamps was specified as a 10 cent stamp in the Stanley Gibbons Simplified album, however, all my trawlings and investigations led me to believe it was a 40 cent stamp (which I did have). So, I emailed the Stanley Gibbons Catalogue Department and asked if this was the case. On 19th January I received the answer – it was indeed a long-standing misprint – reminding me that you can never be absolutely sure that anything in print or on the internet is correct: reader beware!
![]()
On the same day I bought one of the other two outstanding items in HipStamp, leaving me with a last remaining gap for PL650, a 30 cent blue Italian Parcel Post stamp from 1945. Not the most expensive Italian stamp according to Stanley Gibbons (£39 mint, £31 used), but the most elusive in my experience. I finally found it a week later by searching an Italian Dealer’s items on eBay using the Italian word for parcel – ‘pacchi’. I’d missed this previously because, for some unknown reason, searches using the English equivalent, ‘parcel’, didn’t produce any hits – despite the word parcel being displayed in the title of the lot – ‘1945 Lieutenancy Parcel Post 30 Cent MNH’. However, all became clear when I got confirmation of my order from ebay: The actual title was, ‘1945 LUOGOTENENZA PACCHI POSTALI 60 CENT MNH’, and the title I’d been shown must have been an automatic translation which was not used in the search algorithm. It was a timely reminder that internet searching is not an exact science, and that some thought and perseverance may be required to find what you want.
By this time, I had started to explore how I would construct the book using Blurb’s BookWright software. I decided that there were too many stamps to include in a single album, so I bought another album just like the one my father had given me, on eBay. I then had one album for the Italian stamps and one for all the other countries.
 Next, I turned to the practicalities of assembling the album pages in Blurb’s publishing programme – particularly the following:
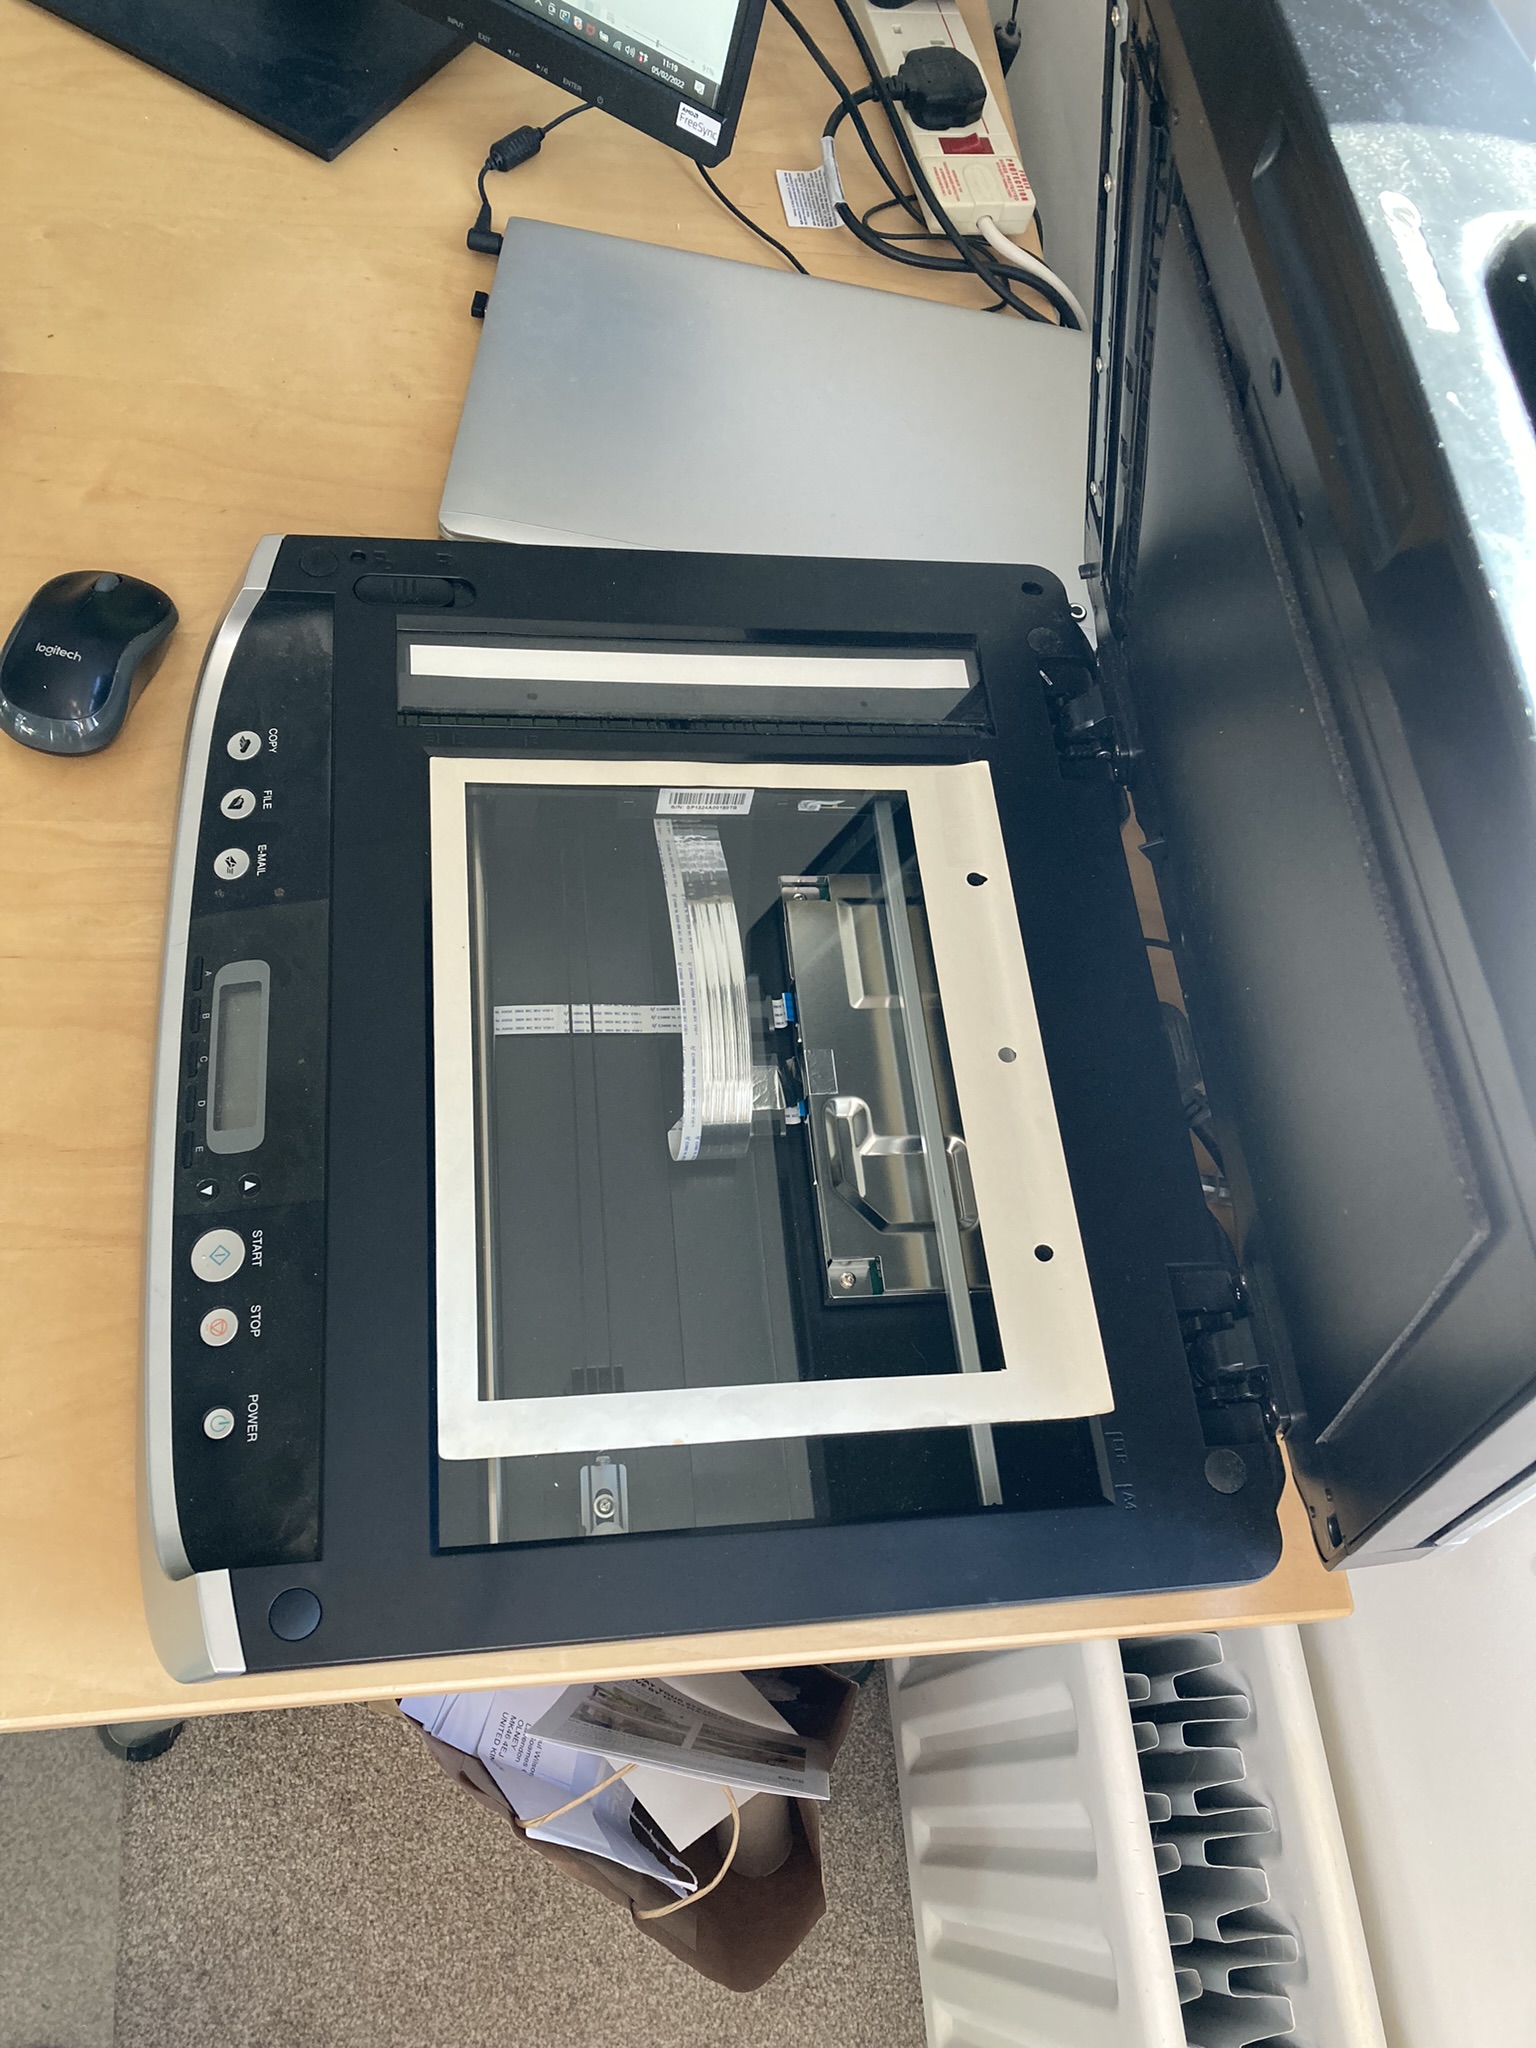
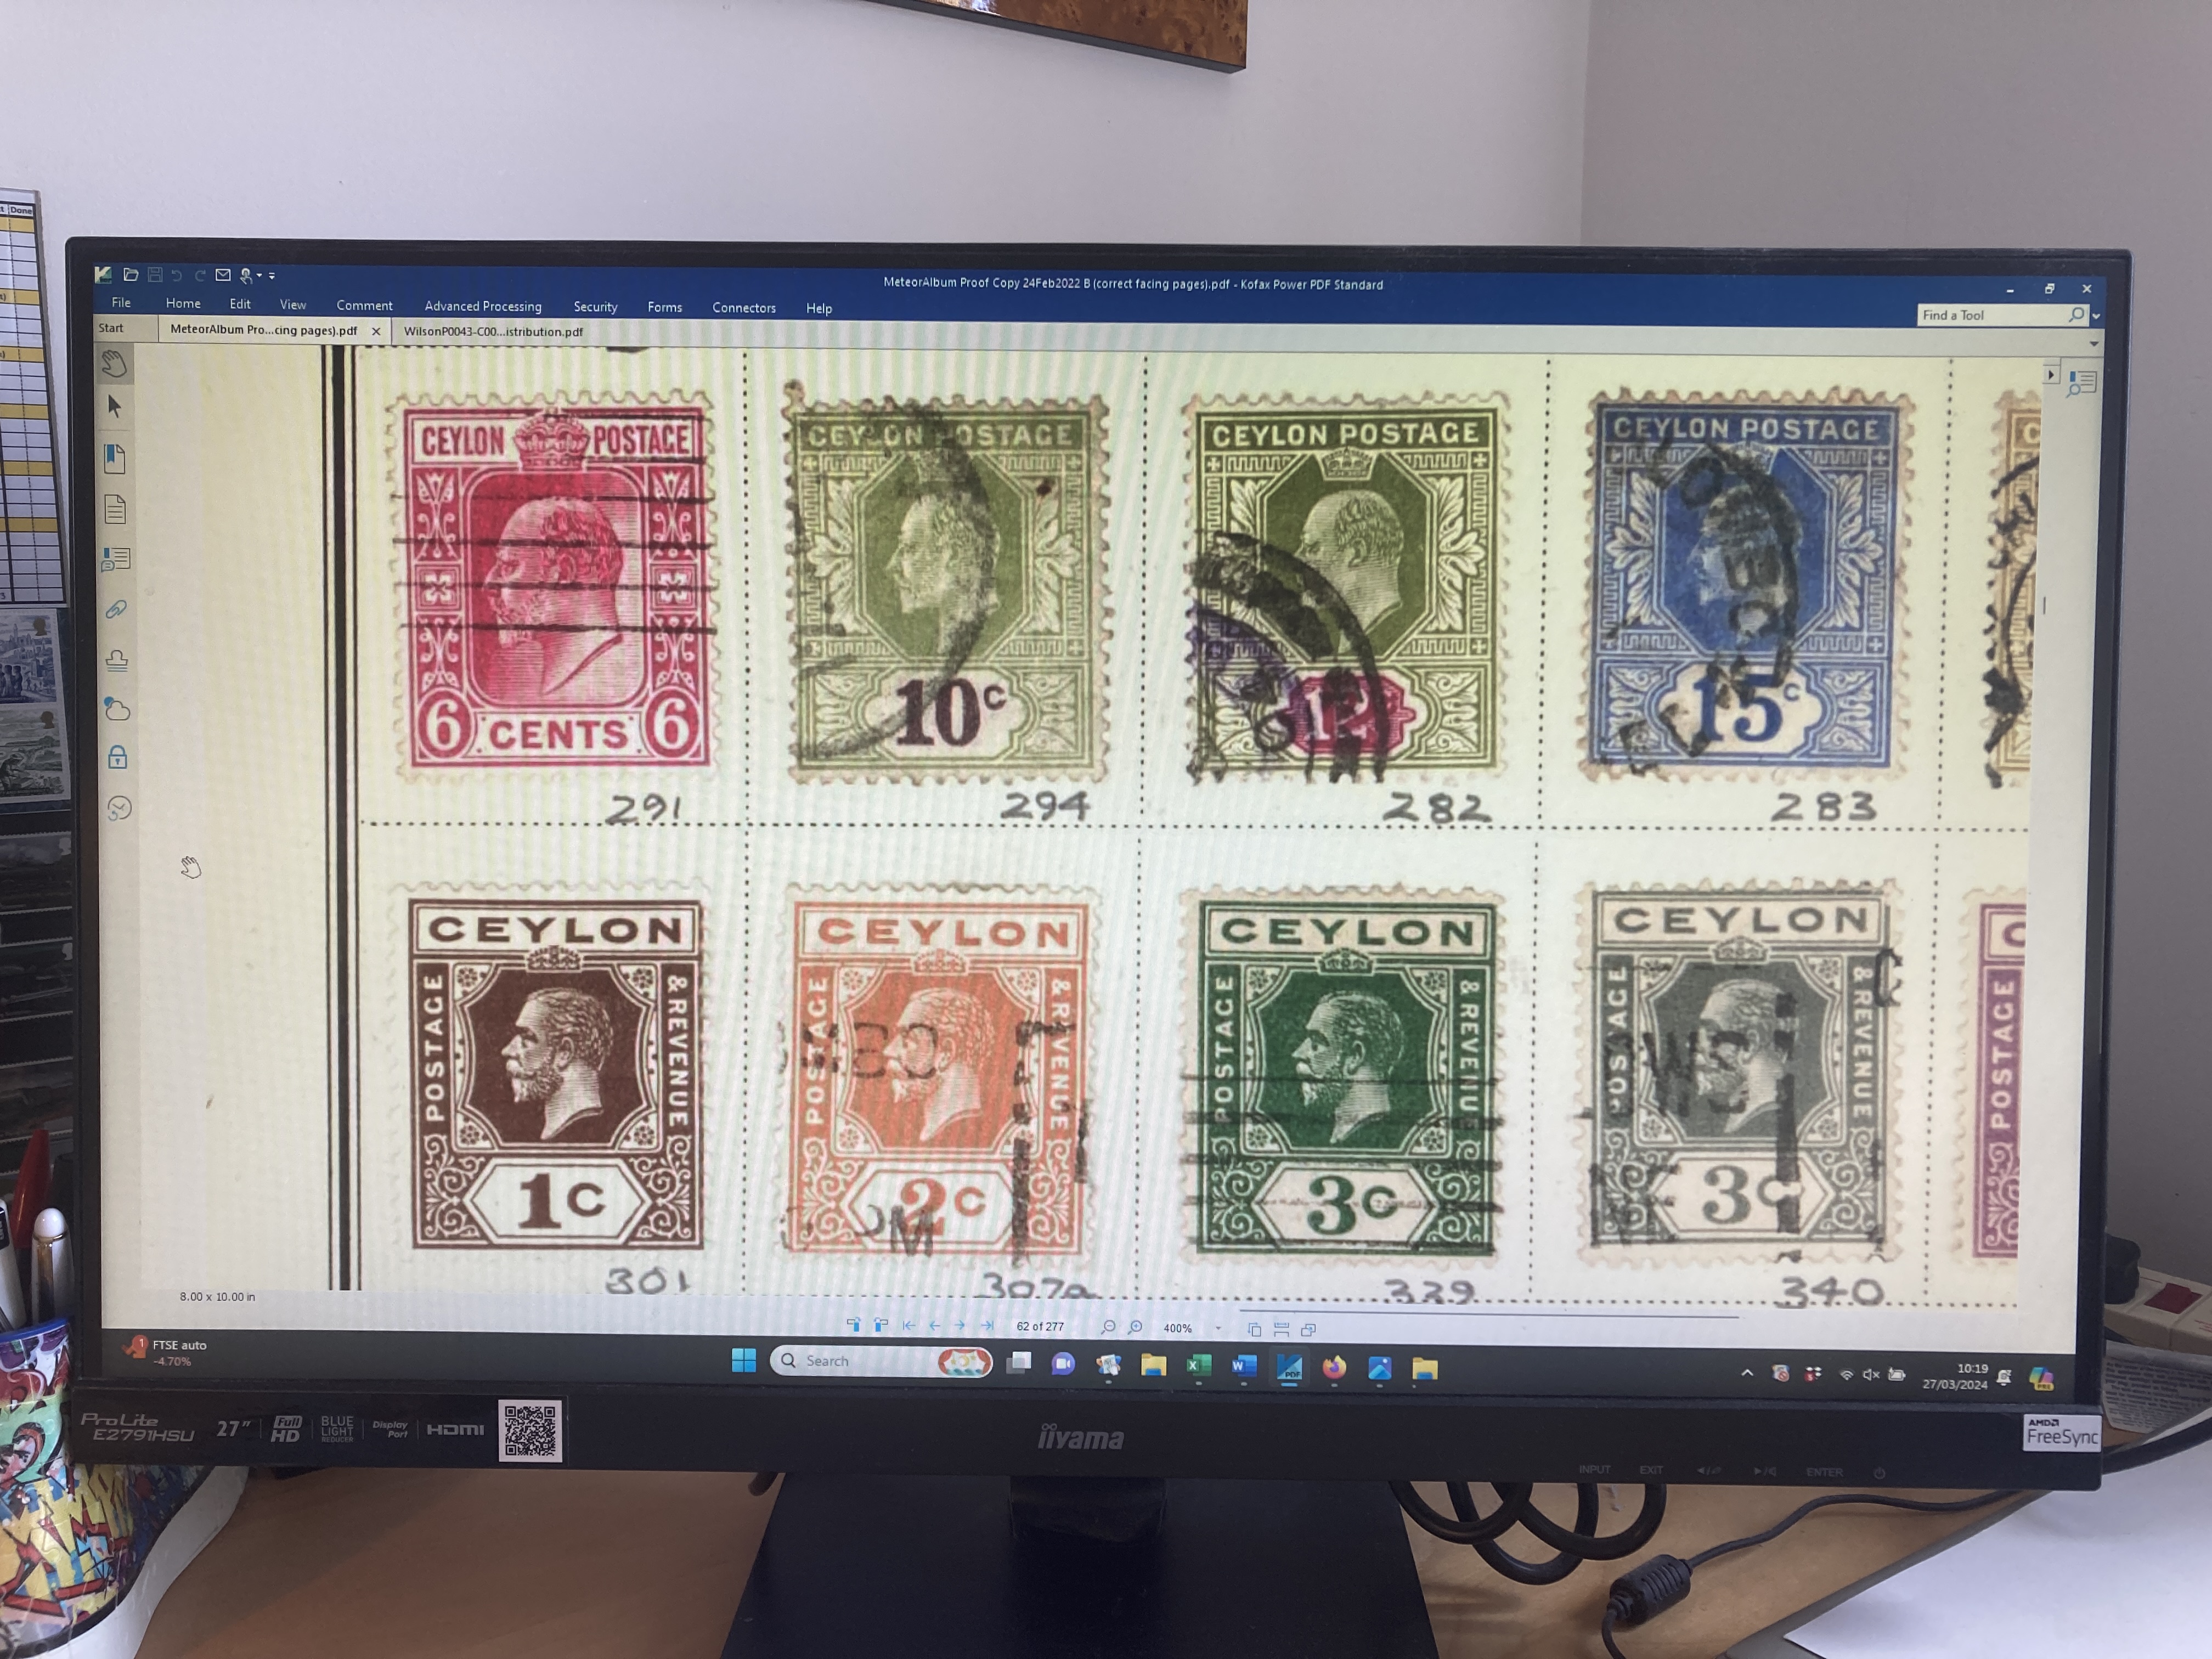
- Ensuring the stamps would be reproduced in actual size: The scan of a whole album page was too big for the book page, so when importing the scan to a Blurb page the system automatically resized it to fit thereby producing smaller than actual sizes of the stamps. To avoid this, I needed to crop the image before importing it; so, I created an overlay which lay on the scanner platen and on which the album page was layed.
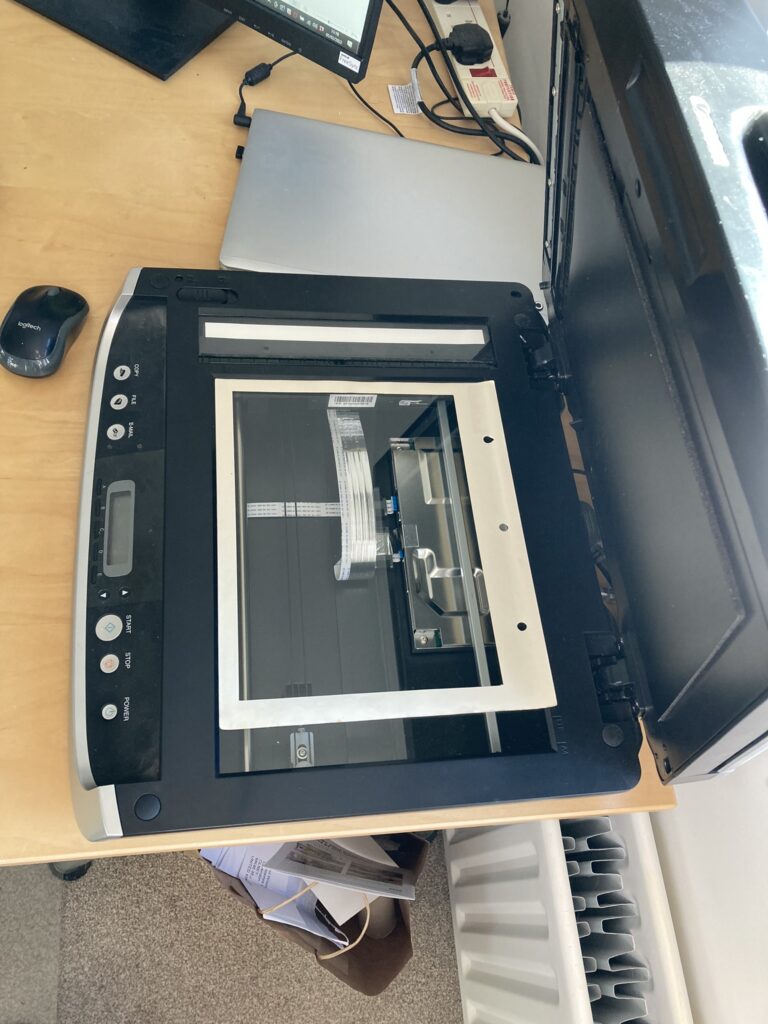 The outline of the overlay in the resulting scan was where the image would be cropped. Using this approach, and after some trial and error, I got the sizes of the stamps in the imported images in the book to be pretty much actual size.
 - Getting the composite catalogue pages in shape: The four-column format I’d used to construct the composite catalogue pages for each country was based on them fitting into the back of the meteor album. However, as I’d already discovered with the album pages, the Blurb book pages were smaller, and I realised I would have to rejig the country catalogue pages to a three-column format. This wasn’t too difficult using Powerpoint, and I exported the resulting images in png format ready for inclusion in the book. There was one issue – Blurb alerts warned me that the resolution of these images were ‘lower than that which Blurb recommends for great print quality’. This despite me scanning the catalogue pages at a very high resolution. I think resolution deteriorated through the various stages of cutting and pasting elements of the overall page. Anyway, they were readable when I printed them out from PowerPoint, so I hoped they’d still be readable in the Blurb book, and indeed it turned out that they were.
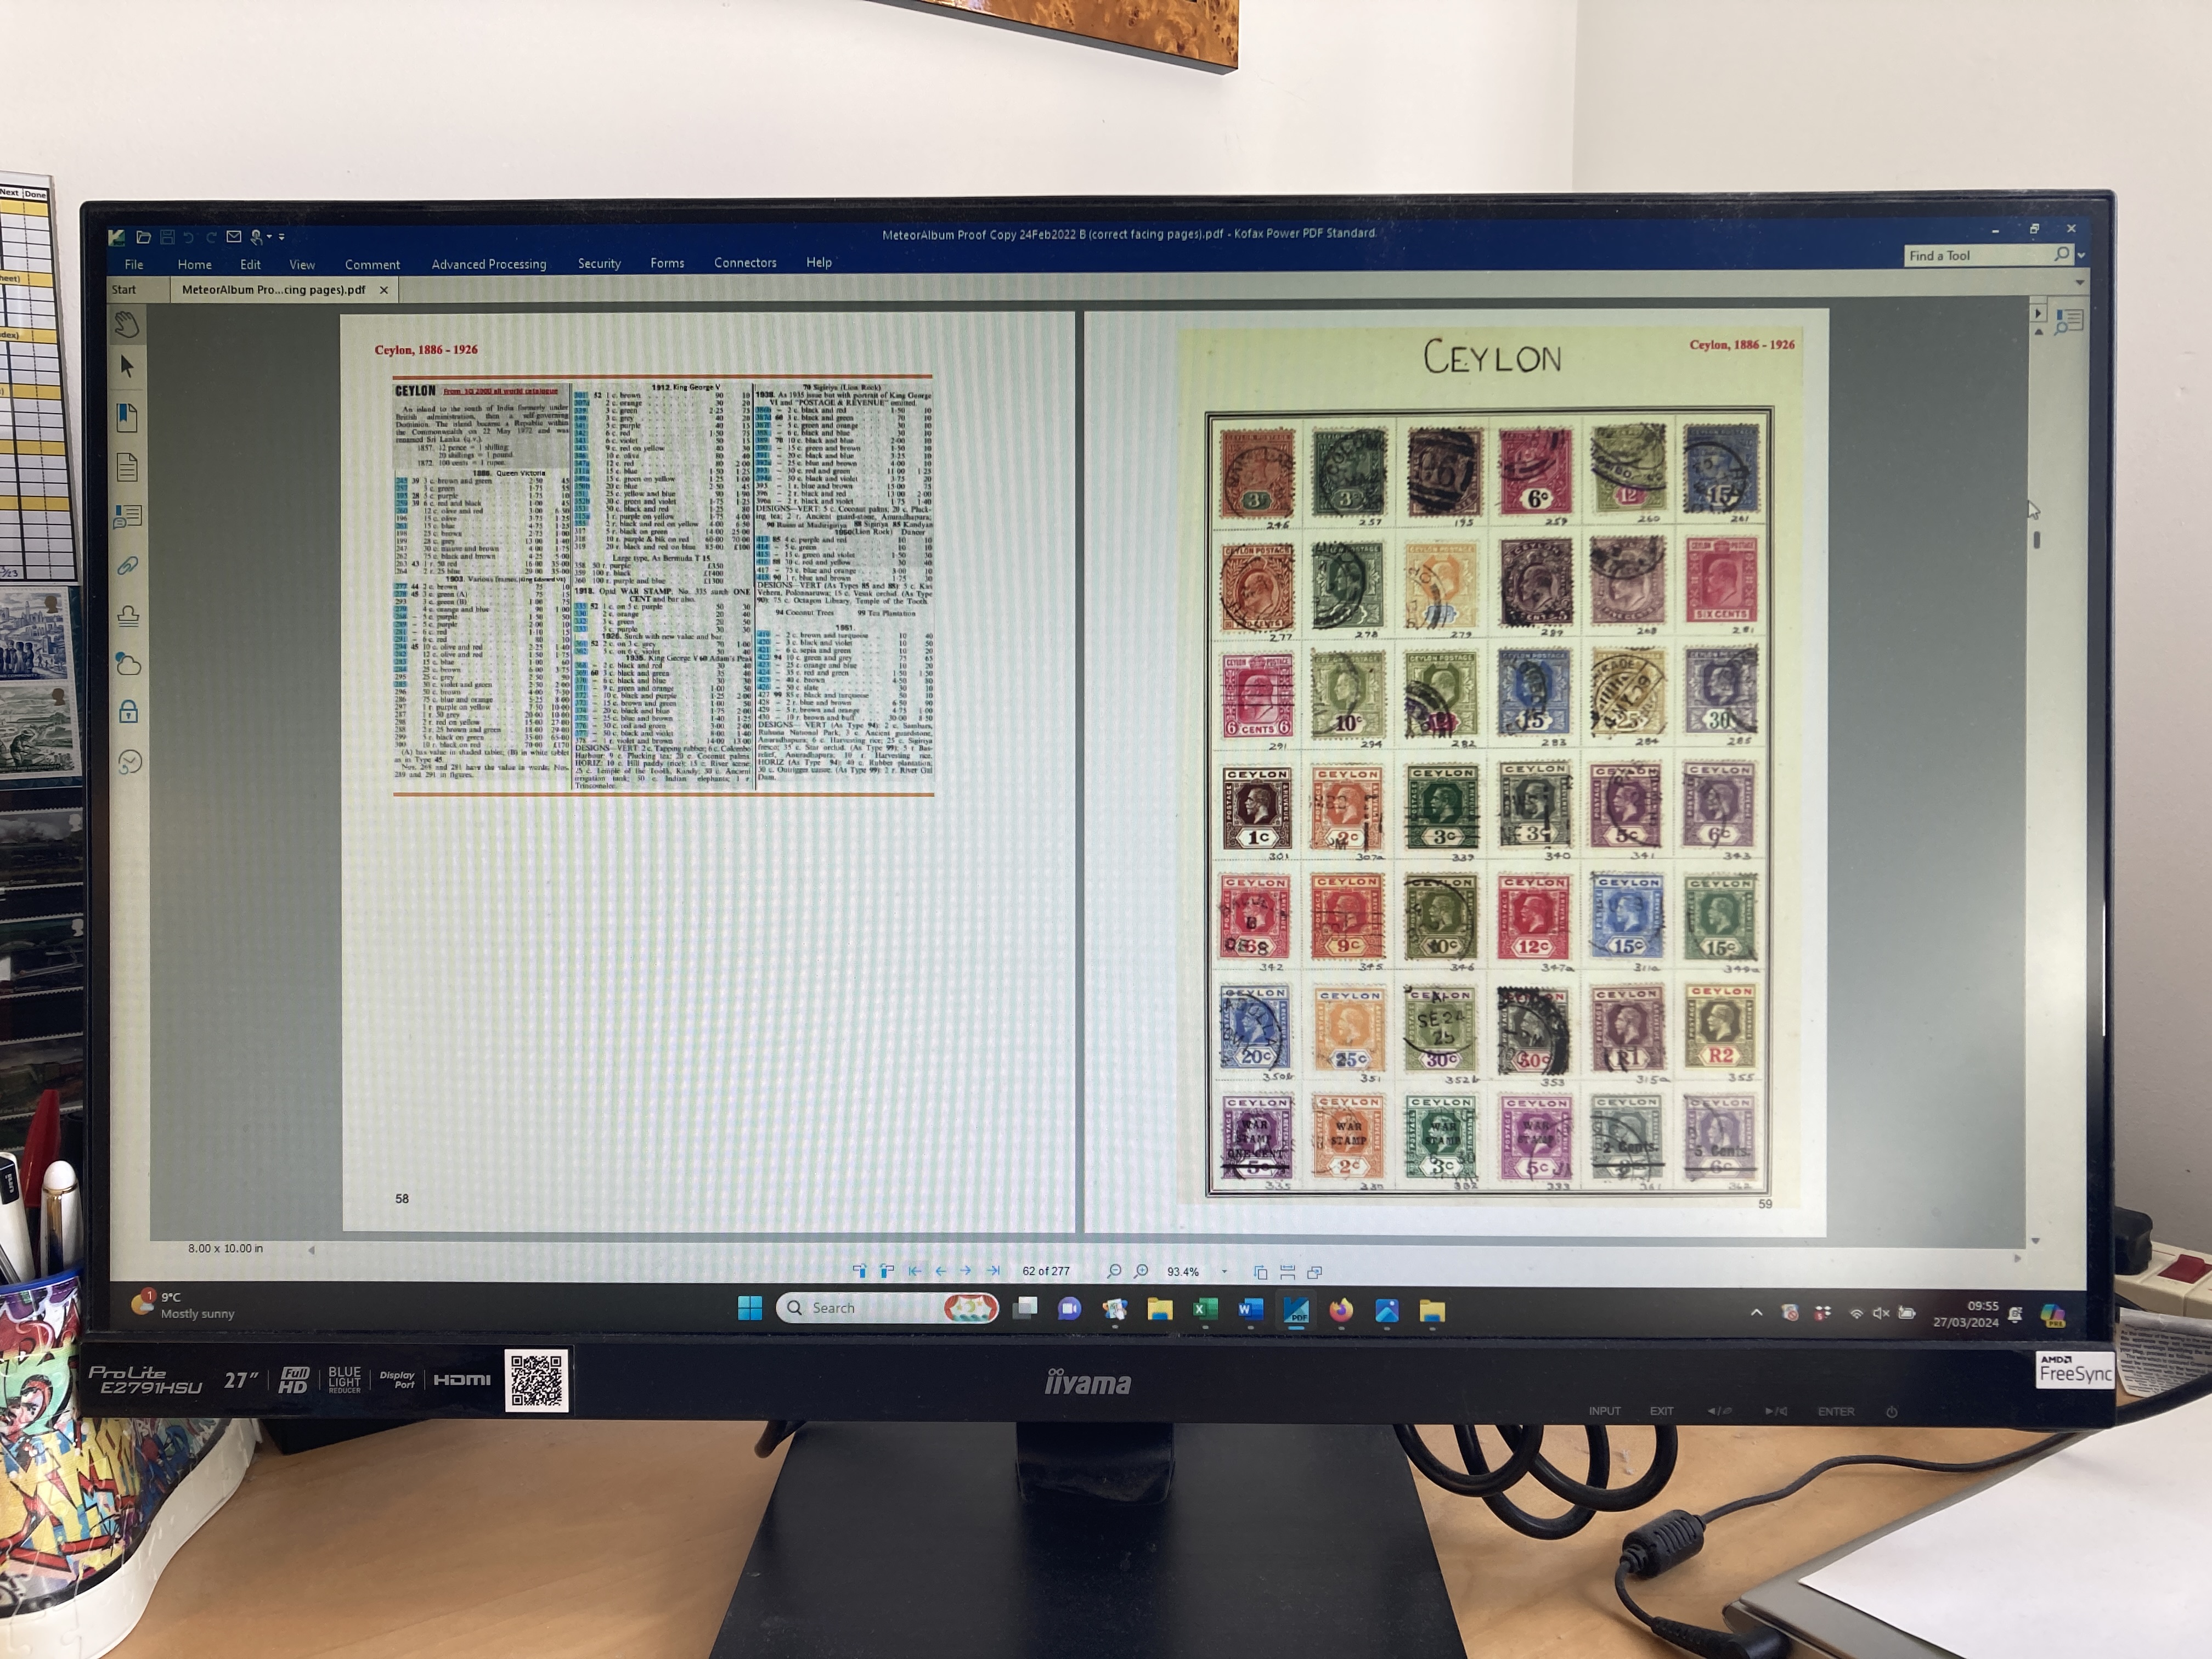
- Positions, sizes and colours of page numbers and running headers: I decided to provide a standard header on each page consisting of country name and date range of the stamps on the page, for example, ‘Ceylon, 1886 – 1926’. These would be placed in bold red 10 pt Times New Roman font at the top of each page, on the left side of the left-hand pages and on the right side of the right-hand pages. For page numbers, I used the standard Blurb function to place them in similar positions to the headers but at the bottom of the page, using bold black 10 pt Arial font. I realised that some of the page numbers might be obscured by the black surround of some album pages – but decided I would deal with that once I’d got everything in place.
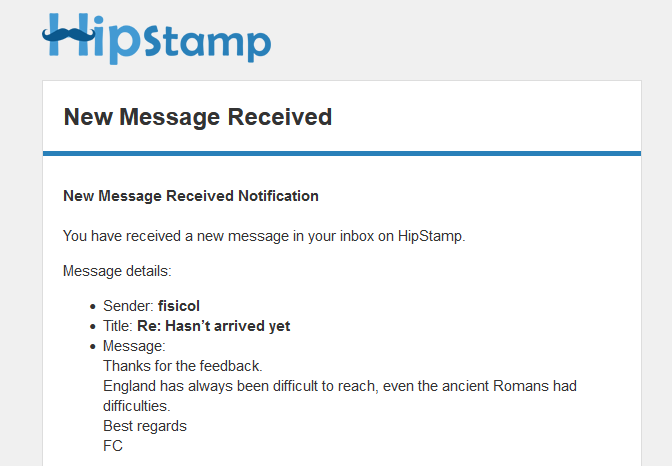
With all these preparations complete, I started assembling the contents of the book on the 1st February. It took roughly 100 hours over a 17-day period to scan all 169 album pages, check all the catalogue images against each scanned album page, and to insert both album page scan and relevant catalogue image into the BookWright application. Conveniently, the last stamp I was waiting for to complete the album arrived on the penultimate day of scanning after a 30-day journey from Italy. I had been waiting for it for three weeks before messaging the vendor, Fisicol (an Italian dealer using the Hipstamp site), asking when I could expect it, and he advised that it often took three or four weeks; and sure enough it arrived a week later. Shortly after setting the status to ‘Received’ and providing feedback, I received the following memorable message from Fisical:
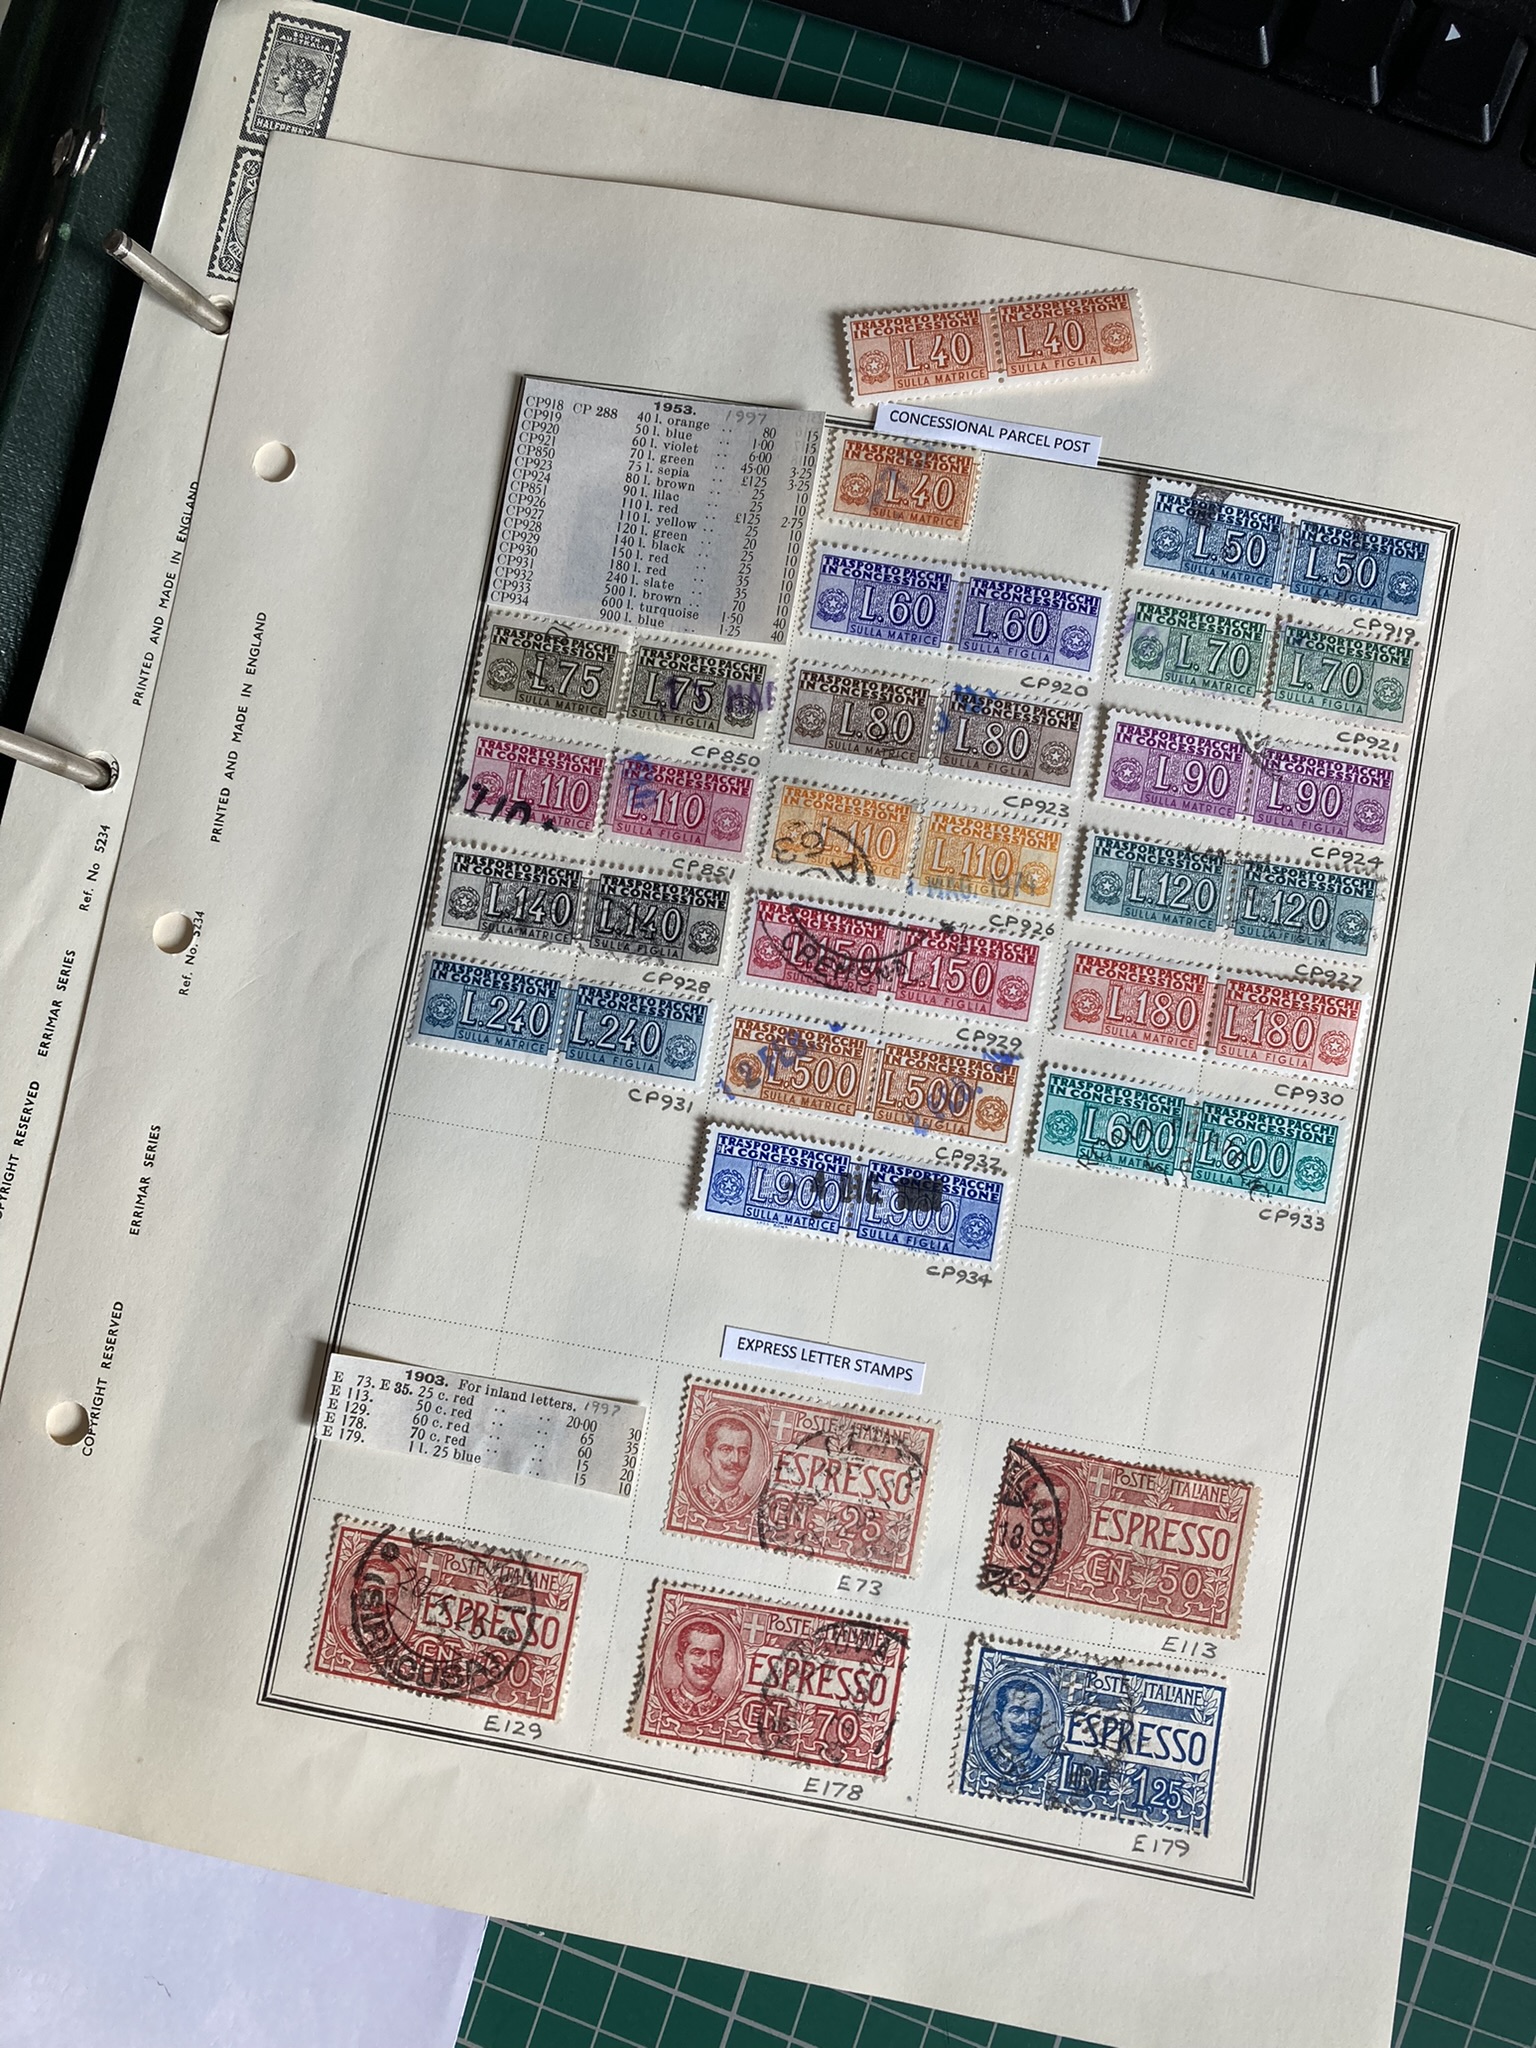
 I duly placed this, the last of the two thousand and forty seven Italian stamps, with some sense of achievement, into the Concessional Parcel Post section of the Italian collection, replacing the single left-hand version for which I had been unable to obtain a right-hand partner. The whole collection totalled 4084 stamps dated between 1860 and 1980, from 33 countries.
 After some final tidying and checking of the whole volume in Bookwright, I sent the book for printing at a cost of £81 a copy. I now have three copies of a beautiful, glossy, 274-page, book containing an introduction and both albums – one for myself and one set aside for each for my two grandchildren which I shall give them when they are a little bit older.
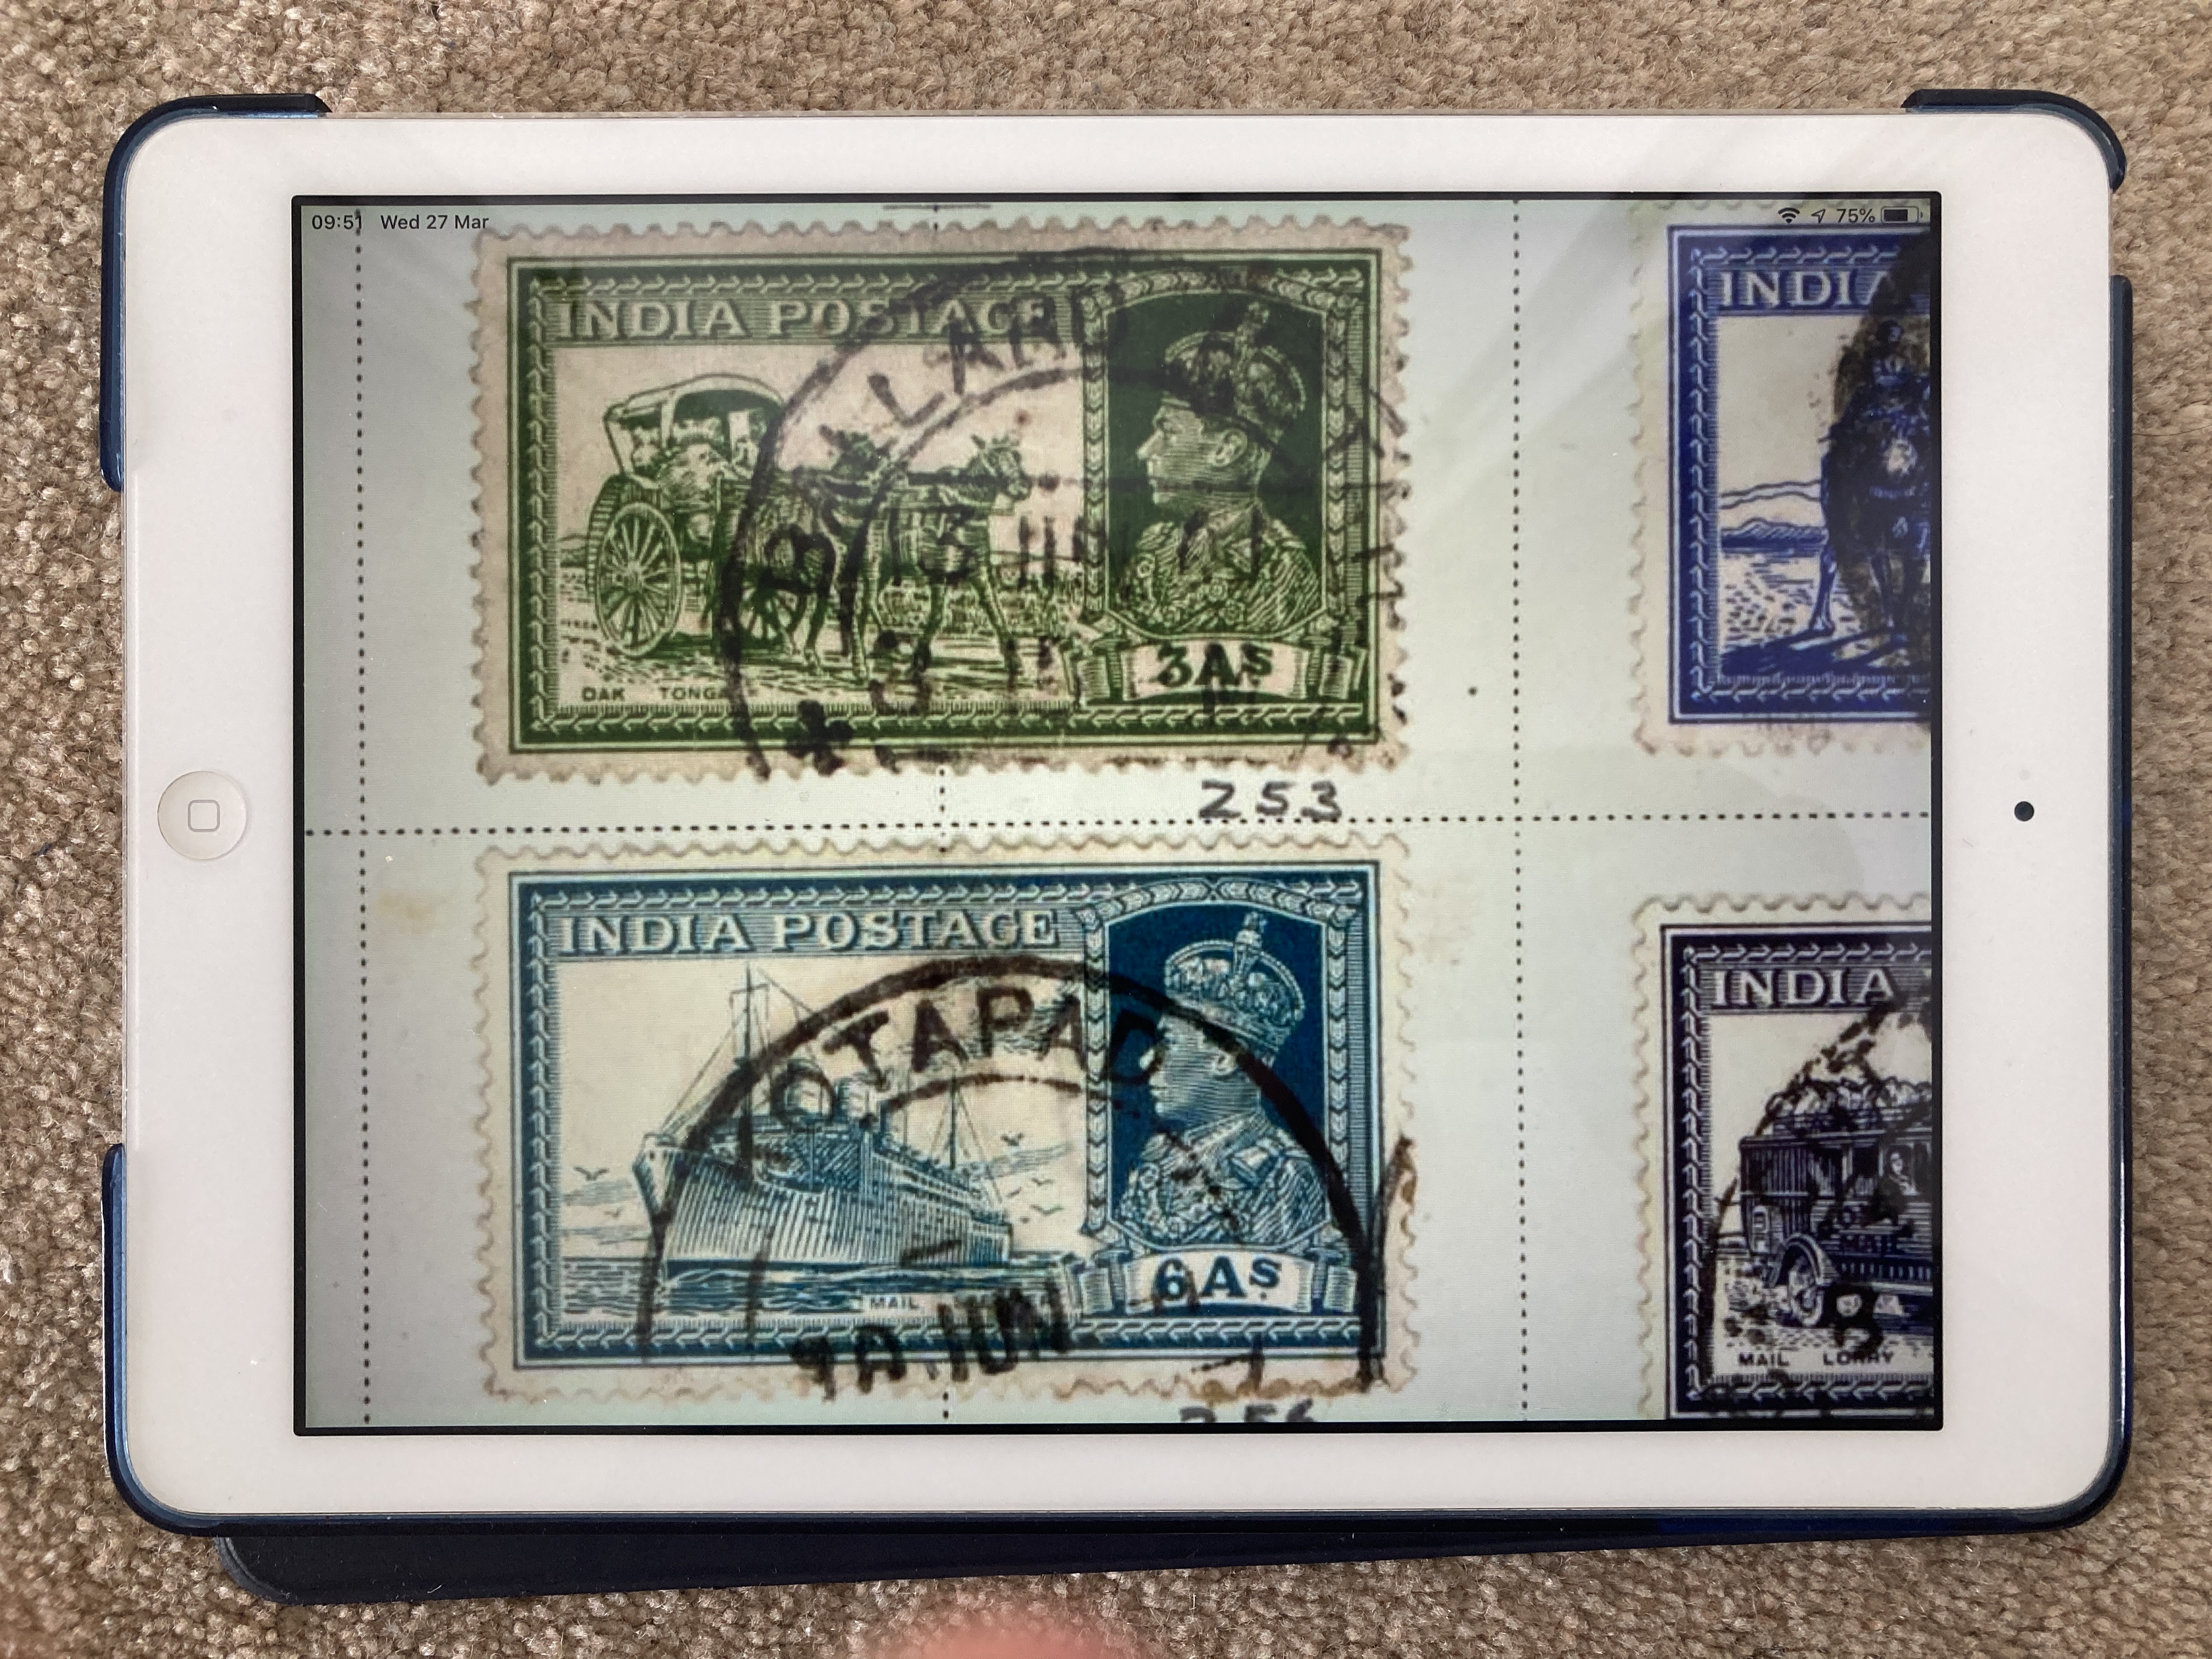
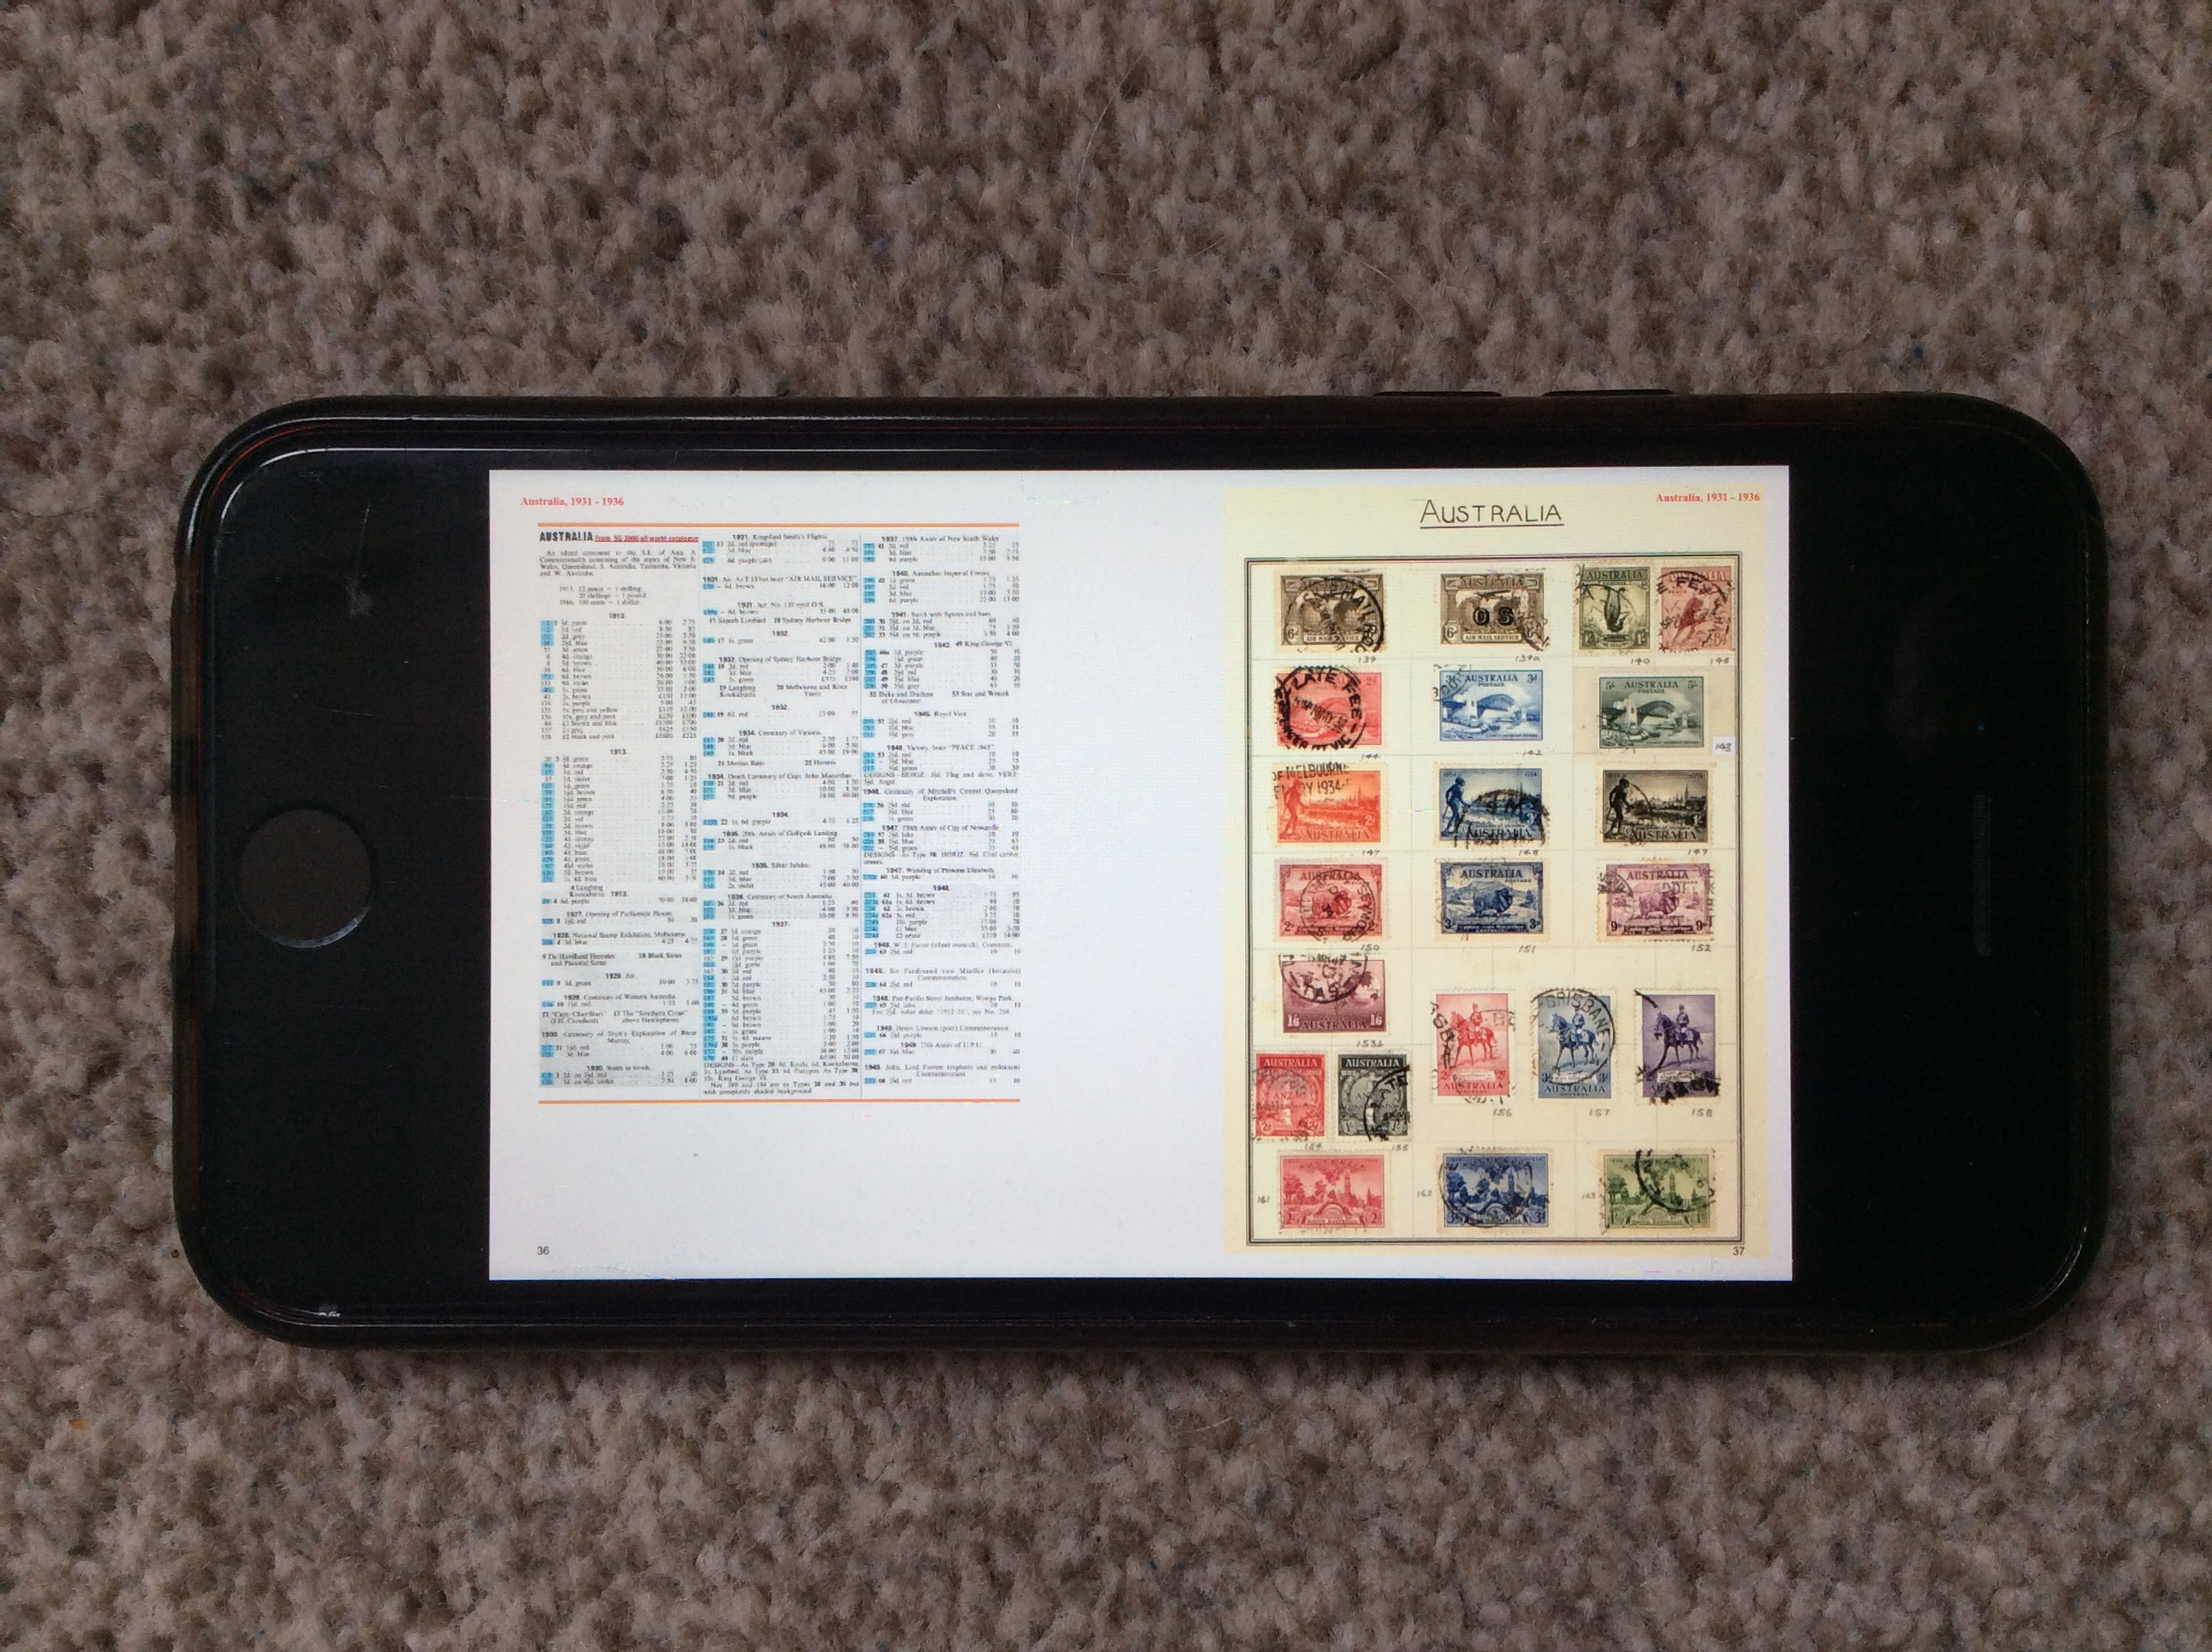
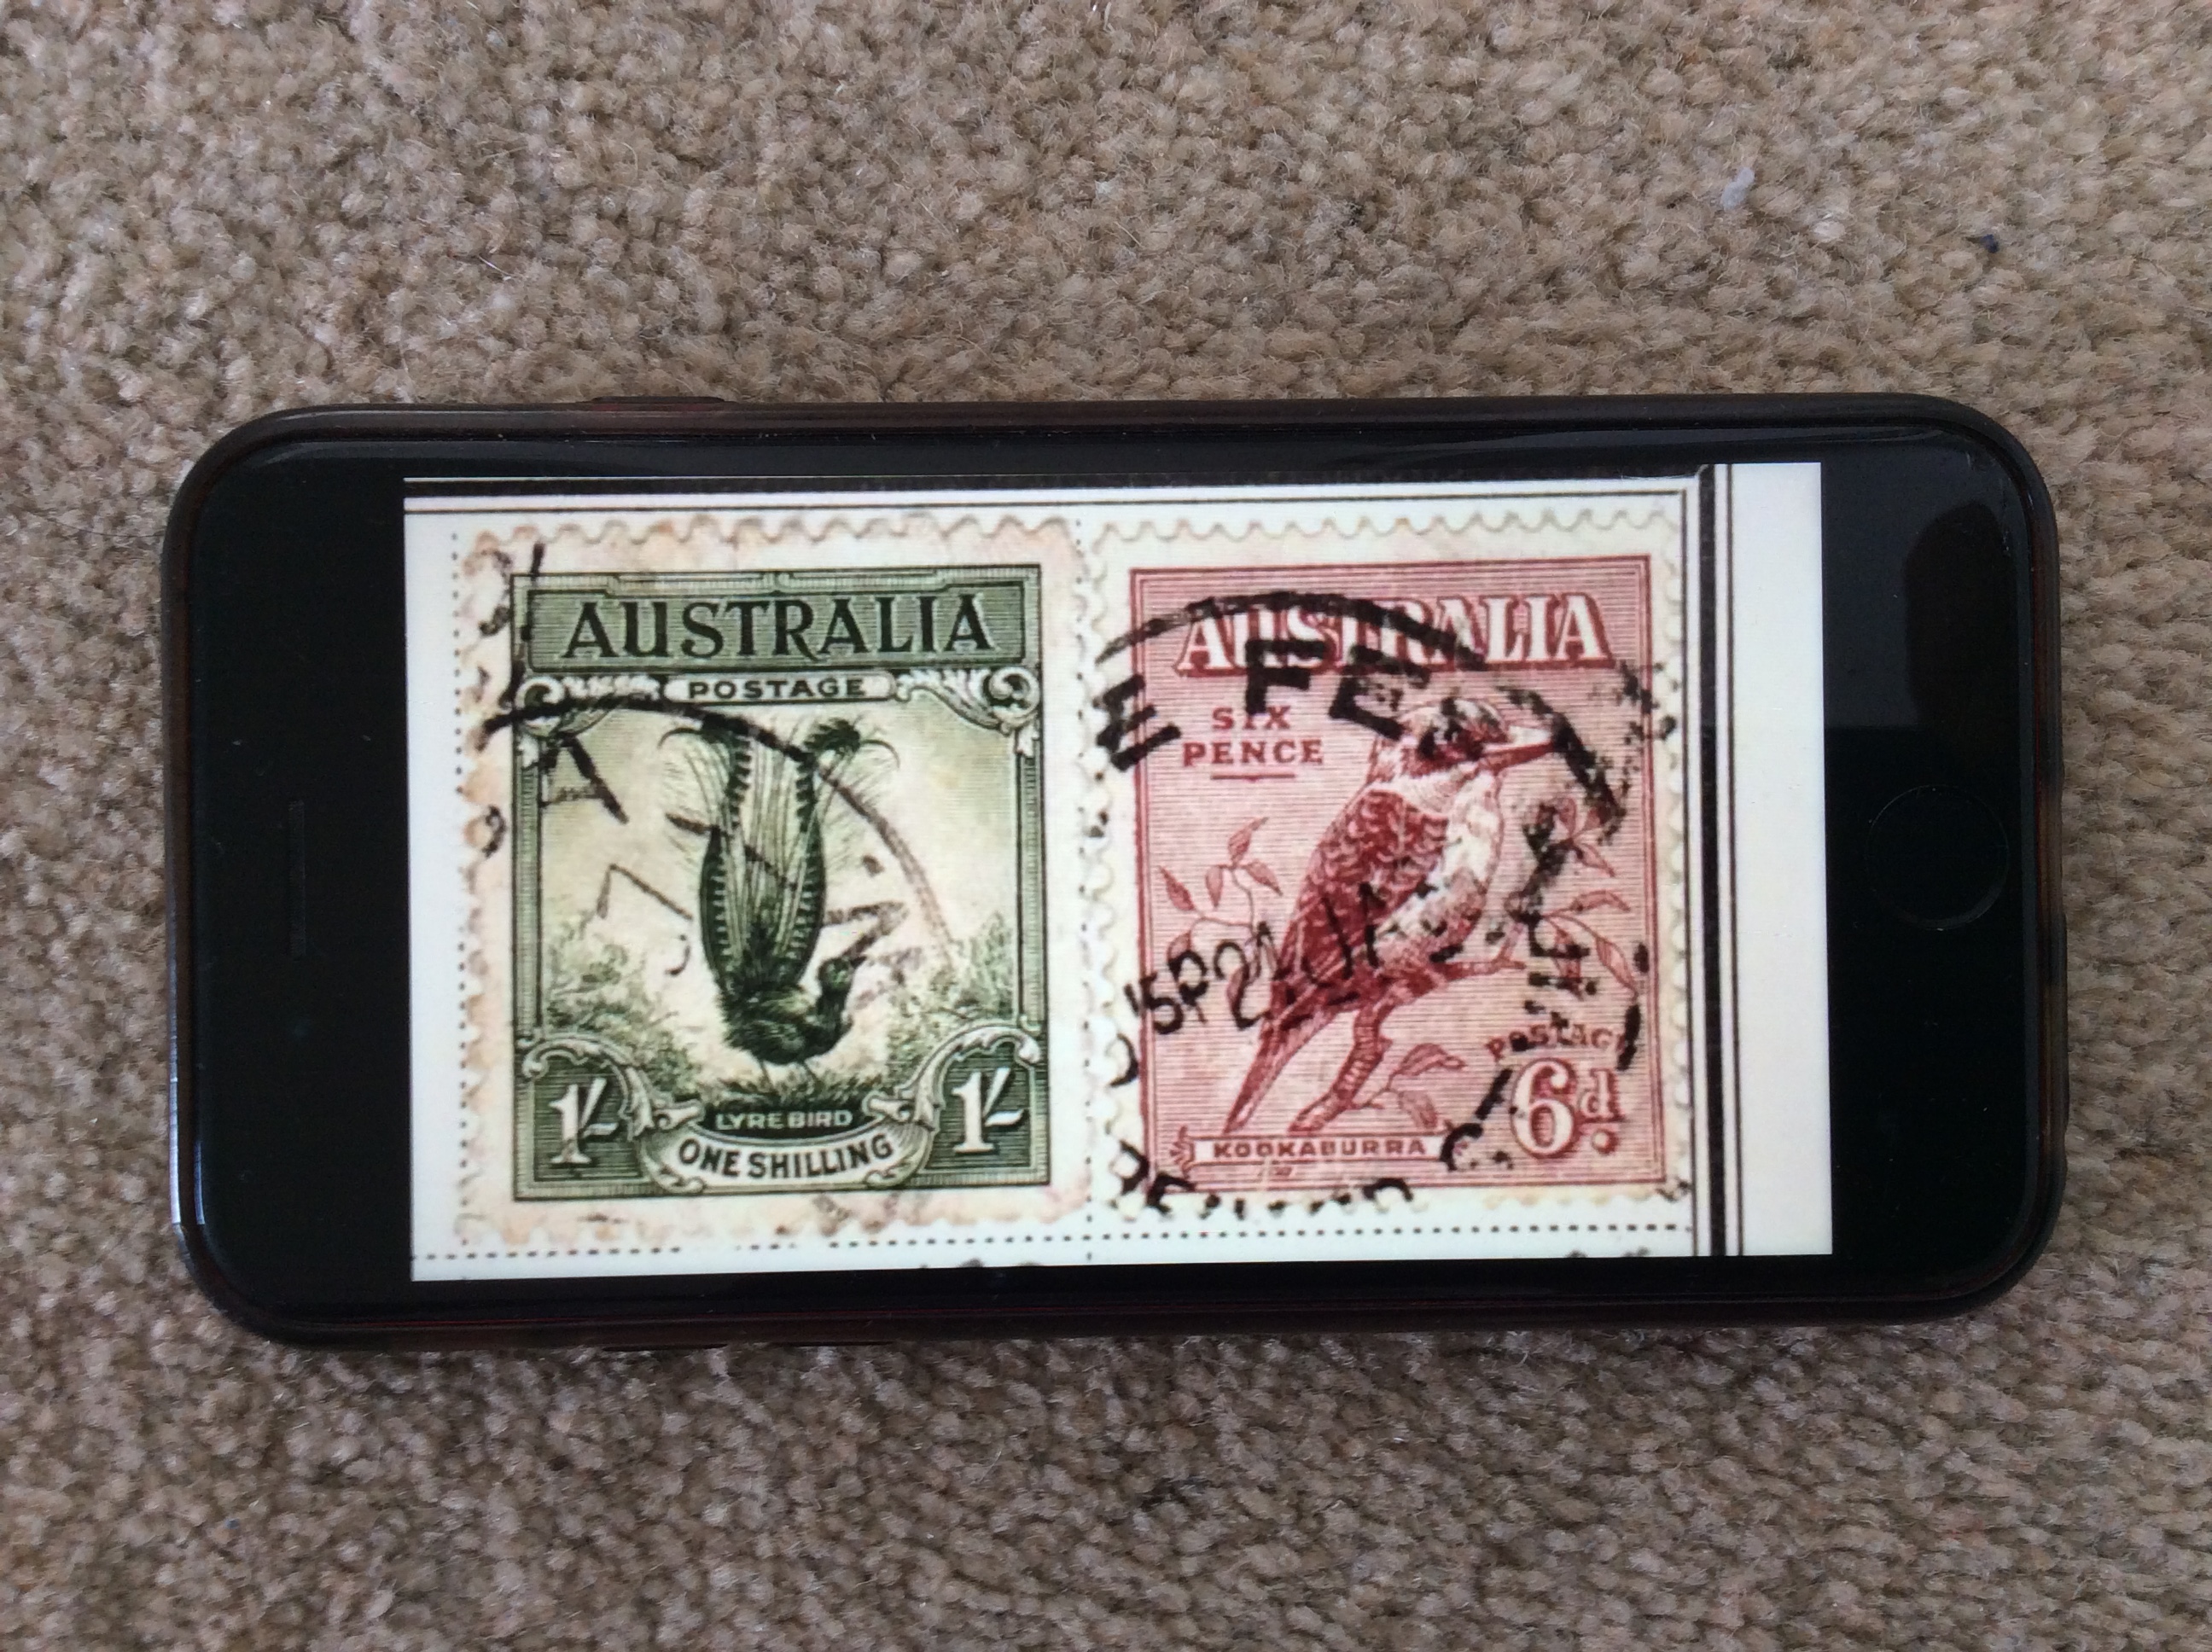
 I also have a PDF version on my laptop, my tablet, and my phone; and an eBook version if I need it. In addition to their portability, these electronic versions have another advantage – the images of the fronts of individual stamps can be significantly enlarged should there be a desire to inspect them more closely.
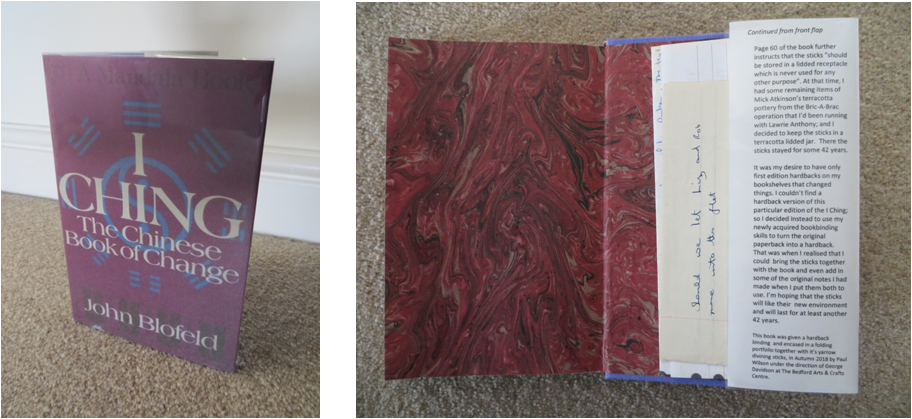
Oh, and, by the way, I did succeed in using Word’s BOOK FOLD function to print out two folios of catalogue pages which I stitched together and fixed into the back of the other countries album as shown below.