Final Observations and Frame Works

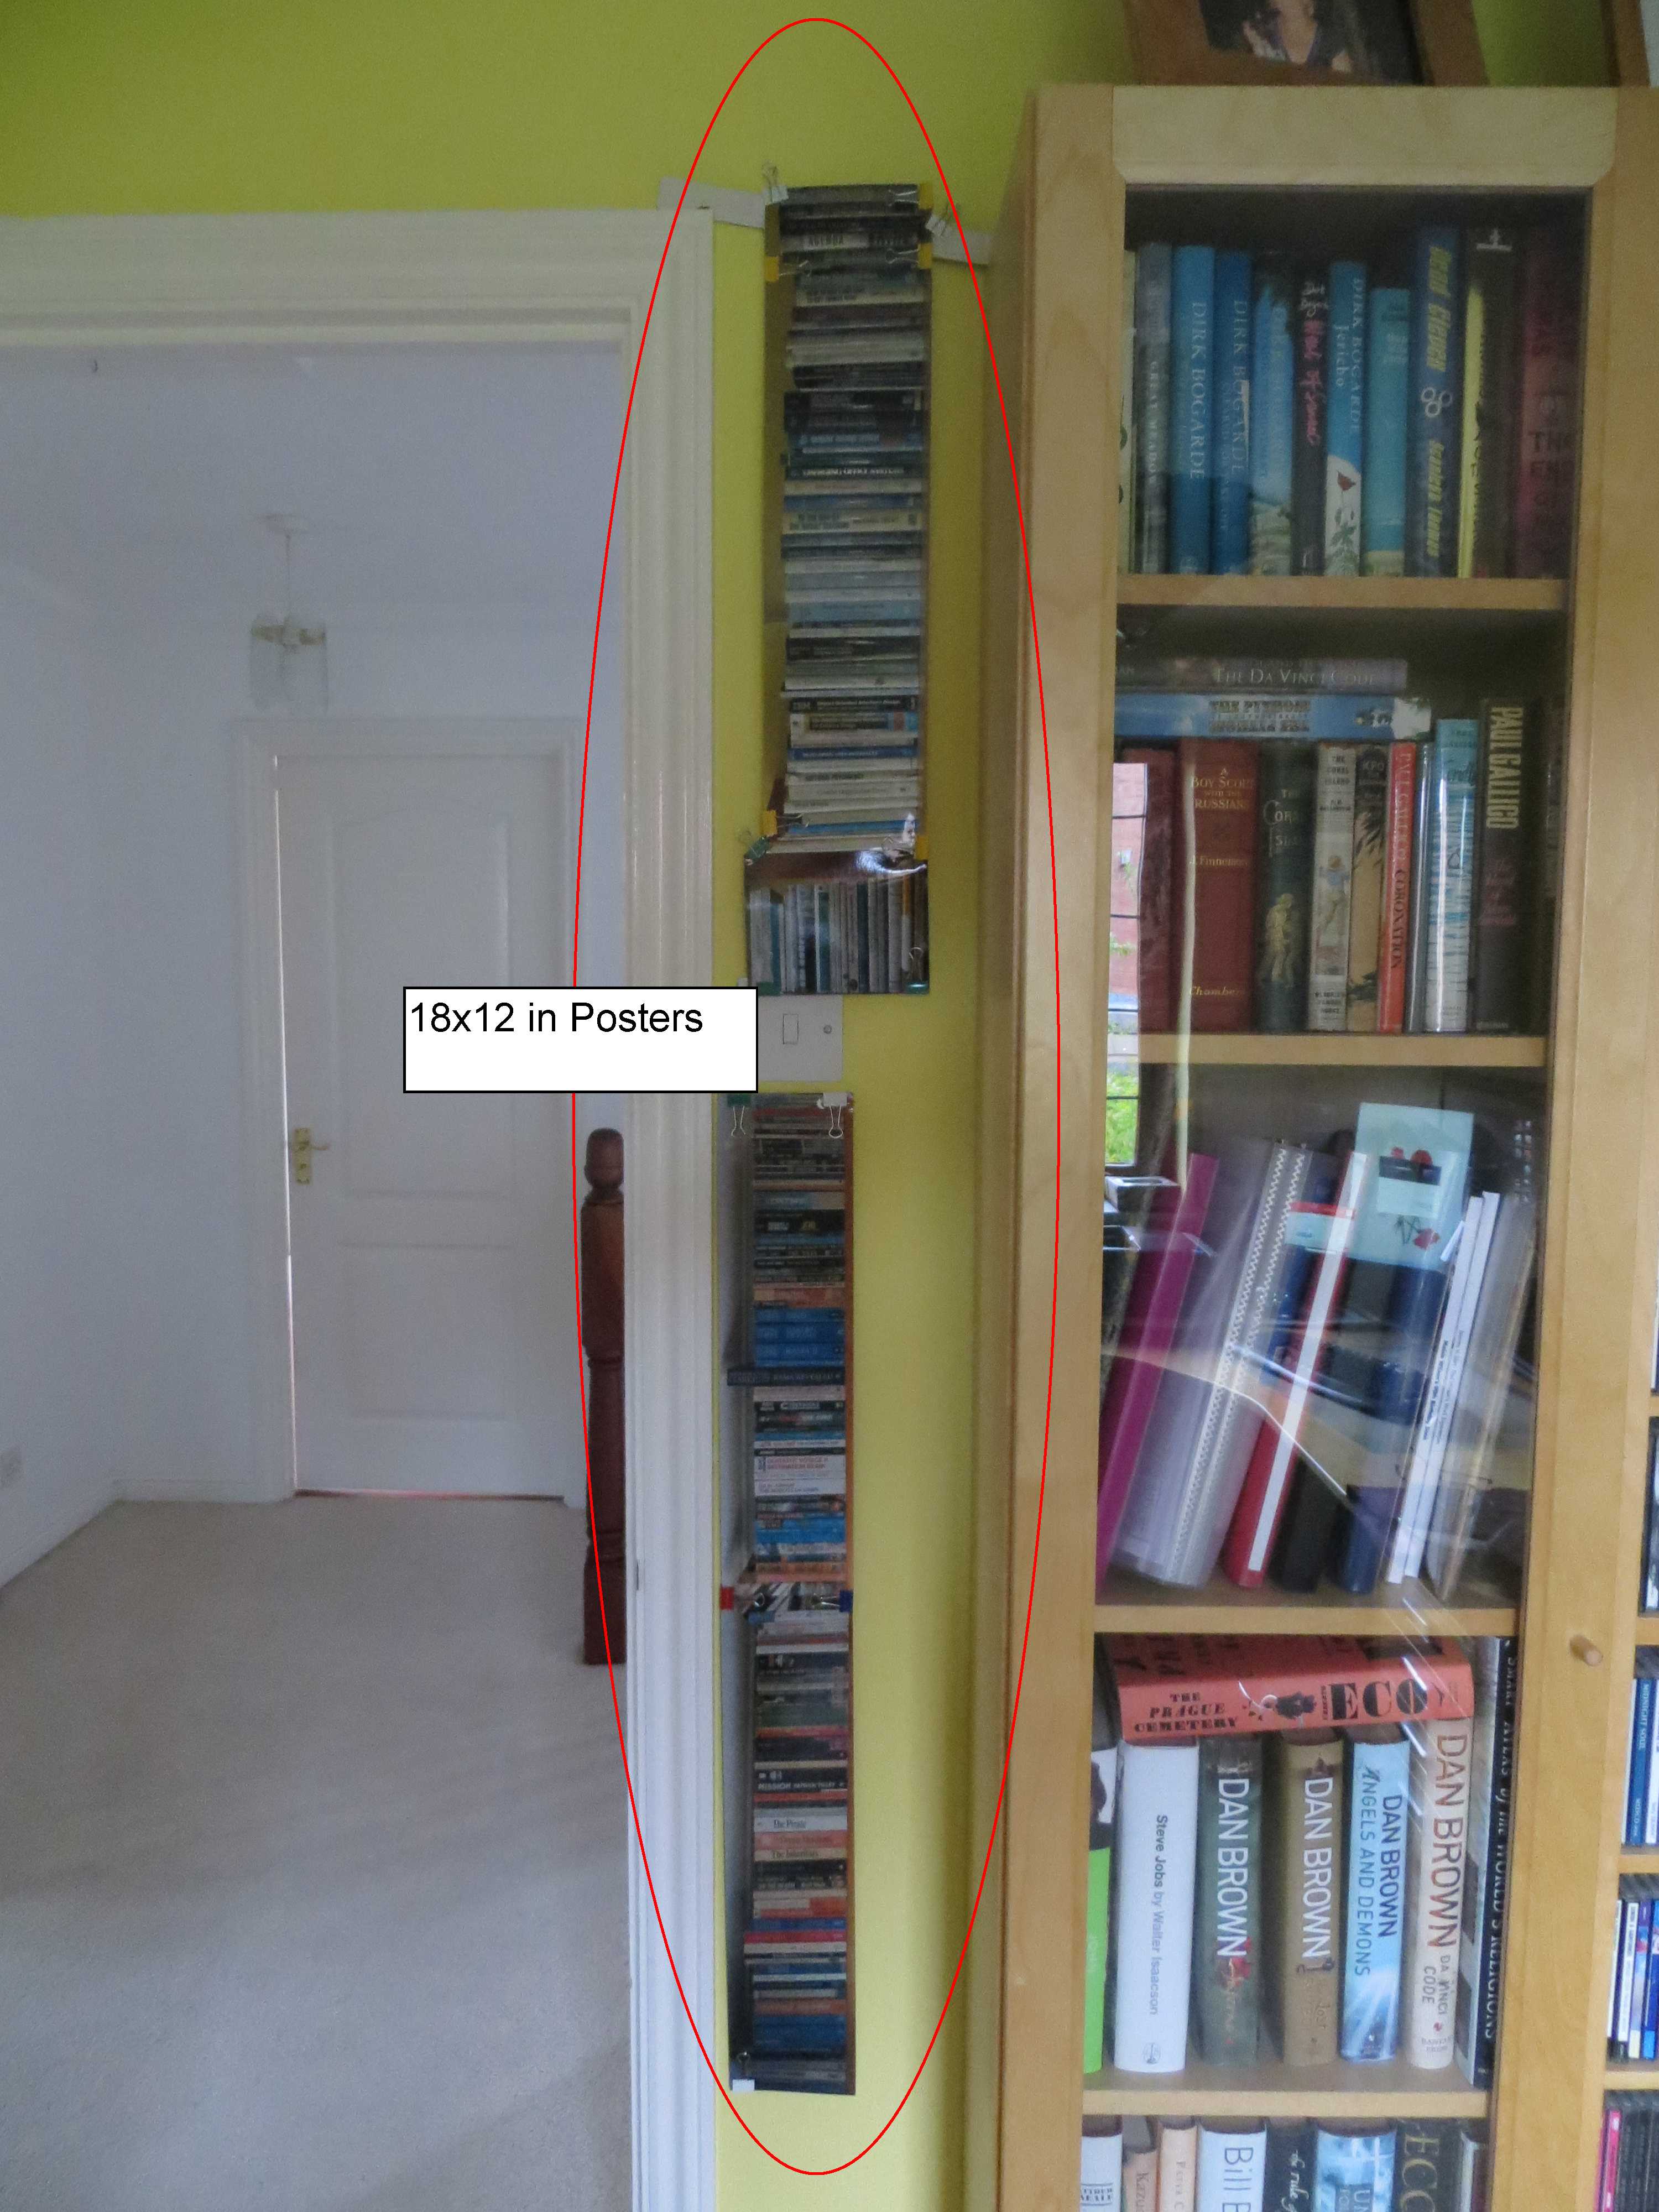
After spending 6 weeks with the four different sizes of bookshelf posters on my wall (40×30 in – full size, 30×20 , 18×12, 15×10), last week I came to these conclusions:

  • While the full size version is easiest to see and read, the next size down – 30×20 in – is still perfectly usable;
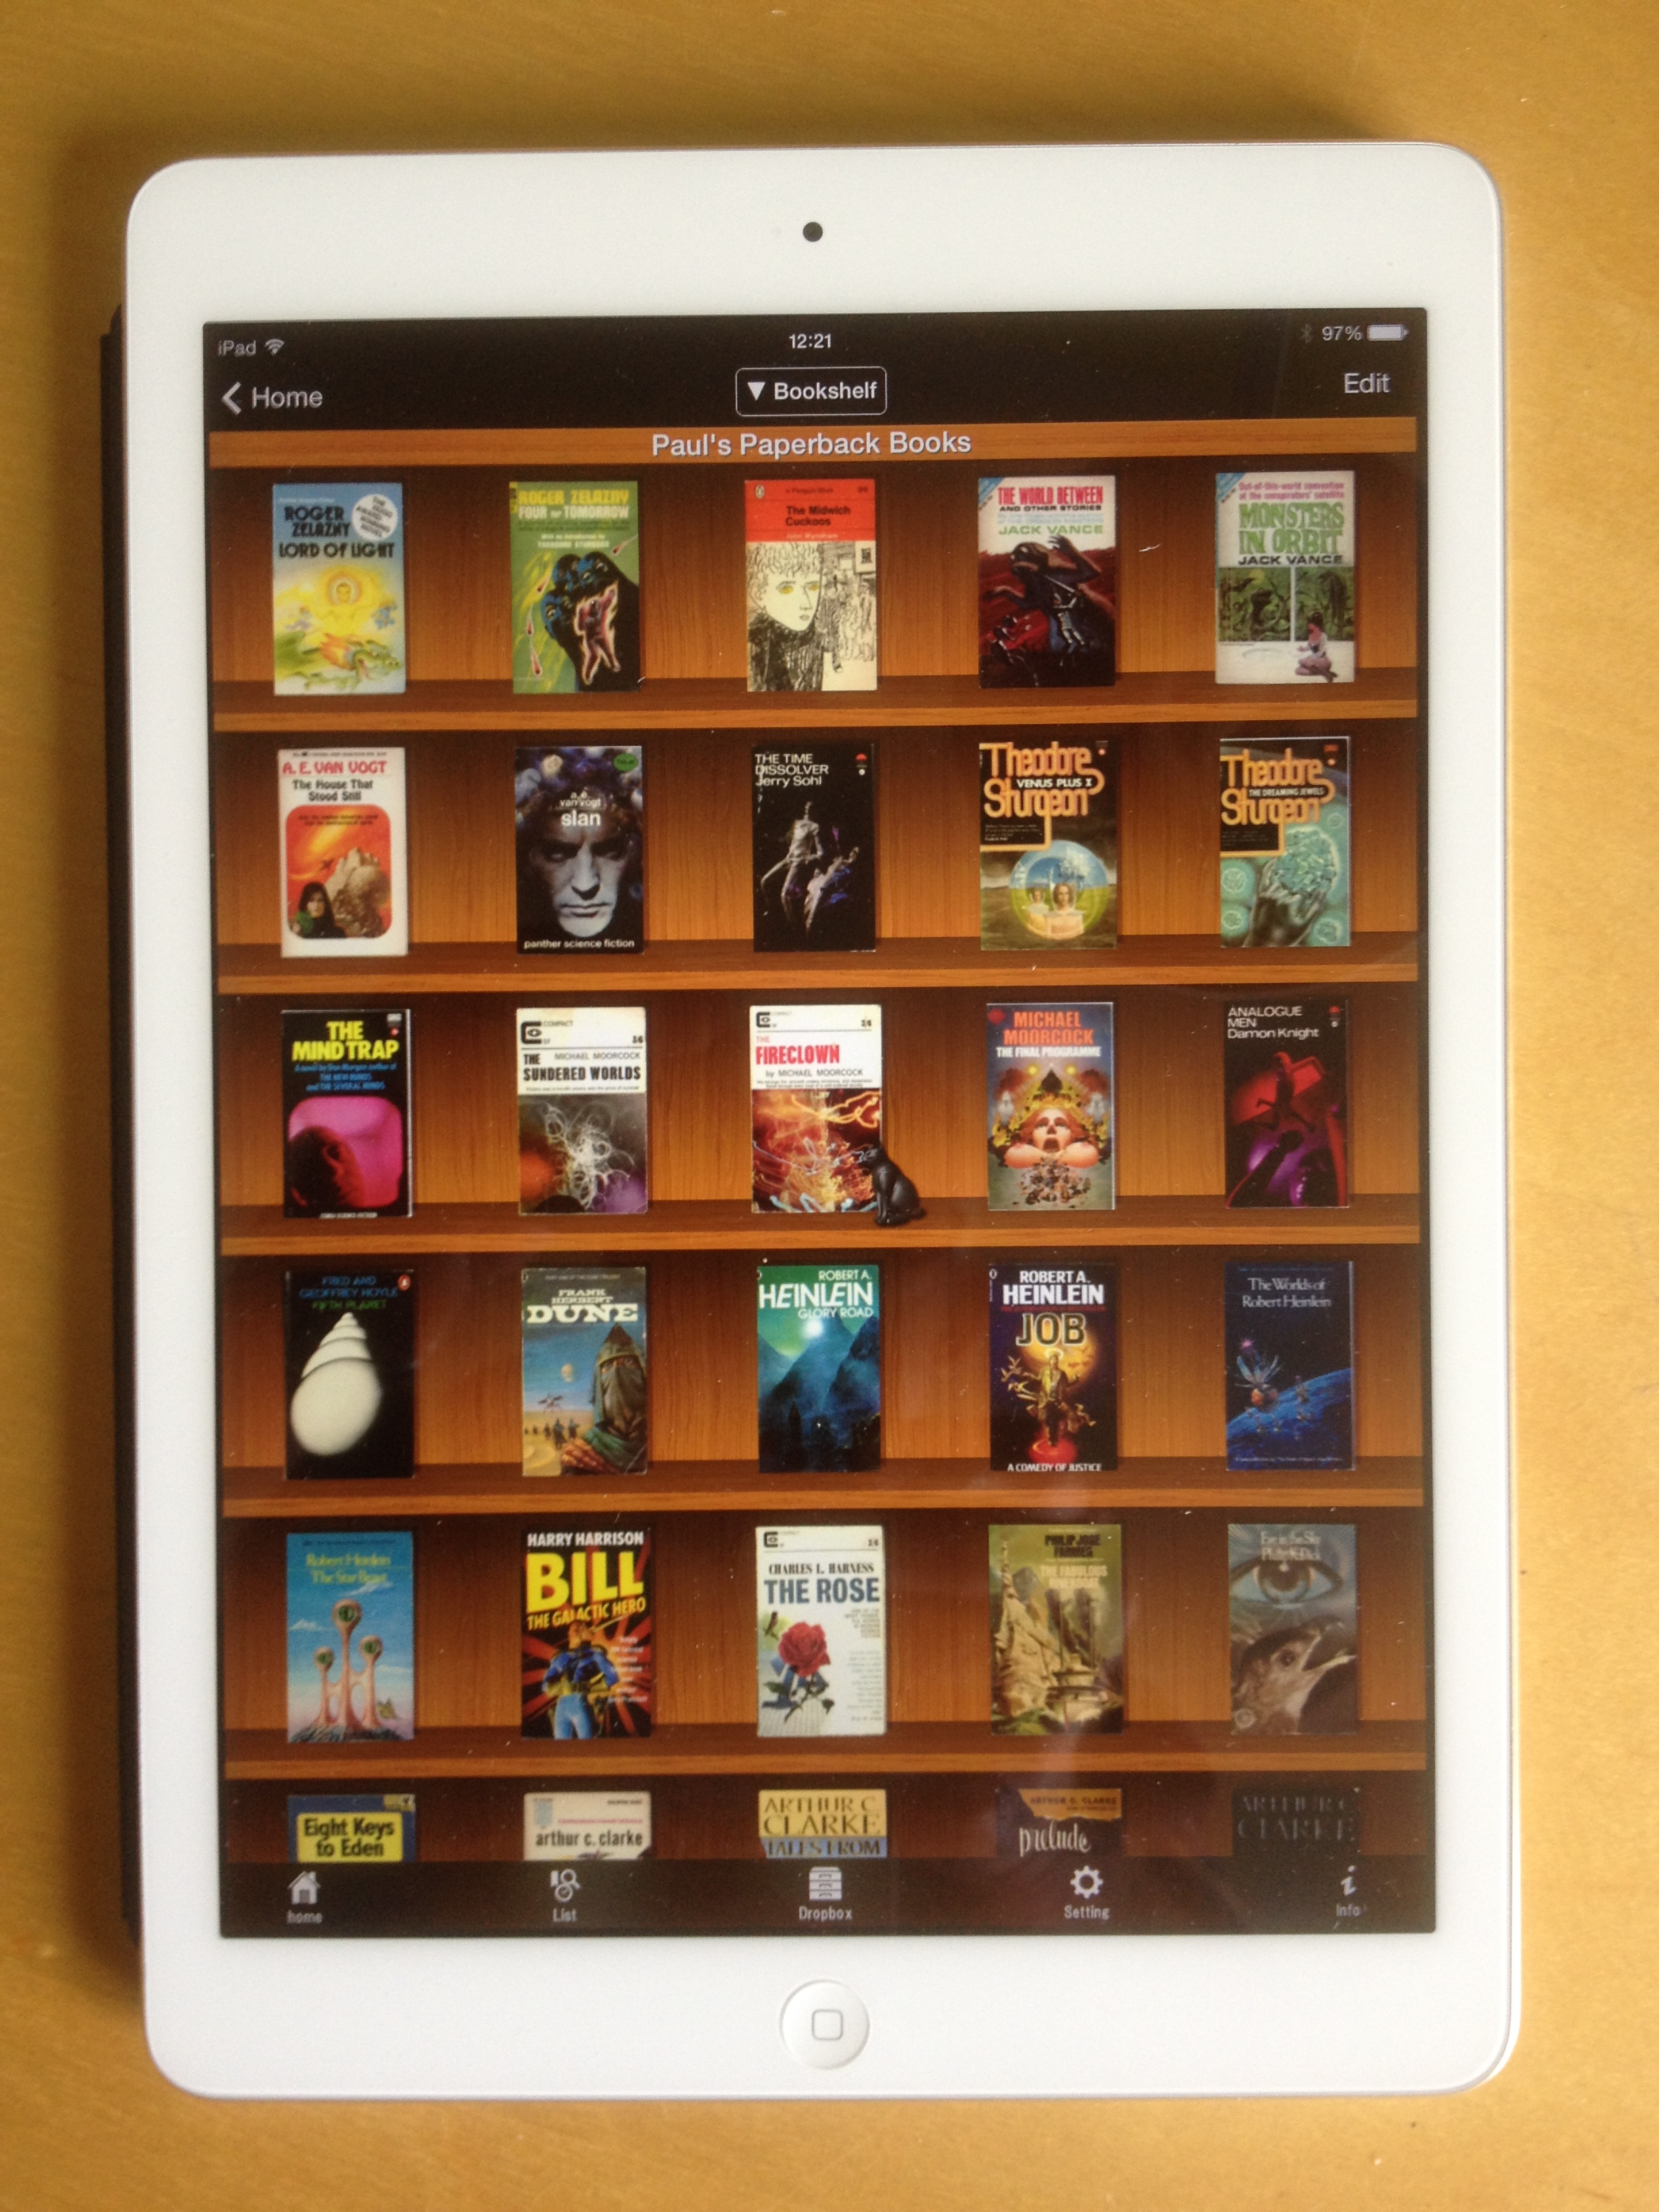
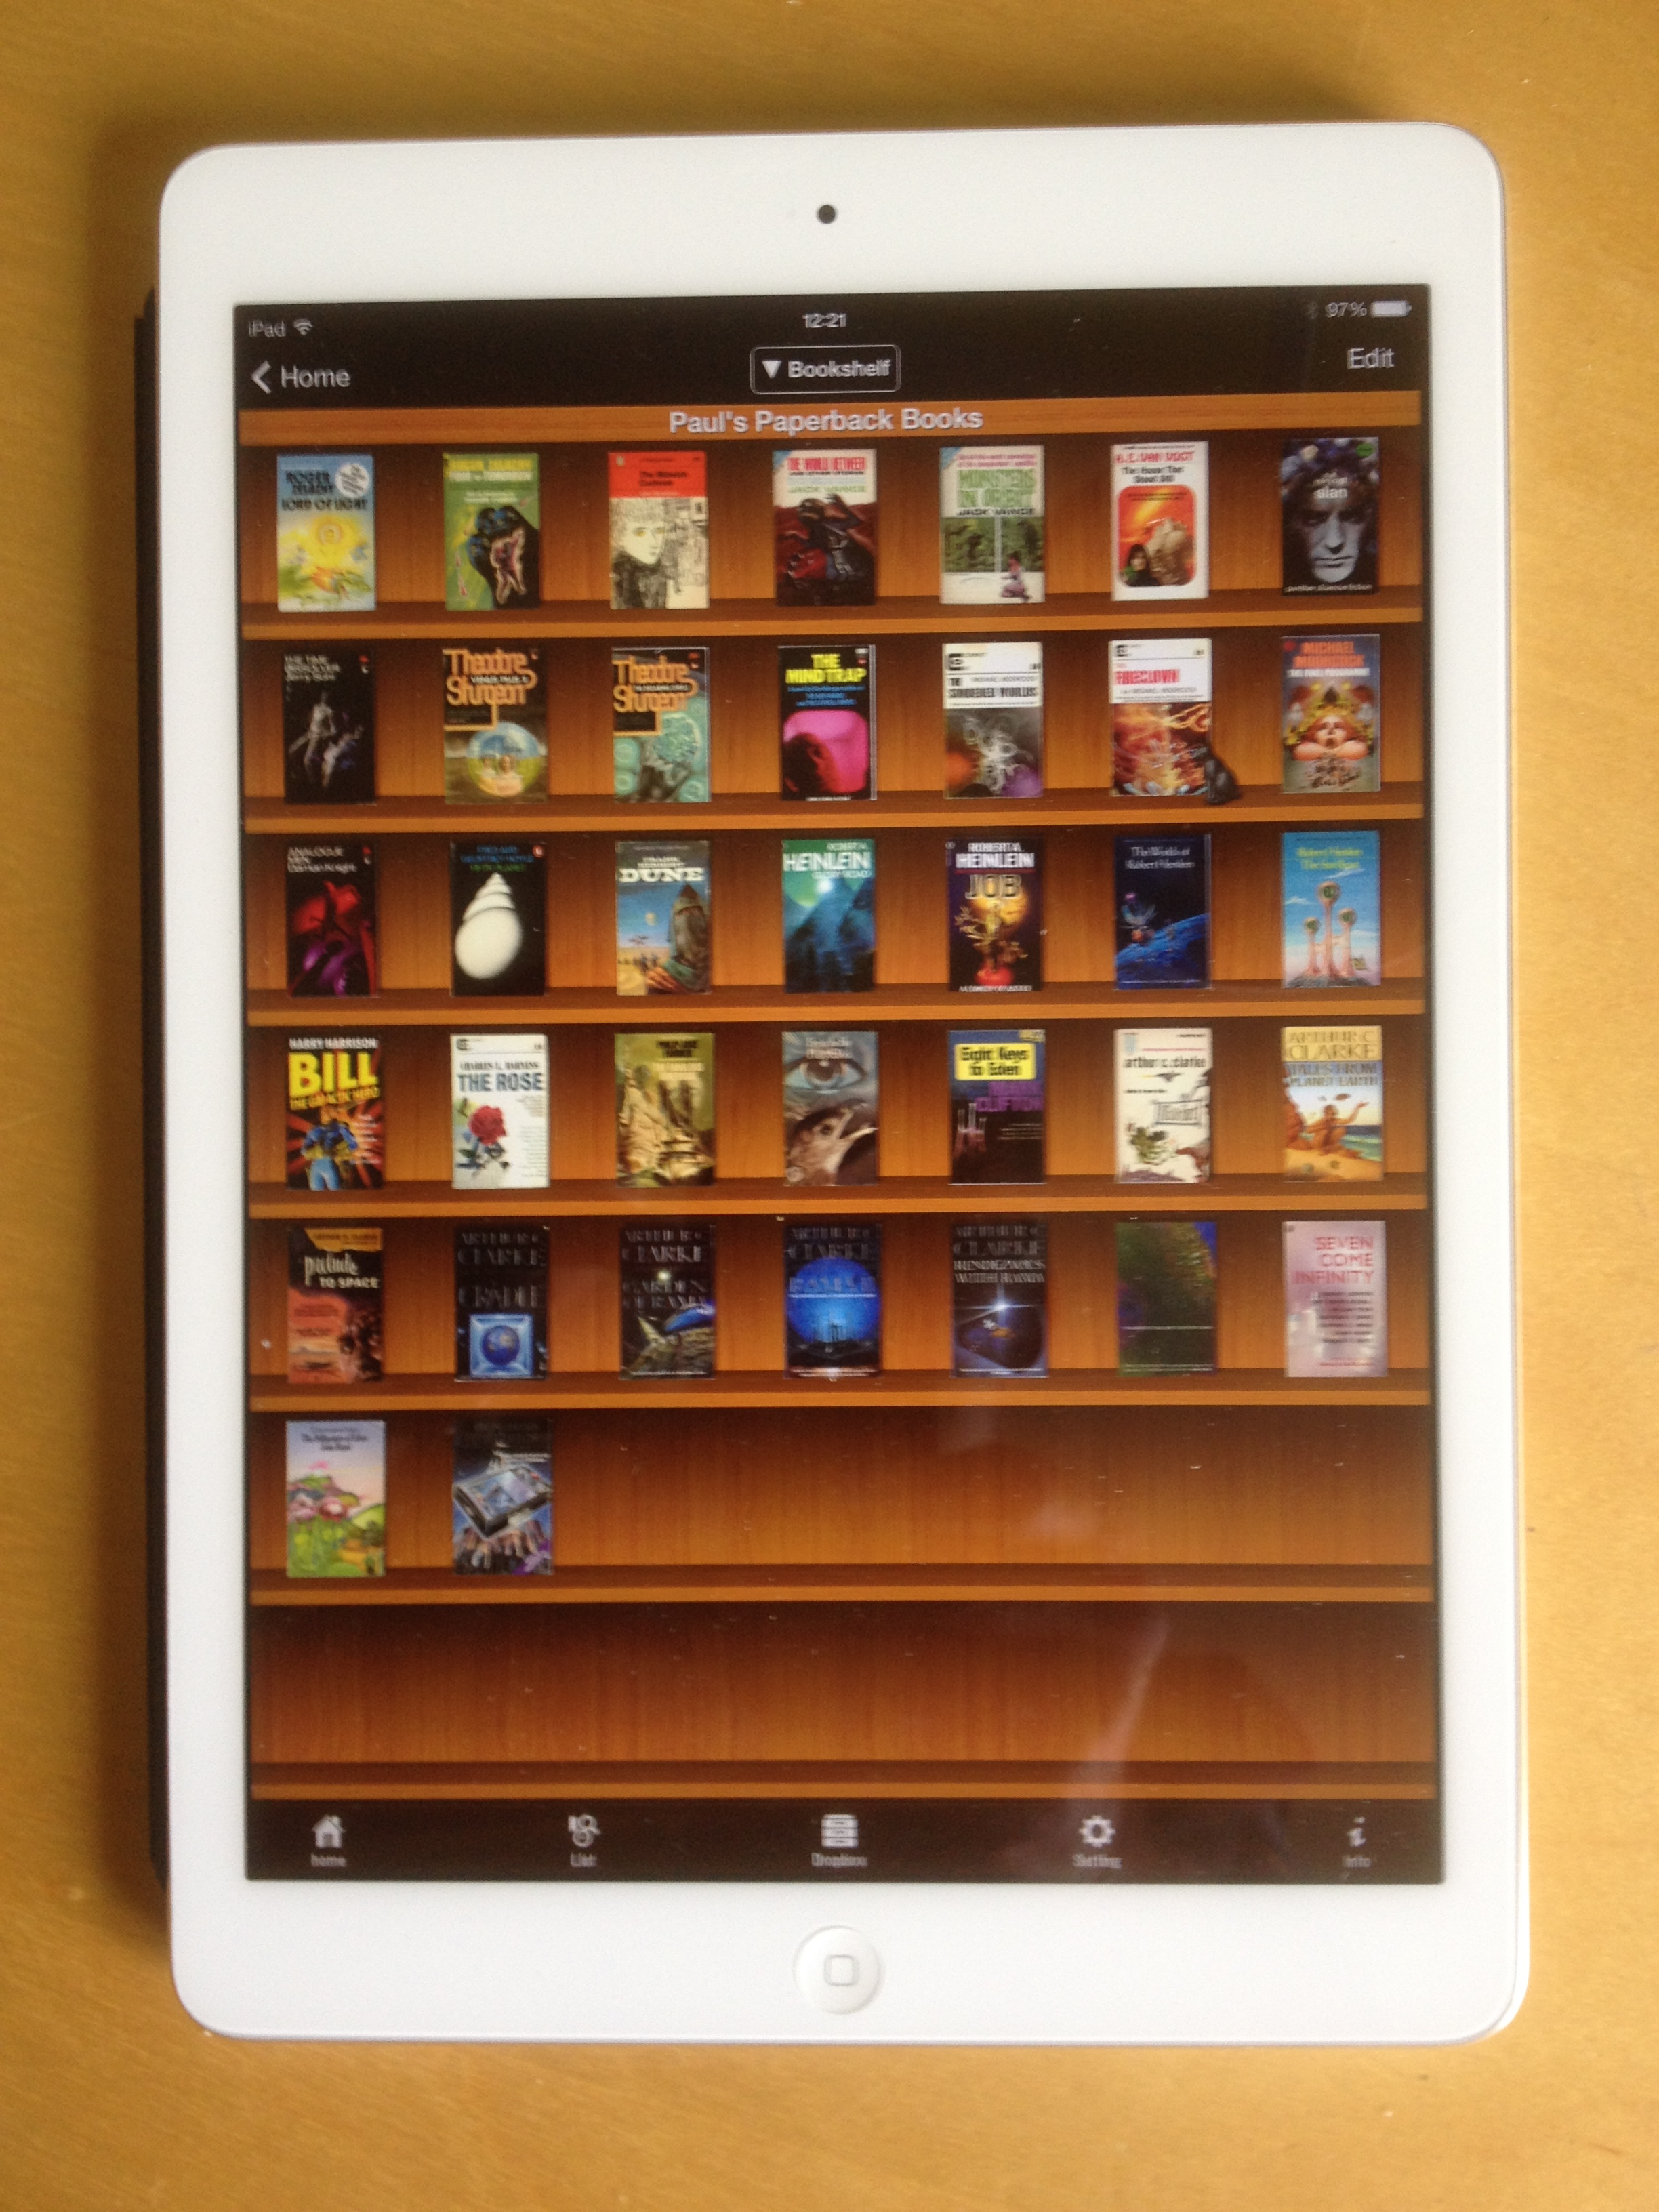
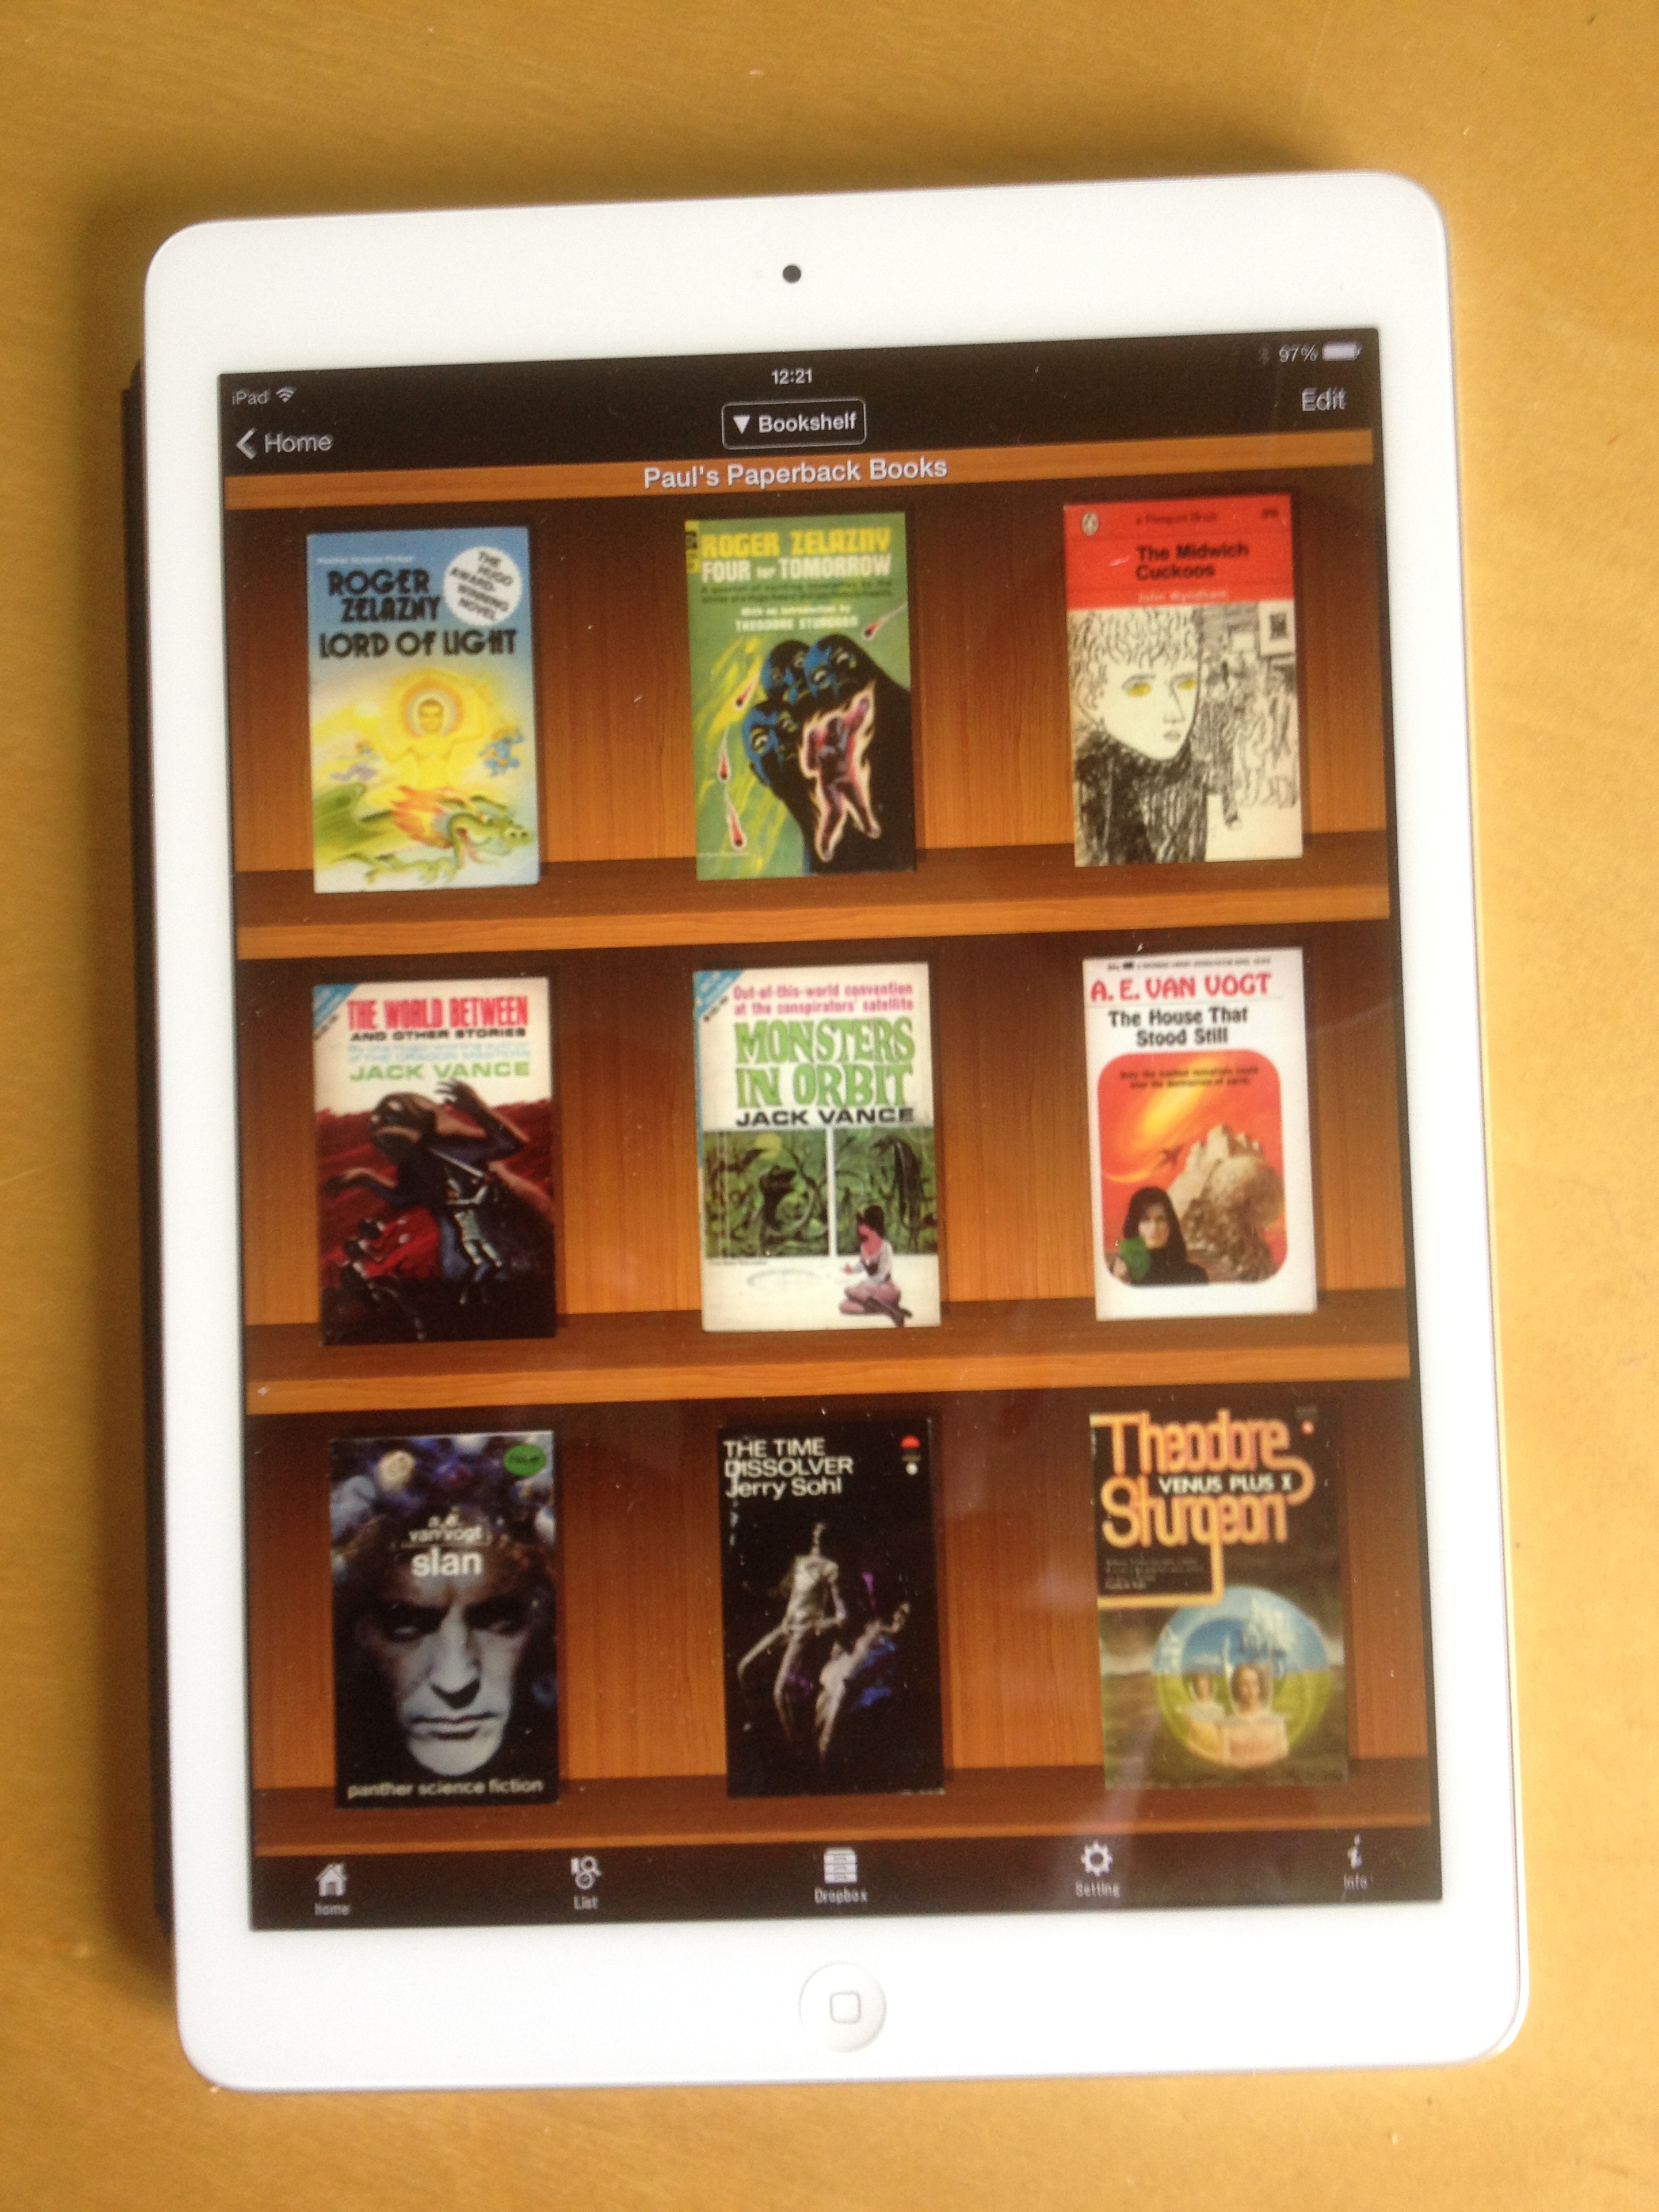
  • Even the two smallest sizes provide sufficient detail to be able to distinguish between books and to find them in the iPad.
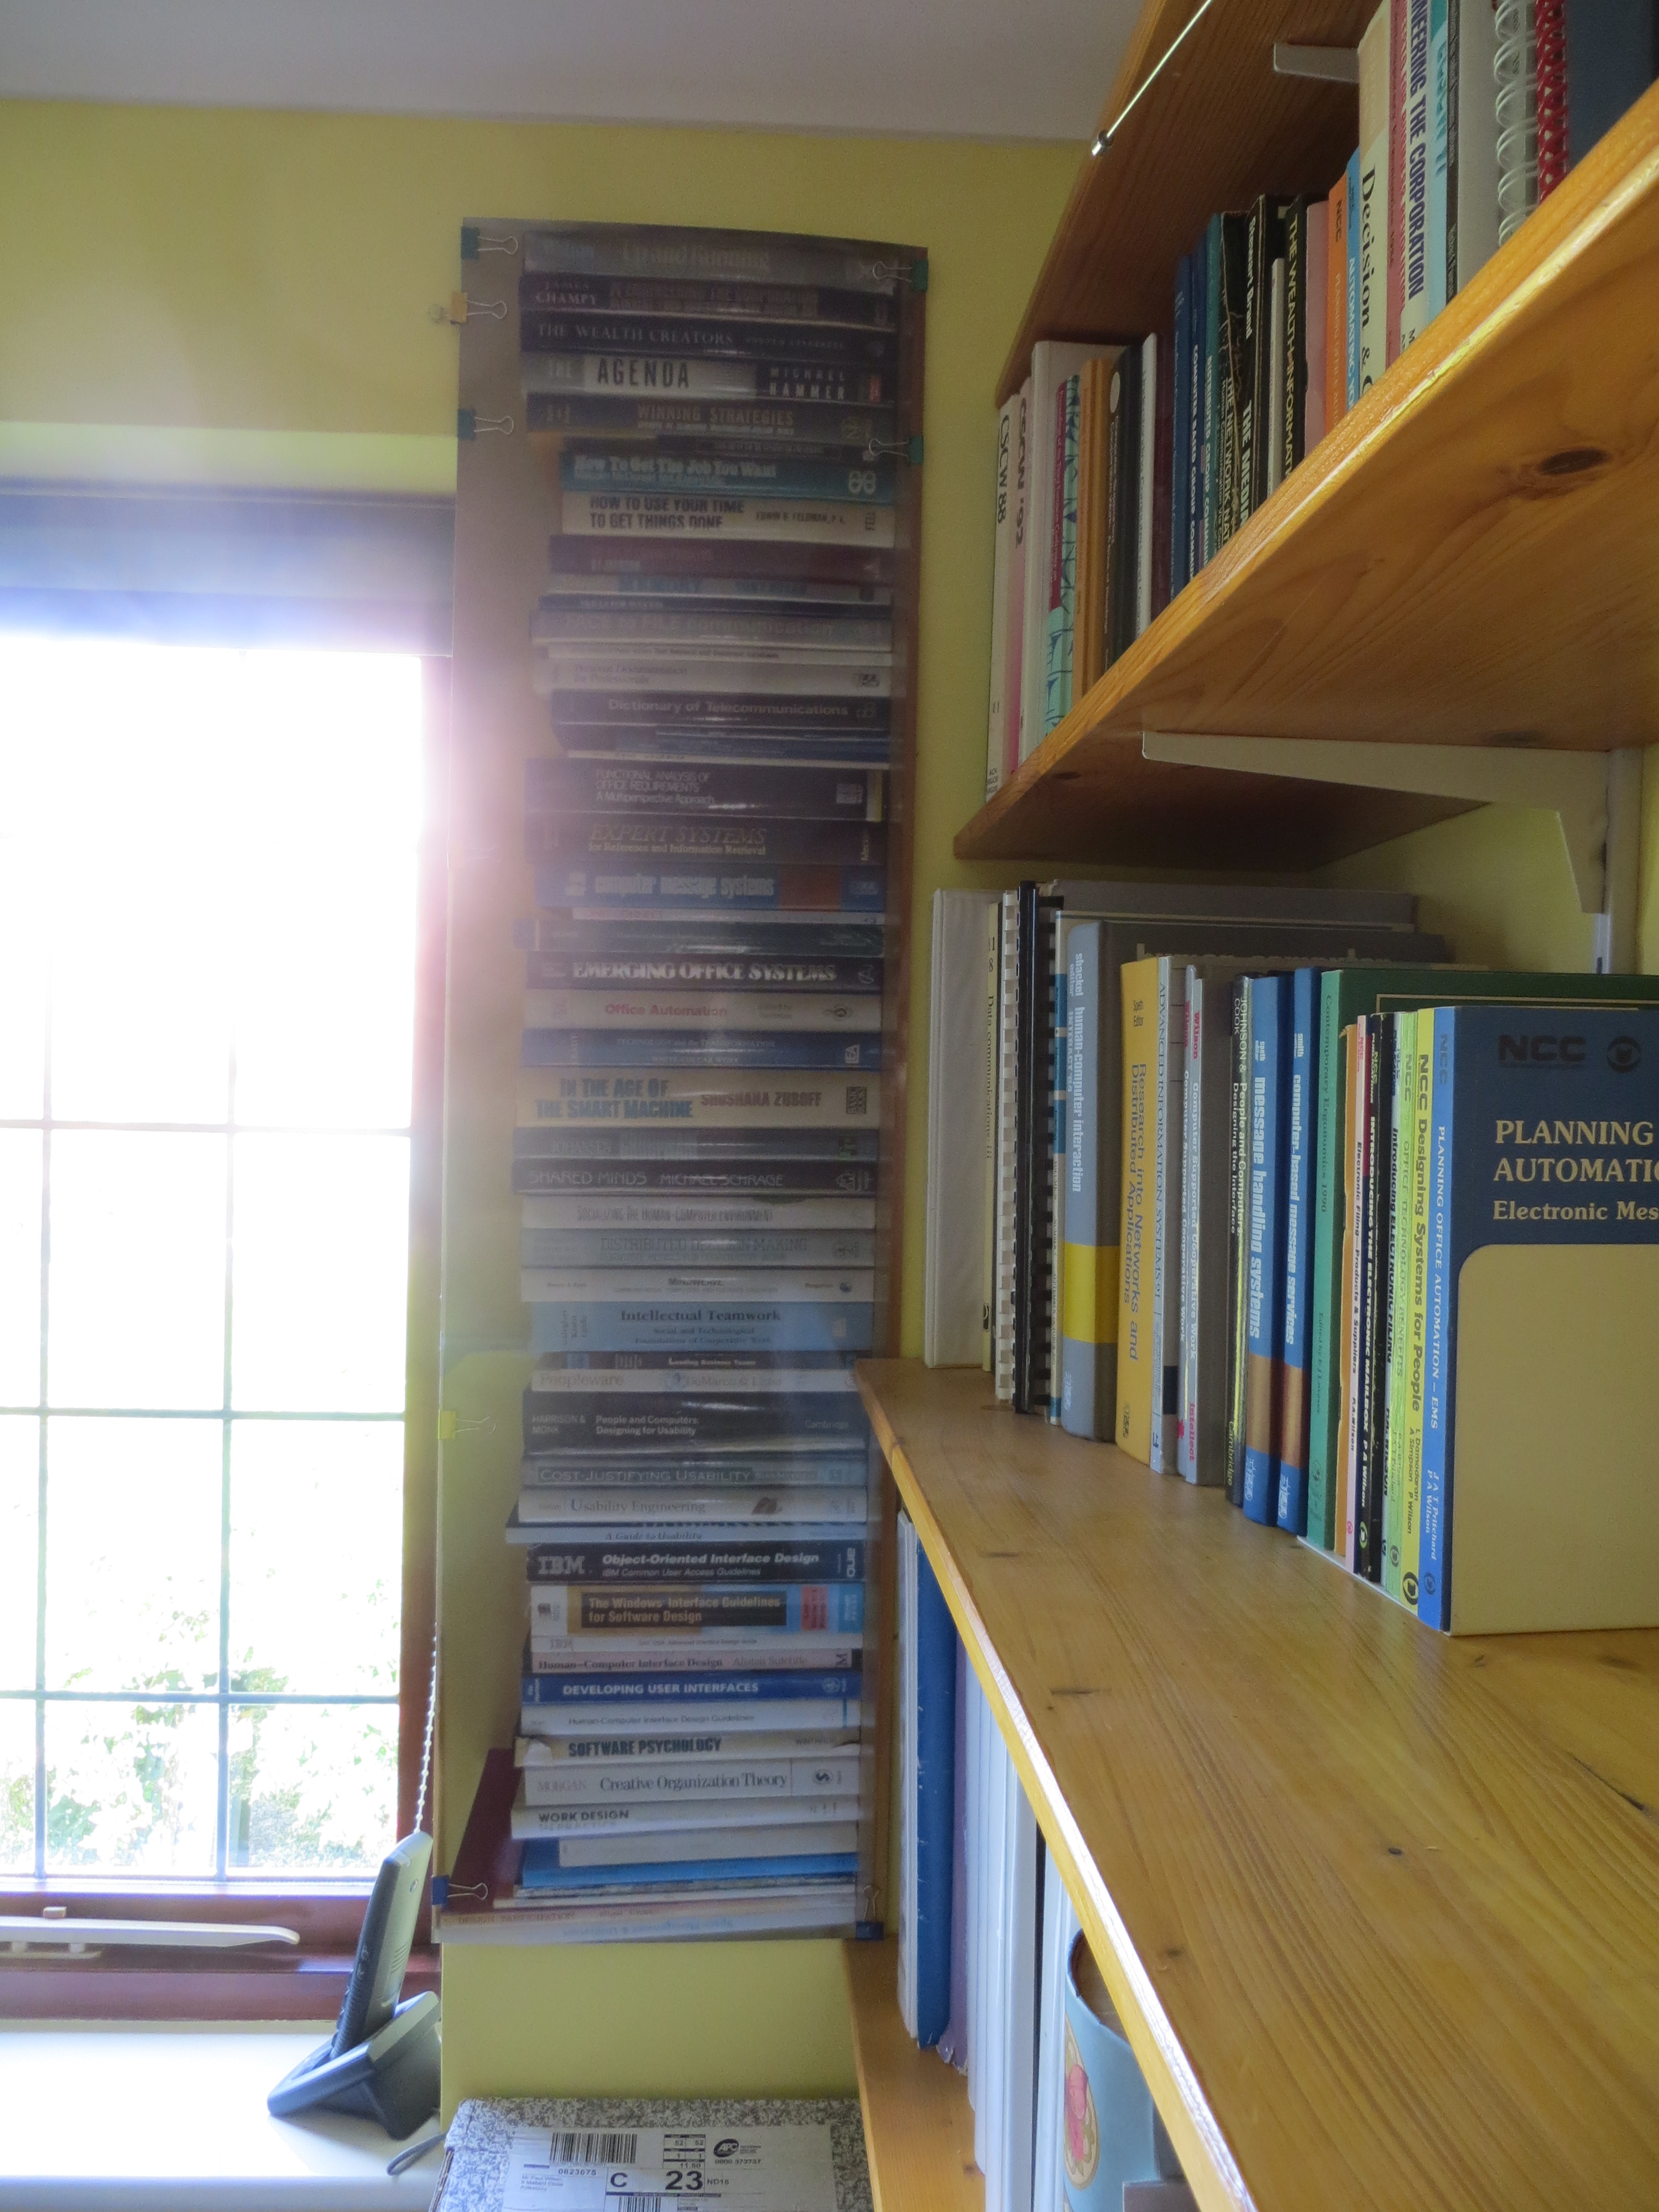
  • Hanging the posters vertically so it appears as if the books are stacked one on top of the other doesn’t present a problem – in fact it makes it easier to read the book titles; however it might be better to remove the edge of the shelf running vertically down the poster and perhaps replacing it with a shelf at the bottom of the stack.
  • As with ordinary books, its more convenient to view the bookshelf posters at head height; and it’s interesting to anticipate that a system displaying digital versions of the posters would enable shelves to be switched to the preferred height at will.
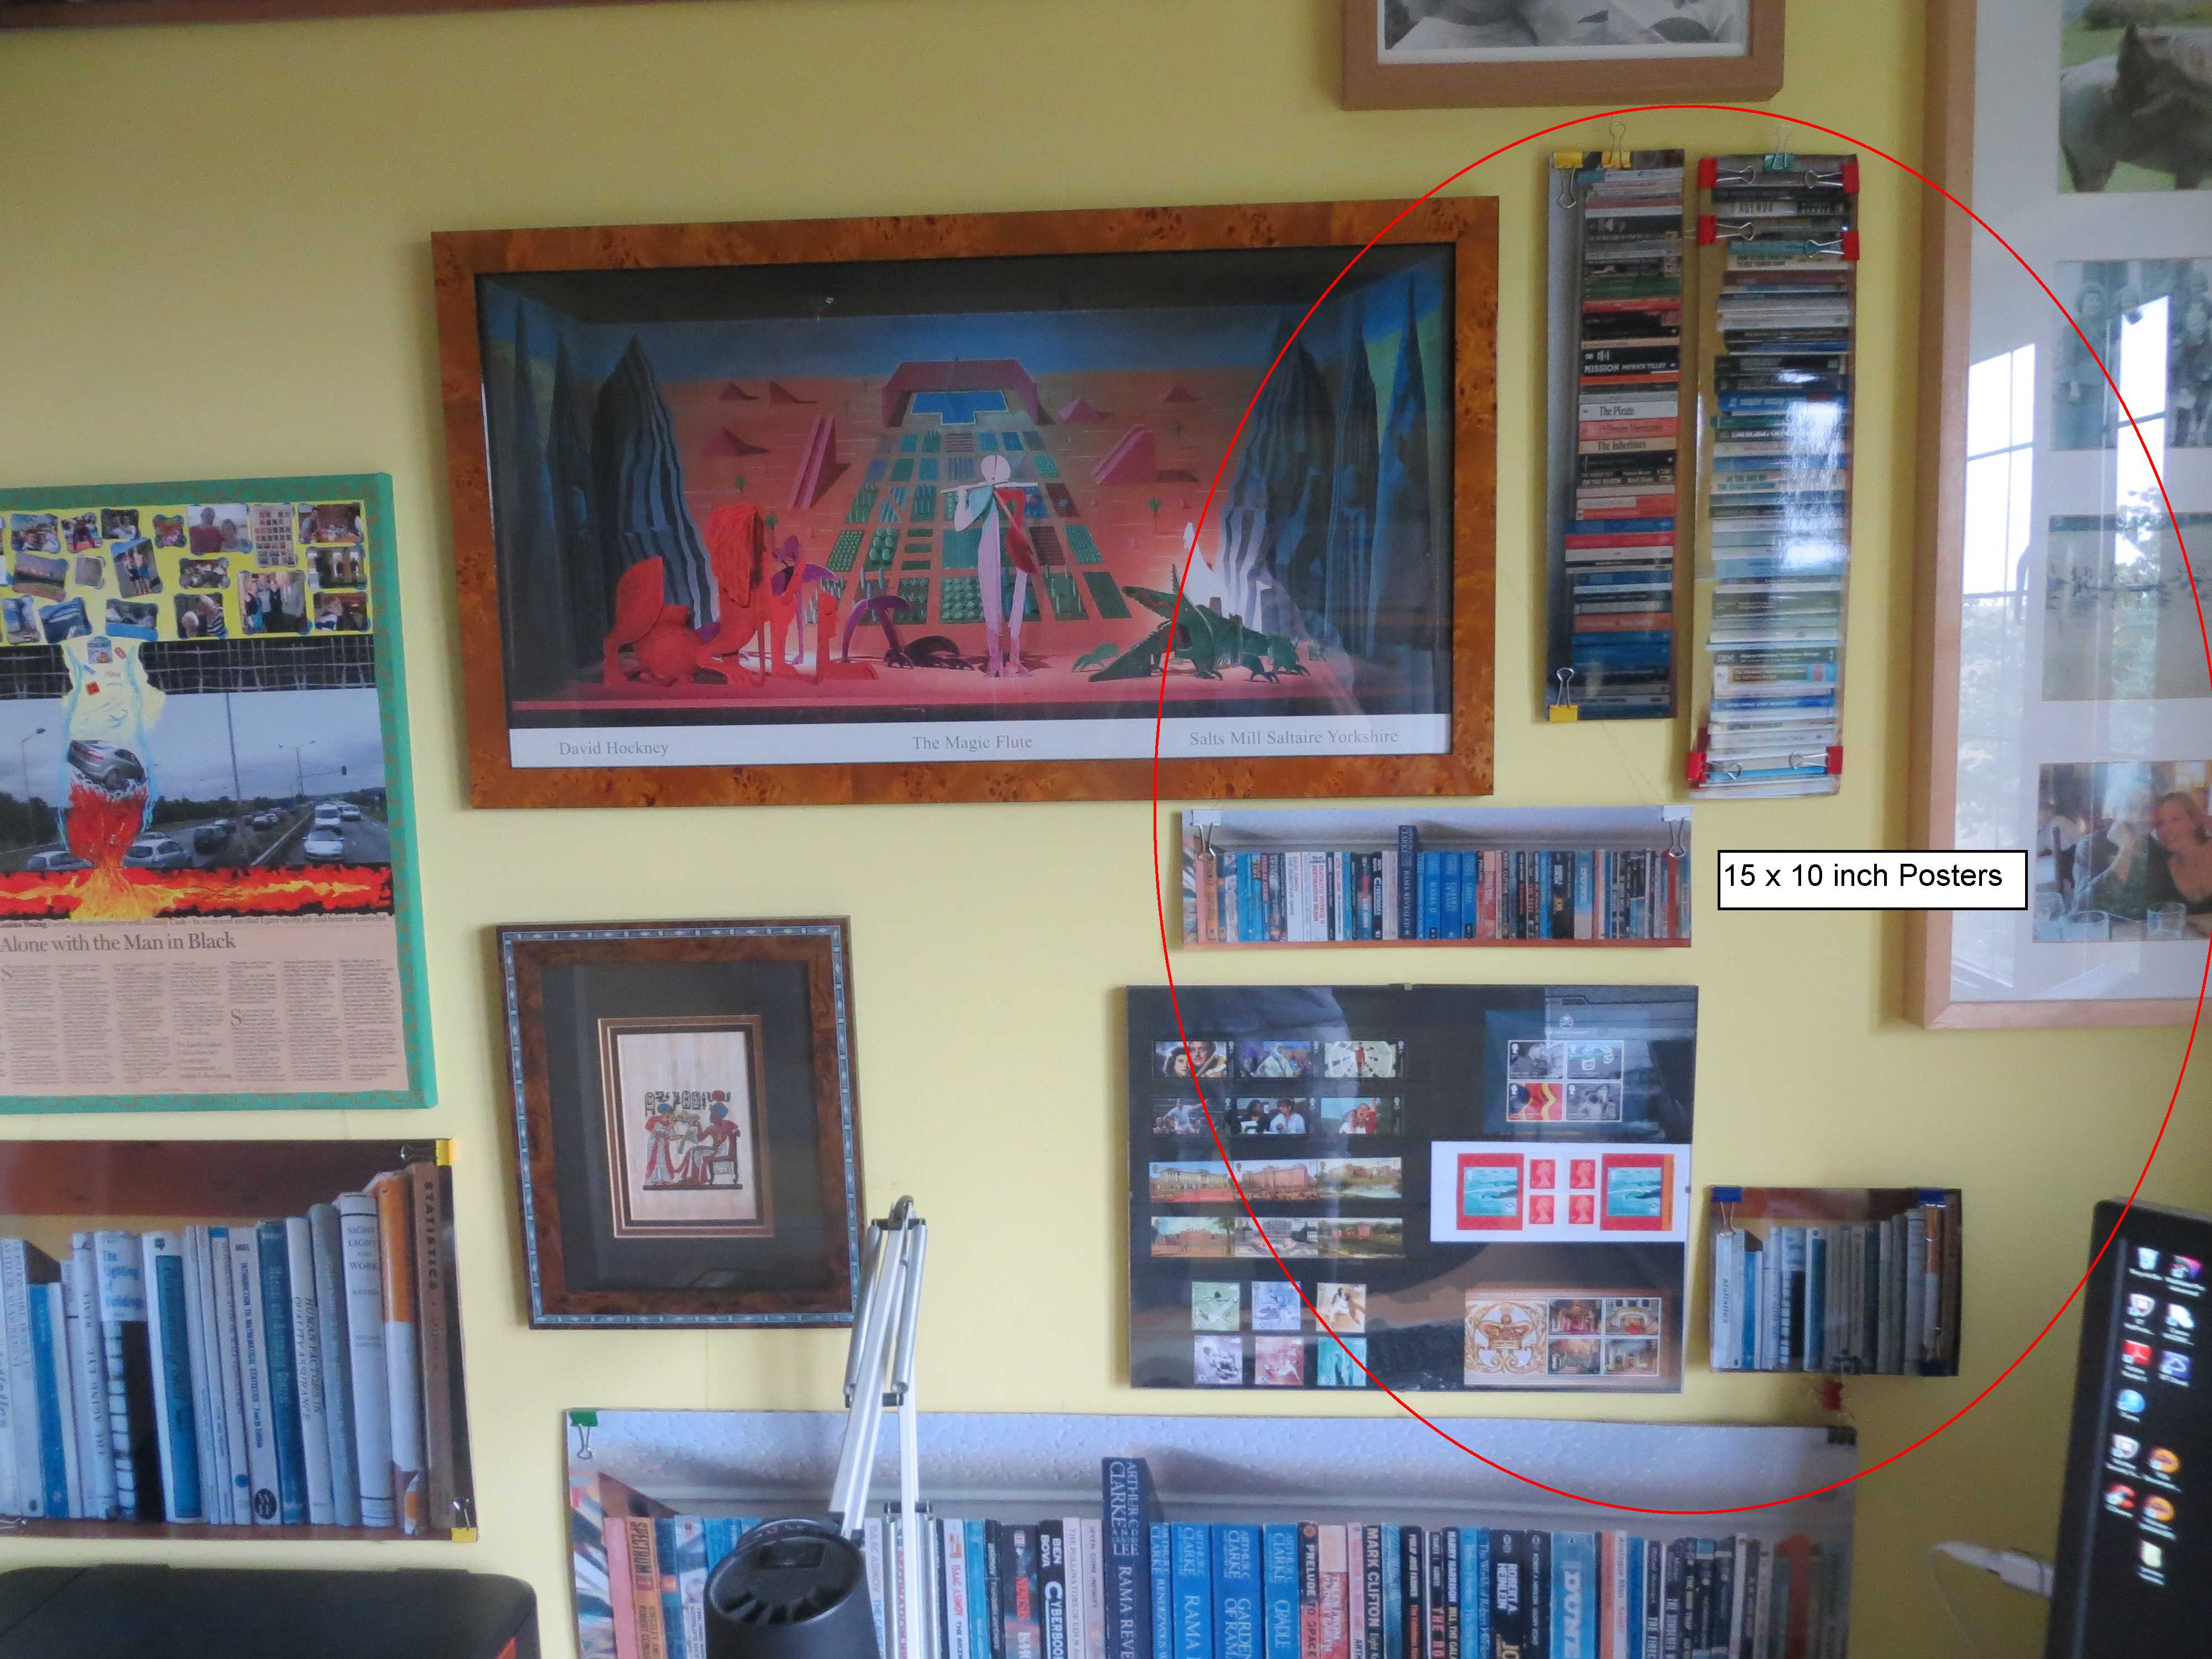
  • The posters can be presented together in different combinations and arrangements, for example, the poster of a particular shelf can be horizontal or vertical and can be placed at the top or bottom of a group of posters. This would be easy to replicate in a system managing digital versions of the bookshelves
  •  Like the posters, digital versions of the bookshelves could be duplicated and displayed in other rooms or locations.

With these points in mind I decided to put the four different sets of posters to the following uses:

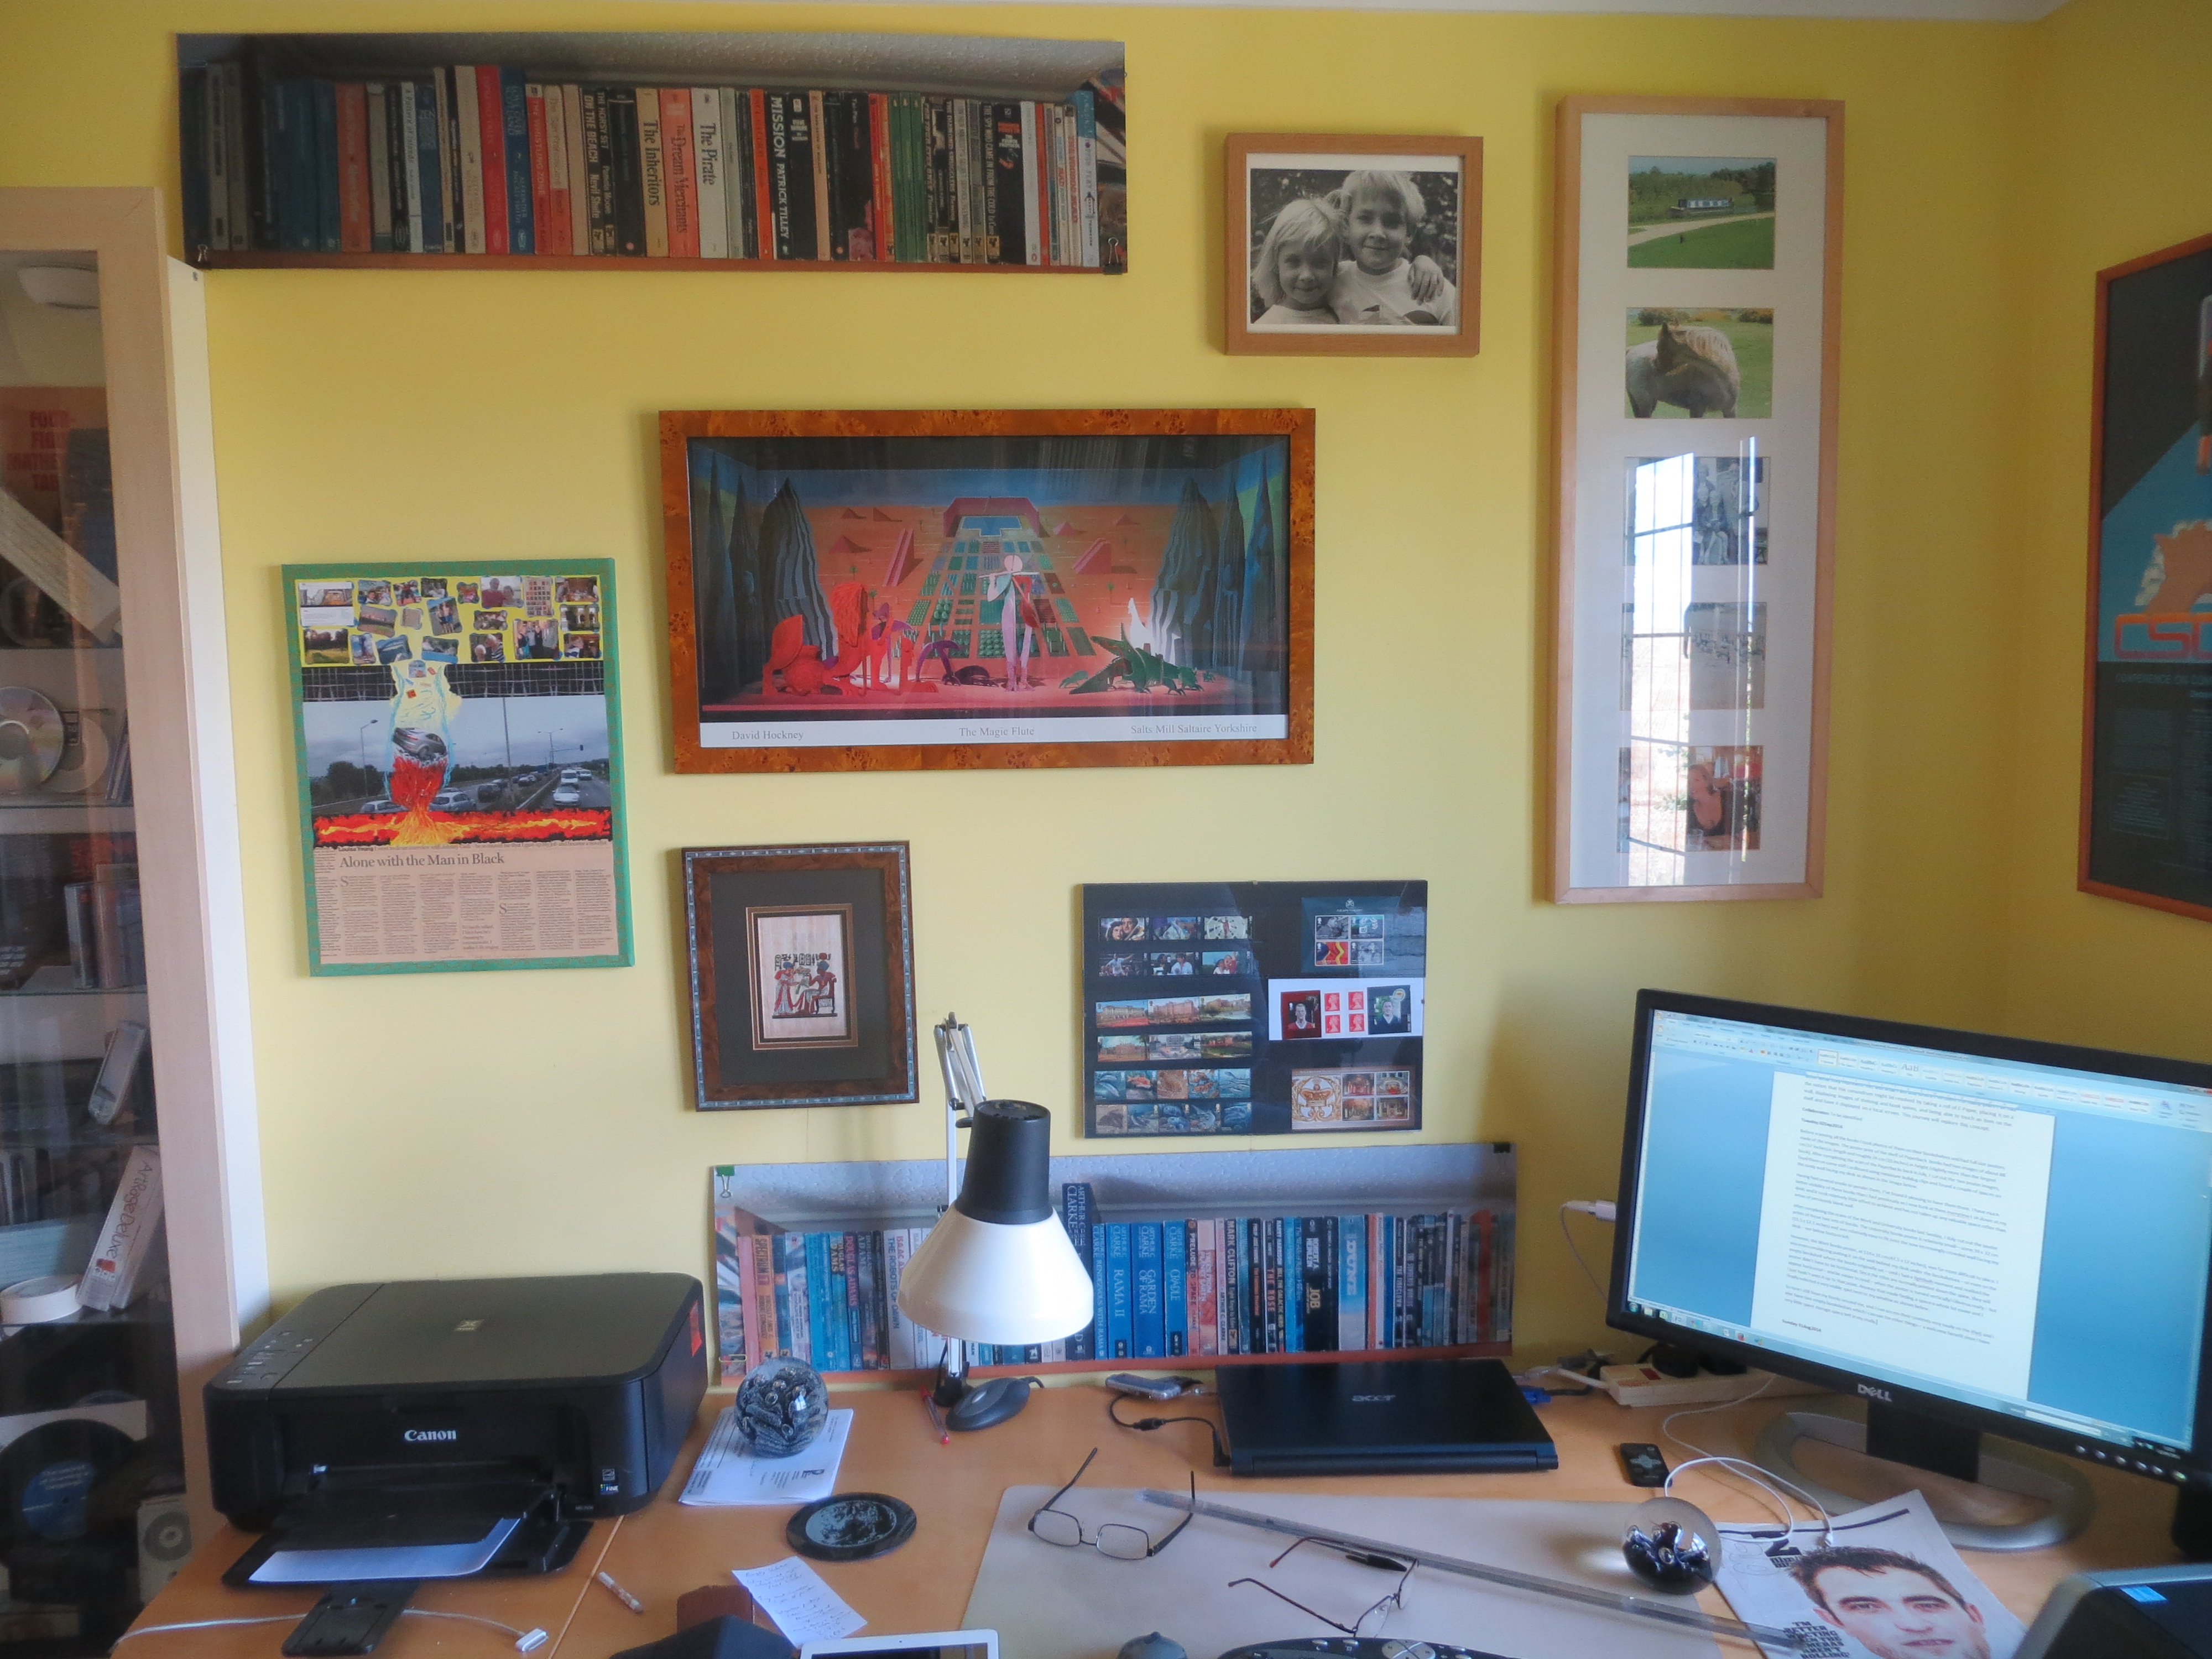
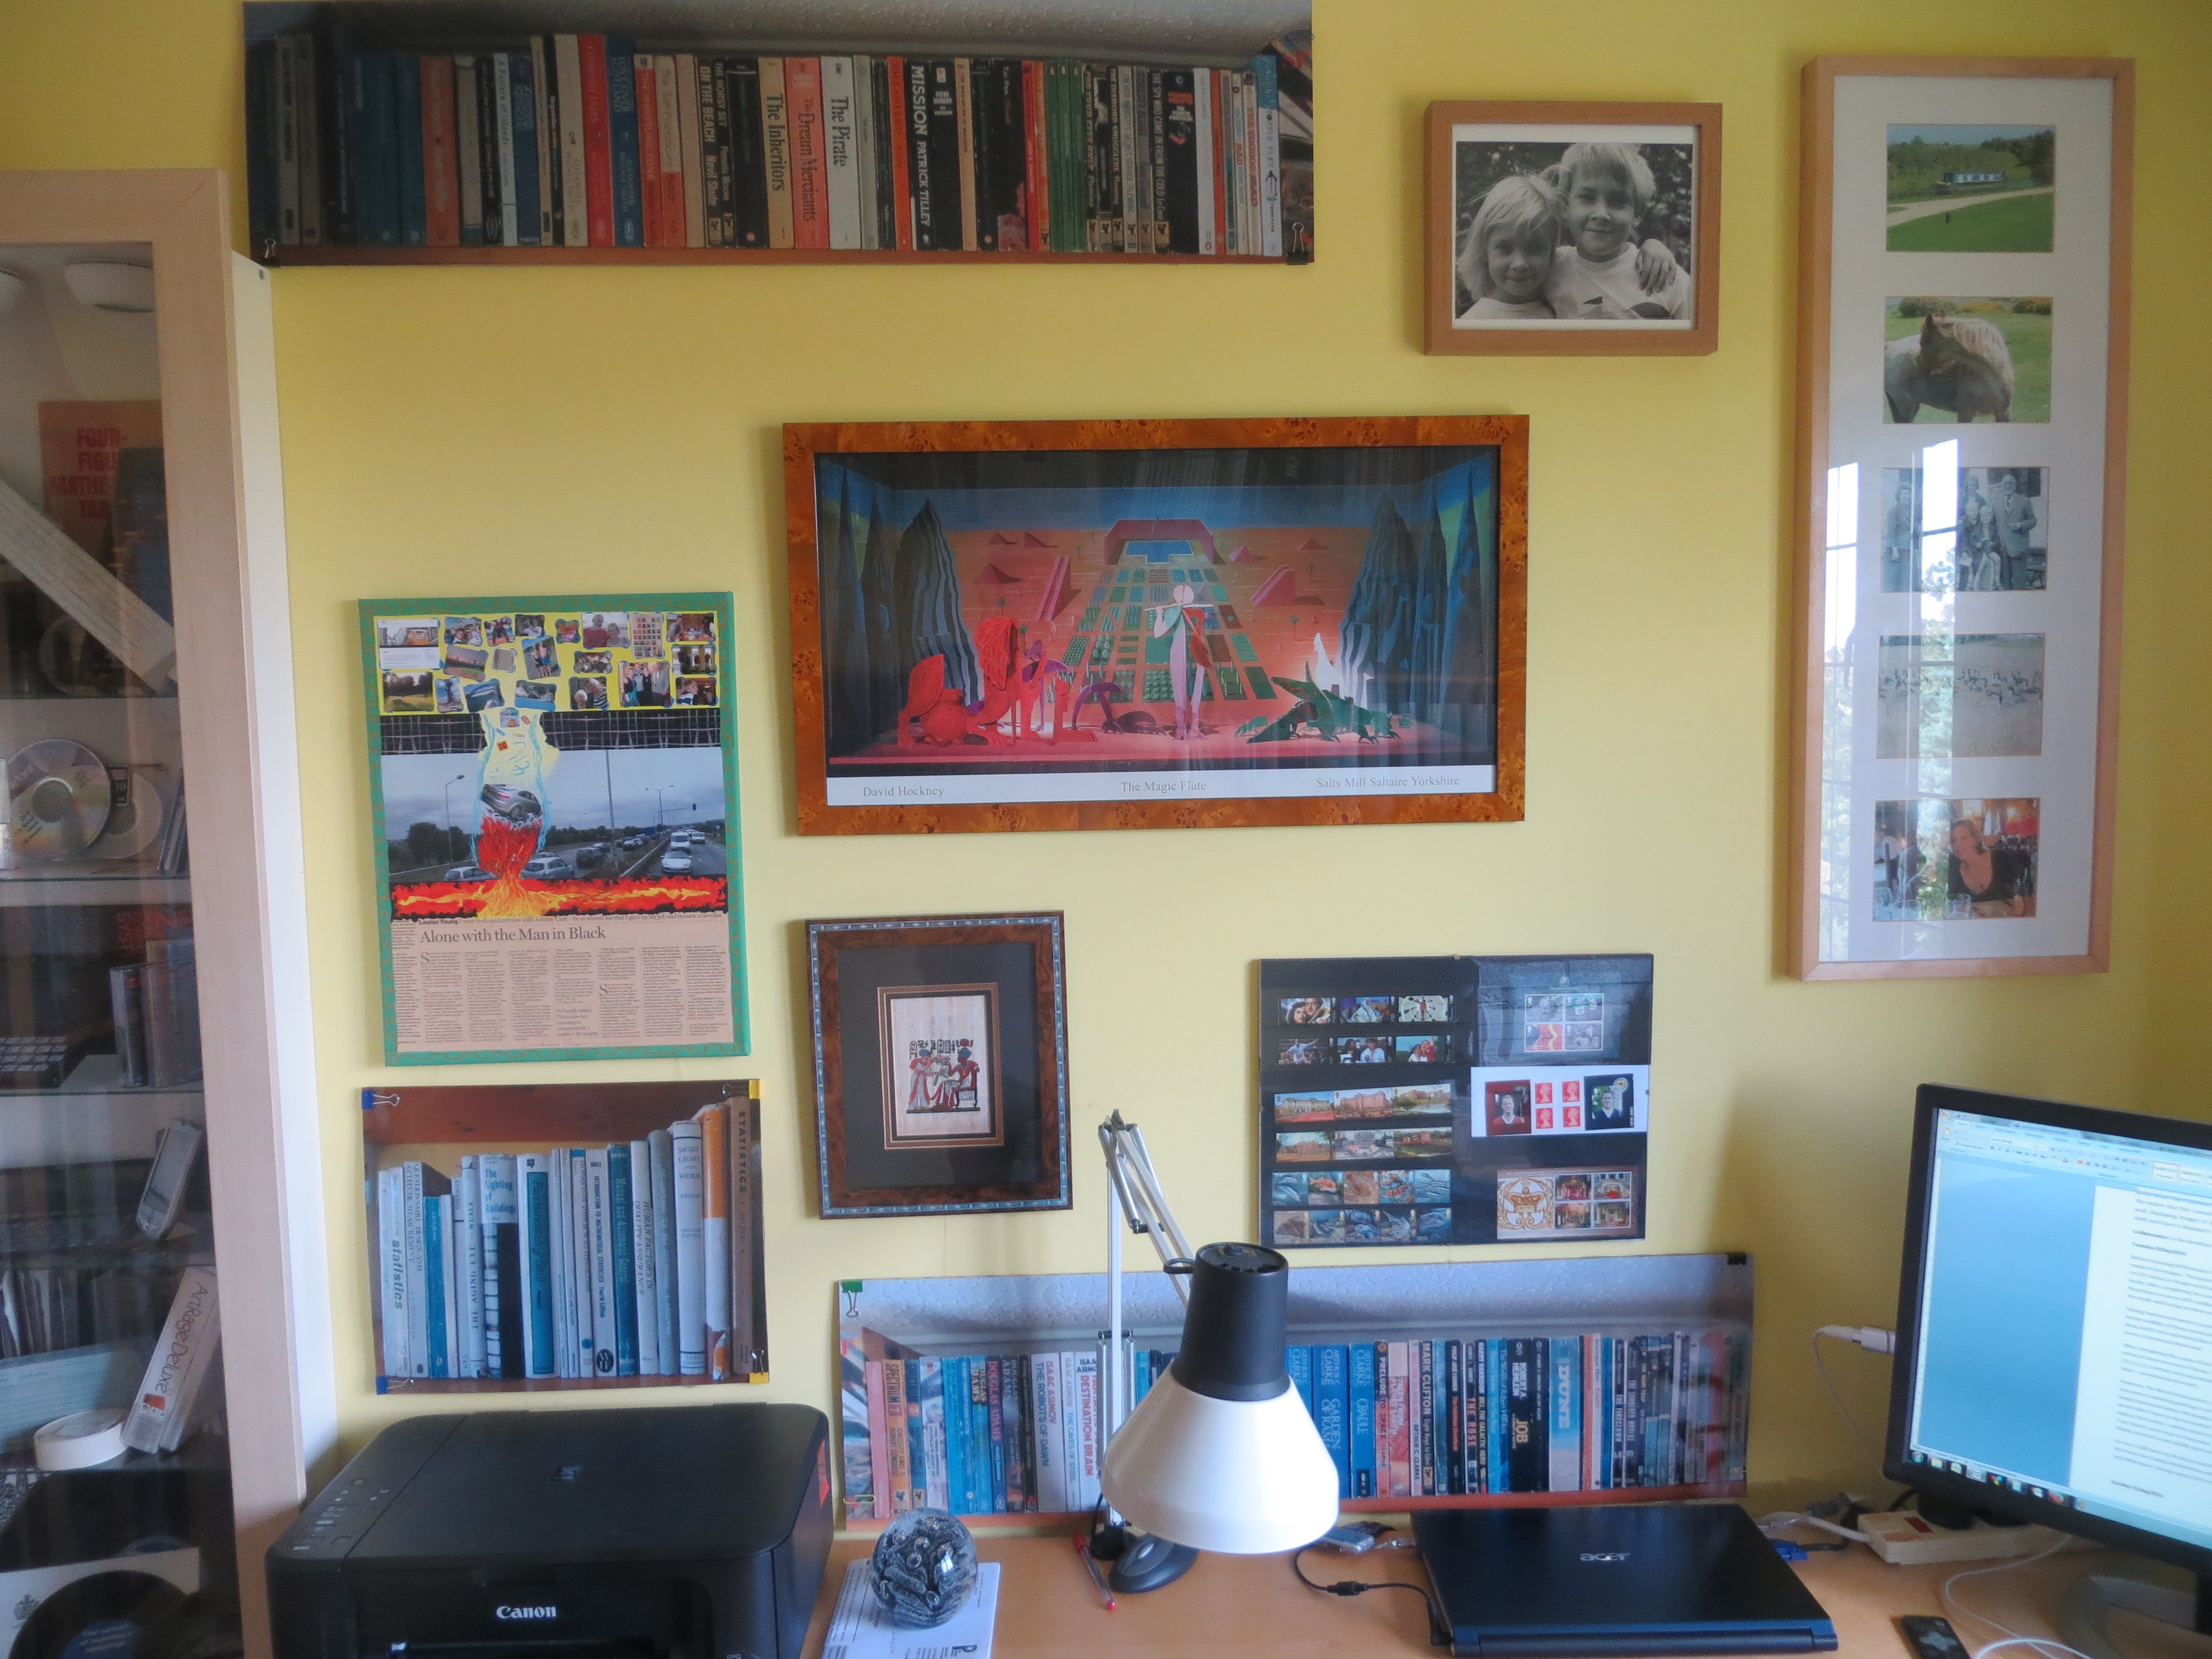
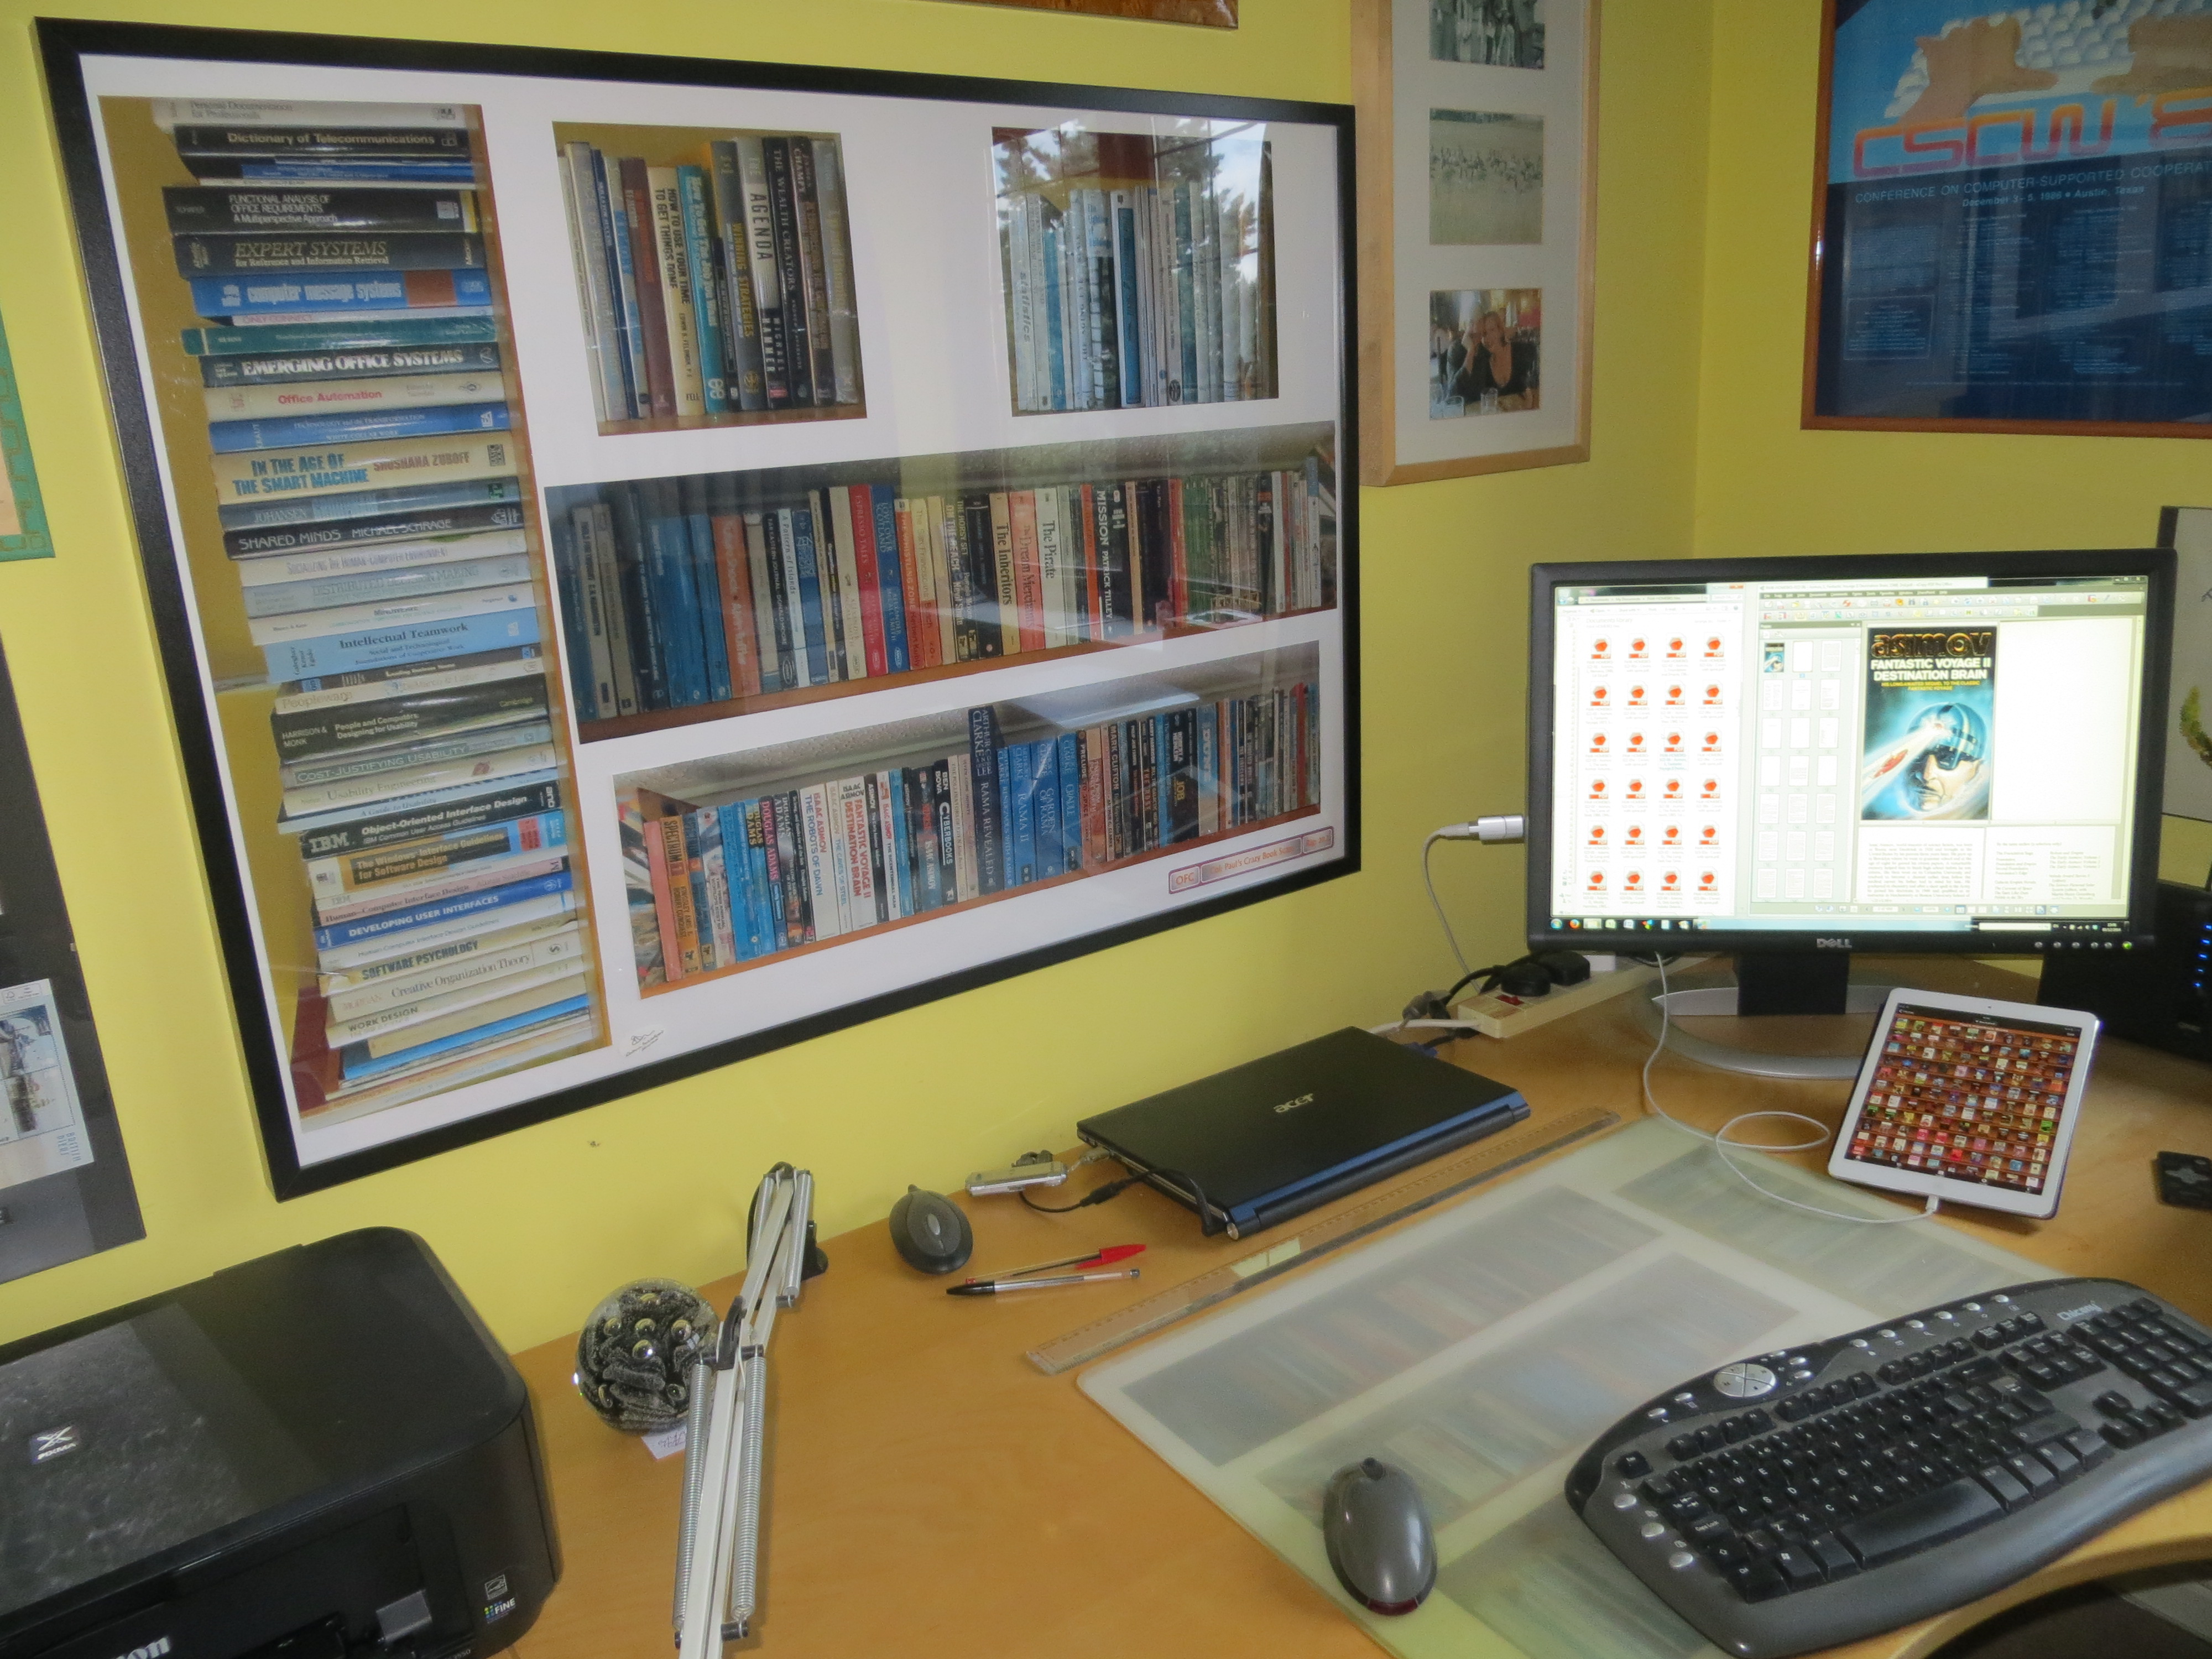
  • The second biggest size posters have become my permanent visible images of the books I have scanned and which I no longer have physical copies of. They are arranged in a 40 x 30 in IKEA RIBBA frame which is on my study wall directly ahead of me as I sit at my desk. Being able to use the smaller-than-full-size posters has made it much more feasible to do this – the full size posters would have taken up too much of the wall space. I now have a much more constantly visible view of the spines than I ever had before when they were on bookshelves behind my desk amongst a lot of other material.
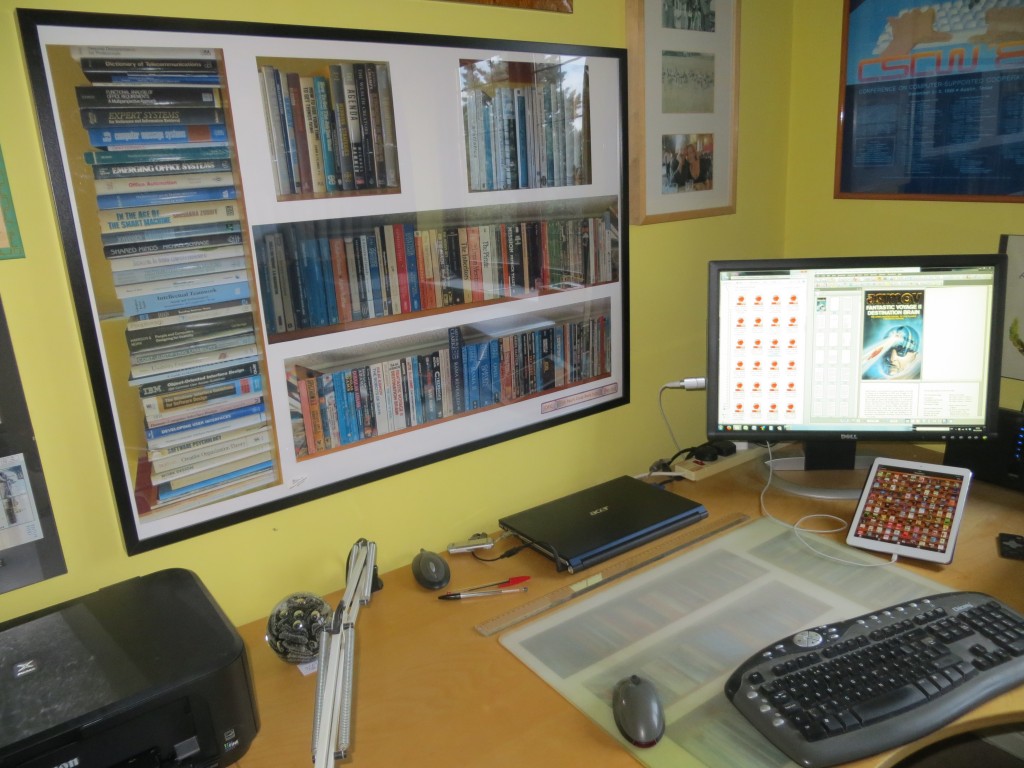
  • The third biggest size posters have now been arranged on a sheet of white paper and placed underneath the plastic desk pad on which my keyboard and mouse sit and on which I write longhand on occasion. This provides an unobtrusive decoration and demonstrates the reproducibility of the electronic bookshelf. The picture below shows the framed electronic bookshelf posters, the version under the desk mat, the book PDF files and an opened file on the adjacent computer screen, and the iPad showing thumbnails of the same PDF files.
    IMG_3622
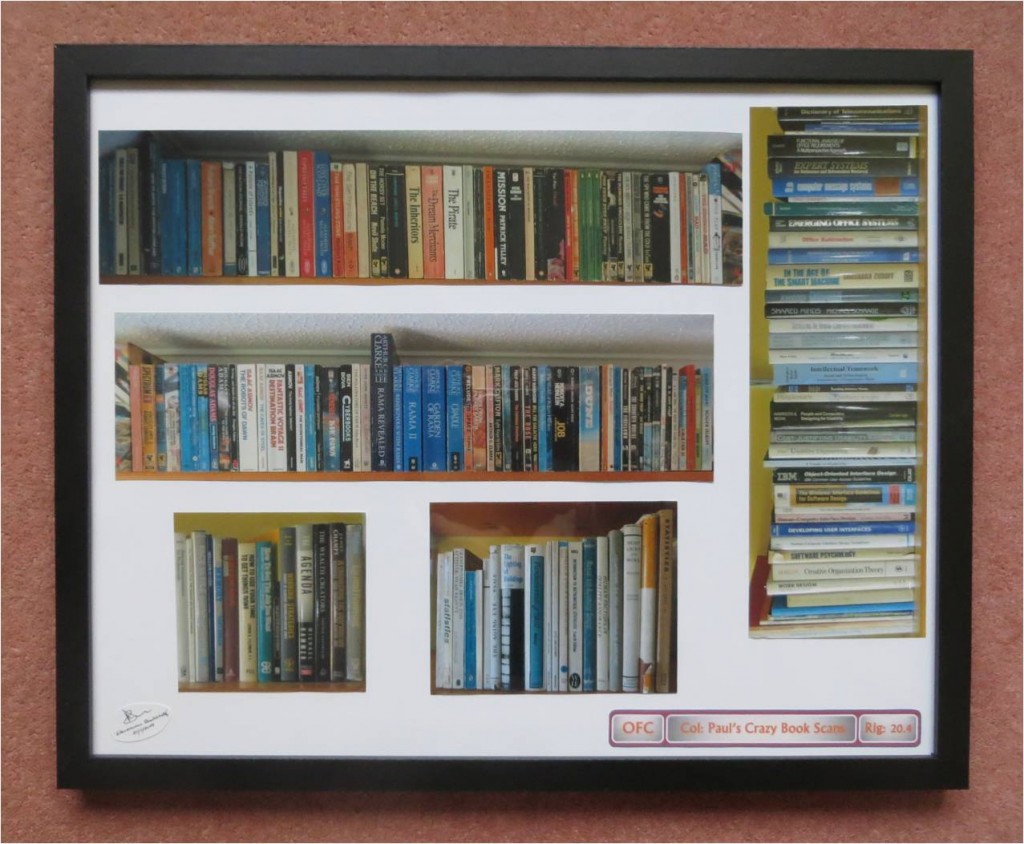
  • The smallest size posters have been arranged in a 20 x 16in Wilko frame (see below) and given to my son and his wife as a housewarming present for the library area of their new house (not sure how much they will enjoy this but it had to go somewhere…!).
    Elec Bookshelf Picture Small
  • The largest, full size posters have been stored at the back of a large picture frame that I have in my study (see Poster Management journey) in case I should want to use them in future.

In assembling the sets of posters as described above, I took the opportunity to vary the way the individual posters were displayed and to think about how they might appear on a large scale display or roll of electronic paper. Given that many arrangements are possible I included a tag line at the bottom of each one to identify the title of the collection (‘Col’) and the particular arrangement of that collection (‘Rig’). An example is shown below:

Col and Rig example

There is undoubtedly some synergy between some of the points that have emerged from this electronic bookshelf exercise and in the way that mementos might be displayed, and I intend to think about these when I start the next phase of the Memento Management work described elsewhere in this site. In the meantime, however, my current exploration of the Electronic Bookshelf has come to an end. Perhaps when electronic paper becomes sufficiently cheap, and when an App is available to create, manipulate and arrange the images of book spines and covers, I’ll attempt to replace my framed poster version with the real thing.

Miniature representations

In the last post but one, I described how it was pleasing to have full size poster replicas (40×30 inches) of the shelves of books I have scanned, in easy to see positions on the wall in front of my desk. Since then I have begun to wonder just how small these poster replicas could be to provide the same experience. Therefore, as a final phase in this journey, I’ve had the poster set reprinted in three smaller sizes (30x 20 in, 18 x 12 in, 15×10 in) and positioned them in the remaining wall space in my study as shown in the pictures below. Over the next couple of weeks I’ll mull over how the different sizes compare and try to come up with a view as to whether a miniature representation can provide a similar experience to that provided by a full size representation.

30 x 20 in poster18 x 12 in postersSmallest size posters 15x10

Virtual Display —> Full Text Integration

The original aim of this investigation was to display virtual images of books on a wall and to be able to call up the full text of any one of them to read. The two ends of this objective – display of a virtual bookshelf, and the ability to read the full text of any of the books – have been achieved. However, the integration of the two ends is, as yet, a manual process requiring the user to choose a title from the virtual display, to open up the iPad SideBooks application, and to find and open the required title.

I’ve briefly thought about a variety of ways that this process might be automated. The original notion was to use e-Paper and to be able to touch the image of a book spine to bring up the full text on a separate screen. In the absence of e-Paper, I toyed with the notion of using Image recognition via an iPhone App, but I couldn’t find an App that would use the text recognised to open up another application. I then started thinking about voice recognition and tried out the Apple Siri voice recognition facility on the iPad. Frustratingly, although it will very effectively open up the Sidebooks application just by the user saying “SideBooks”, Siri is not yet able to search for and open up files within applications. This was confirmed to me by an Apple Chat  support person – though he did advise me that I should inform Apple of my requirement via a Feedback form, which I duly did.

That’s as far as I’ve got. Voice recognition does seem to be the most promising approach – and I guess it’s quite possible that Apple may enhance Siri to call up files, sometime in the future. In the meantime, I expect I’ll be able to just about get by in manual mode!

Displaying the virtual bookshelf

Before scanning all the books I took photos of them on their bookshelves and had full size posters made of the images. The poster print of the shelf of Paperback  books had two images of about 88 cm (37 inches) in length and roughly 24 cm (10 inches) in height (slightly more than the largest book). After completing the scan of the Paperbacks back in July, I cut out the two poster images, fixed them on some stiff cardboard using miniature bulldog clips and found a couple of spaces on the study wall facing my desk as shown in the image below.

IMG_2961

Having had several weeks to ponder them, I‘ve found it pleasing to have them there. I have much better visibility of these books than I had previously as I now look at them every time I sit down at my desk; and it took relatively little effort to achieve and has not taken up any valuable space other than areas of previously blank wall. Of course an electronic and customisable display of the virtual books would have been preferable – but this low-tech version serves much the same purpose.

After completing the scans of the Work and University books last Sunday, I duly cut out the poster prints of those two sets of books. The University books poster is relatively small – some 39 x 32 cm (15.5 x 12.5 inches) and was relatively easy to fit onto the now increasingly crowded wall facing my desk – see below bottom left.

IMG_2966However, the Work books poster, at 114 x 31 cm (47.5 x 12 inches), was far more difficult to place. I was even considering putting it on the wall behind my desk under the bookshelves – or even on the empty bookshelf where the books originally sat – until I had a lightbulb moment and realised the poster didn’t have to be horizontal. Since the titles are normally printed down the spine, they will appear horizontal – and be easier to read – when the poster is turned vertically! Obvious really – but I just hadn’t seen it up to that point. Anyway that made finding a space a whole lot easier and I finally selected a very visible spot between the window and the existing bookshelf as shown below.

IMG_2964

So now I still have my books around me, and I can access their contents very easily on the iPad; and I also have two empty bookshelves which I can use for other things – a welcome benefit since I have very little spare storage space left in my study.

Hardcopies Digitised – e-textbooks are Best!

After a wonderful family wedding in Italy, I restarted the scanning work on the 19th of August. With everything I’d learned doing the paperbacks, I was able to work much faster and I completed all 75 hardbacks (some 21,000 pages) in just 10 days.

Of course there were differences: hardbacks are constructed differently – typically with a strip of gauze being glued onto both the spine and the thick cardboard covers. This has to be cut to remove the pages of the book from the hardback covers. Unlike the paperback covers which were mostly small enough to scan both front, spine and back all at once, most of the hardback covers were bigger and the fronts and backs had to be scanned separately. Some of the hardbacks also had dust jackets which also required their fronts and backs scanning separately. To acquire full images of the full front, spine and back of both the covers and the dust jackets, I took photos of each and trimmed them down using the cropping tool in the PDF PRO software that I’m using (I included these images for completeness in case I want to do further electronic manipulations or displays in the future)

For every book, two PDF files were produced: one for the complete book with dust jacket front cover, inside dust jacket front, hard cover front, inside hard cover front, book pages, inside hard cover back, hard cover back, inside dust jacket back, dust jacket back (or similar for paperbacks but without the dust jackets). The other file was for the cover components and included all the items included in the first file but without the book pages and with full images of the complete cover and dust jacket. The cover and dust jacket images were cropped and finalised in the second file before being pulled into the first file to complete the working PDF file of the whole book which was downloaded into Sidebooks on the iPad via Dropbox. The master versions of the two PDF files for each book are stored in a separate folder on my laptop with an offline backup in the cloud.

The hardbacks were books I acquired for University and for Work – i.e. they were for study and reference. Having got them all into electronic form and onto the iPad, I really cannot see why anyone would bother with a hardcopy version of such textbooks. The iPad version is lighter, smaller, more portable, quicker to access, easier to search and far easier to store. I shall make a point to ask my friends in academia and publishing if there is a noticeable trend away from hardcopy textbooks.

Now that the digitisation work has been completed I shall spend a day or two thinking about what further work to do on this particular Journey.

Paperbacks Finished

Today I finished digitising the set of 111 paperbacks. It’s been a slow seven week haul but I speeded up as I got more practice and was eventually doing about eight books a day. I started out with the paperbacks as a trial for the main hardback sets; but having done them I realise that they do mean a lot to me, and that they represent a valid investigation in their own right. This is what I think I’ve learned so far:
1. Looking at each of the paperbacks reminded me of how interesting some of them were and has renewed my interest in them.
2. Having the books on my iPad gives me immediate and easy access to them, and makes it perfectly feasible to just dip in and out of them at will – something I have already been doing.
3. It’s good to have the book covers visible on the iPad – on the bookshelves only the spines were visible.
4. I’m luxuriating in the knowledge that I’ll be able to have access to these books always wherever I am – whether it’s in a new house, on holiday, in the house of my children, or in a care home or hospital.
5. Having freed up one whole bookshelf I realise that it opens up the possibility of putting other things on it- both things I don’t have enough room for elsewhere or things which have been stored and which I’d like to make visible.
6. On the down side, I’ve had to destroy the books to digitise them, so I won’t be able to handle the physical items any more. For the most part that’s not a problem, but for one or two, (such as the copy of the Travels of Marco Polo which I covered with takiback some 50 years ago) it’s a shame.

Experiences with the first 35 books

Although I’ve decided to start this work by initially displaying my digitised books in the Sidebooks iPad app, I still want to have the possibility of exploring interaction with a full size simulation of a shelf full of books.  So, before starting to scan, I took some photos of the books on the shelves and manipulated them using the GIMP editor to get them to come out actual size on two 30 x 40 in Poster Prints which I got using a half price offer from the Snapfish service.  That gives me the ability downstream  to cut out each set of books from the posters and fix them to whatever surface I desire.

Paperback books University and Work BooksI got the posters done about four weeks ago and since then I’ve been knuckling down to the hard graft of scanning the books (I have explored whether there are pre-scanned copies available on the net but with little success – more of this in another entry). This involves scanning the front and back covers and then cutting the pages down the spine edge so that I can put them through the sheet feeder. So far I’ve done 35 paperbacks and think I’ve got round most of the problems and issues including:

  • Covers: The covers need a separate flatbed scan so I do them first to a separate file and stitch them into the main PDF at the end of the process.
  • Page browning: Older paperbacks seem particularly prone to this and can result in scanned images that are too dark. To get a readable scan the contrast setting needs to be adjusted.
  • Pages stuck together: Pages need to be completely separate from each other to go through the scanner smoothly, so the spine cut has to be sufficiently far in to ensure that none of the pages remain stuck together with the spine glue.
  • Spine cut can skew: I’ve found that trying to cut through too many pages at once is counterproductive as the cut gets skewed. So I limit the edge cuts to sections of about 130 pages.
  • Incorrectly scanned pages: The pages go through the duplex scanner very quickly (a couple of minutes for 150 pages) and occasionally the software makes mistakes such as cutting off the edges of pages, or displaying two or more pages as a single image, or failing to turn a page to its correct vertical alignment. So I conduct an eyeball check of the thumbnails as the pages go through the scanner and rescan if there appears to be major problems with a particular run; and then I do a detailed check in the PDF Editor afterwards before inserting the covers and creating the Bookmarks (see below).
  • Bookmarks: The Sidebooks software has  a facility to display a book’s contents which can be used to jump to a particular part of the book – but these are essentially bookmarks which have to be manually created in the PDF version by going to each relevant page, specifying the destination point and creating the text that will appear in the bookmark list. The more chapters or sections that a book has the longer this process takes – I’m beginning to value authors who don’t go overboard on the chapter thing.
  • Testing in Sidebooks: The final stage is to place the finished file into my dropbox folder on my PC, wait for it to replicate, then to open the dropbox option in Sidebooks, select the file and wait for the book cover to appear on the Sidebooks bookshelf. This is an incredibly quick process – it takes about 40 seconds from start to finish for a 15Mb file! I then do a quick check of the covers and a few pages to make sure they look OK and then test that each of the bookmarks links to the correct page. Sometimes, the wrong page is opened or I discover a spelling error in the Bookmark text so I go back to the PDF editor and make whatever changes are required and download the file again.
  • Proof of ownership: To demonstrate that I haven’t just ripped these books and to  insure against any copyright issues downstream, I am pulling the complete front, spine and back covers intact from the spines of the books themselves and retaining them together with the Title and Publisher’s Info pages, and storing them in the loft (the intact covers may also come in useful if I want to create images of the spines for any interaction experiment downstream).

My initial reaction to the results in Sidebooks (see below) is very positive. It may just look like a familiar old e-book display – but the fact that they are all my books that I’m familiar with and that they are so easily accessible is particularly satisfying. When I’m through the scanning process I shall do a more detailed examination of the impact of this different way of owning a collection of books.

IMG_1343IMG_1344IMG_1345

Above are three views of the Sidebooks bookshelf showing the 35 paperbacks I’ve scanned so far. Sidebooks reacts to the iPad zoom in and zoom out facility by placing more or less books on a shelf.

e-paper 0 – iPad App 1

For the last week I’ve been mulling over what I can do to get this electronic bookshelf work started. I’d already planned to do a quick review of the e-paper literature on the net; but in addition to that I started to think that there might be mileage in investigating the use of iBooks and similar apps for the iPad. Clearly there’s a big difference between simulating a bookshelf on an eight foot stretch of wall and representing that bookshelf on a small iPad screen. However, I started to realise that actually it was just a matter of scale and that the basic architecture would probably remain the same for whatever physical size of screen was used. That set me thinking that, although my initial aim was to simulate books on a bookshelf, displaying mementos and photos  in a virtual cabinet, board or frame are also manifestations of a broader capability – to make personal things visible and accessible. That was the point I decided to draft the following set of functional components:

  • Objects: Books, Photos, Mementos, Posters/paintings
  • Screen: Size, Colour/B&W
  • Interaction: Mode, Process
  • Display templates: Single full screen, Two half screens, Row, Four quarter screens, Other, User defined
  • Playlists: All Books, All photos, All mementos, All Posters/paintings, User defined

With my thoughts a little clearer, yesterday I spent an hour or so scanning the net for info about the current state of e-paper. I found an excellent 2011 article published in the Journal of the Society for Information Display by J. Heikenfeld et al, entitled, ‘A critical review of the present and future prospects for electronic paper’. This seemed to suggest that a lot was going on and that there was a lot of potential, but that e-paper, at that time anyway, wasn’t a mainstream product. A search of the current suppliers seemed to verify this. There don’t seem to be many suppliers and specific product info isn’t advertised – general capabilities are described with invitations to contact the company to discuss requirements. I began to realise that getting my hands on long lengths of e-paper was going to be difficult.

I then started looking at the many and varied iPad bookshelf/pinboard apps. The Apple iBooks app seems to be limited to a single representation of book covers in rows on a white background and only for PDFs. Another product, SideBooks, provides a bookshelf representation (in a variety of possible colours/designs) but, like iBooks, only displays the front covers – not the spines. It also enables hierarchies to be constructed i.e. an icon of the spines of 6 books represents a whole lower level bookshelf and so on indefinitely. Unfortunately SideBooks can only handle PDF, ZIP, CBZ, RAR and CBR Formats – so not JPG photos. However it does enable new items to be imported via Dropbox (this is simple and quick) or iTunes. I tried putting several photos into a PDF and importing it into SideBooks and this worked well – the resulting file sat on the bookshelf with the image of the first photo displayed on the cover. This will be fine for mementos.

This, then, is where I’m up to. I shall continue to look through the labyrinthine Apple Store to come up with a Bookshelf/Display Board product that can handle both PDFs AND Photos – but I’m beginning to think that I might just get on and do this experiment using SideBooks.

Getting started – assembling the books

I have over 100 university and work books that are cluttering up my overflowing bookshelves and that I rarely use, but which I am reluctant to get rid of entirely because in some sense they represent me, and what I am and where I’ve been. For many years I’ve had the notion that this conundrum might be resolved by taking a roll of E-Paper, placing it on a wall, displaying images of shelving and book spines, and being able to touch an item on the shelf and have it displayed on a local screen (The Electronic Bookshelf – summary of the idea).

A few days ago, after finishing the Digital Age Artefacts IV paper and getting up to date with the family photos (a big job which included many wedding photos), I decided to track down all the remaining hardcopy items recorded in my Job Document index and scan them. This included some old copies of ‘Mac Times’ and of ‘Creativity and Innovation Network’ stored in a box in the loft; and also some books and binders on my bookshelf. Tackling the items on the bookshelf prompted me to sort out the books so that the ones I envisaged being used in the Electronic Bookshelf exercise were all together. It was while I was doing this that a couple of the insights I had had in the course of the Digital Age Artefacts work came into play. Specifically, that I wouldn’t want to get rid of hardcopy which contained my own writings, or writings of people I knew, or which were significant publications by organisations I had worked for. While assembling those groups of items together, another category became apparent; I realised I wouldn’t want to dispose of those books which I had used extensively in my work. The bookshelf sort soon became a full-blooded re-organisation with the net result that I have now identified all the books that I’ll use for the Electronic Bookshelf work and placed them into appropriate groups.

There’s two more pieces of preliminary work to be done: first, about 20 of the books have been catalogued in my Job Documents index as PAW/BKS items, and I need to decide whether they will remain untouched as an integral part of the set of Job Documents material, or whether to separate them off thereby making them available for the Electronic Bookshelf experiment (which will entail destroying them in order to scan them). Second, a few of the books don’t have title and author information on the spines – information that is highly relevant to the Electronic Bookshelf experiment. Some of these items clearly belonged to  the PAW/DOC set of material so I dealt with them by scanning them and placing the scanned versions in the Document Management System, and destroying the paper (they were the proceedings of a 1991 workshop on CSCW in Berlin; and four booklets produced by the UK DTI ‘Usability Now’ initiative in the early 1990s – a directory of HCI Tools and Methods, a booklet on HCI standards; a directory of HCI Training; and a directory of HCI practitioners). For the remainder, I may investigate attaching spine information in some way or other.

Having made a start on the electronic bookshelf work, I think the next stage is to do a quick internet search for related work and for people who might be interested in collaborating with me on this particular journey.